Module 7 - Azure Storage with MySQL Database
Introduction
You can only mount disks in a single use case only. You need to implement Azure MySQL to remedy this. It is best to use other Azure services along with Kubernetes to ...
Azure Database for MSQL Flexible Servers is what is needed to use MySQL in Azure
Features:
- PAYG pricing
- Built in HA
- Scale as needed
- Secured to pretect data either at rest or in motion
- Automatic Backups for up to 35 days
- Enterprise grade security and compliance.
Create Azure MySQL Database
- Navigate to Flexible server in the Azure Portal. NOTE: You may need to request quota or support from MS for this (Deprecated?)
- Create a small B1ms version of this, should take 15 minutes to deploy
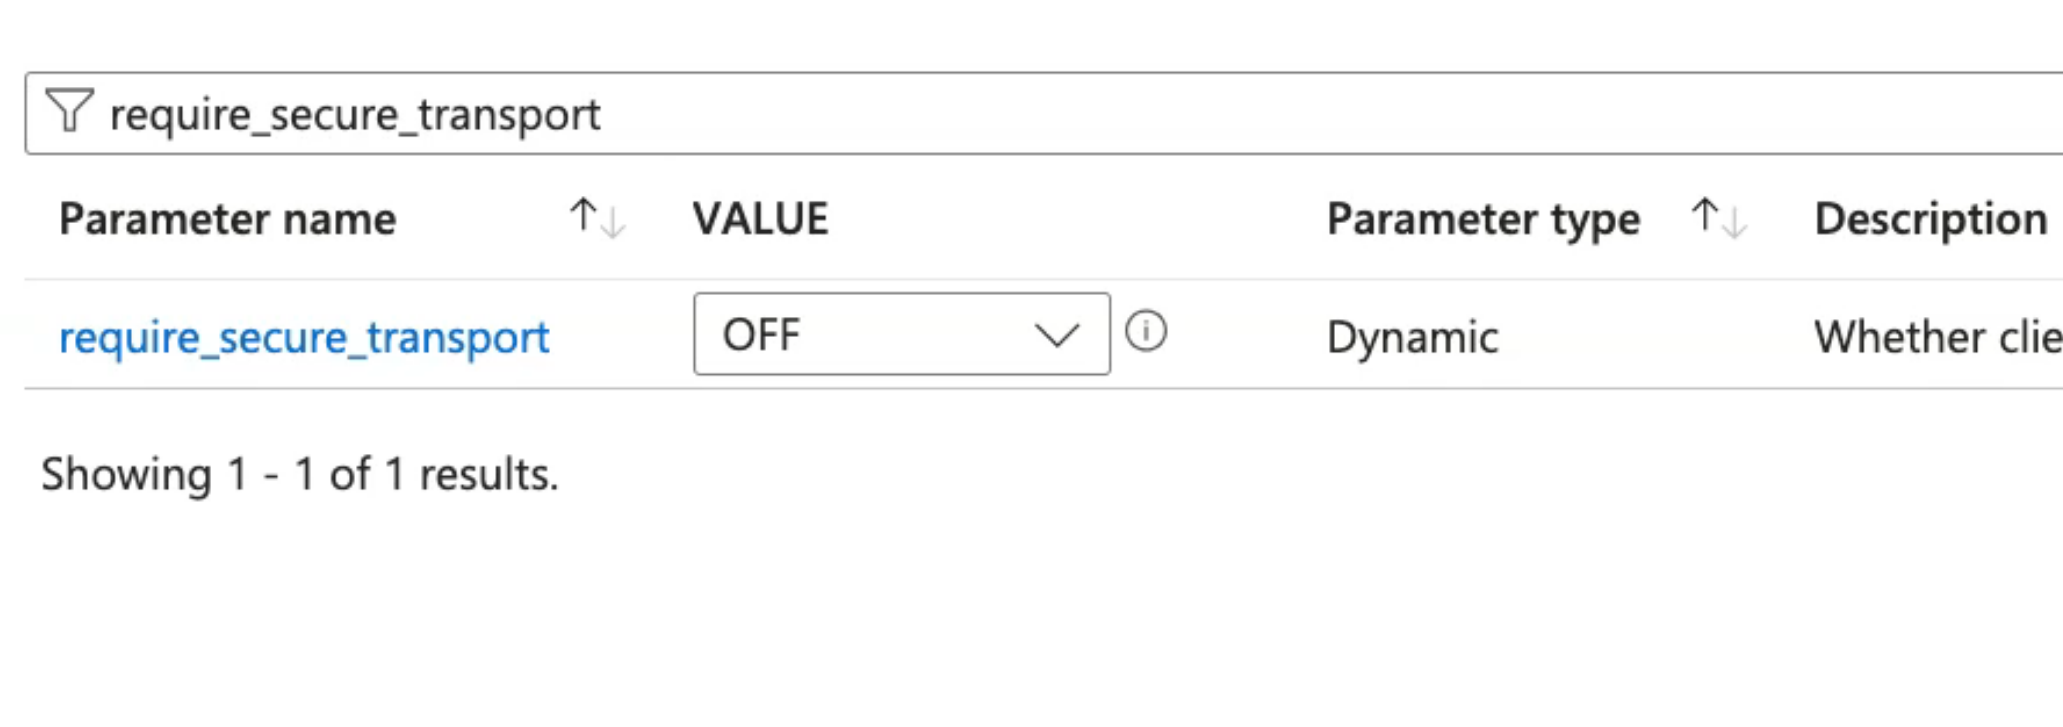
- Update the security settings - Change require_secure_transport to off, and save. This is not what you would do in production
- Use either MySQL or kubectl to connect to the database. You can run this via the cloud shell.
- Run `mysql -h nameofdatabase.mysql.database.azure.com -u dbadmin -p
- Then run the MySQL commands:
show schemas;
create database webappdb;
show schemas;
exit
- You can also do this through kubectl.
kubectl run -it --rm --image=mysql:8.0 --restart=Never mysql-client -- mysql -h <AZURE-MYSQ-DB-HOSTNAME> -u <USER_NAME> -p<PASSWORD>

mysql> show schemas;
mysql> create database webappdb;
mysql> show schemas;
mysql> exit
Note: show schemas; is the way to validate that you've created the database.
Review the Kubernetes Manifests
You need to understand the ExternalName service which maps a service to a DNS name. This is how you can map a service to an Azure MySQL flexible database.
apiVersion: v1
kind: Service
metadata:
  name: mysql
spec:
  type: ExternalName
  externalName: <the FQDN DNS entry for the Azure Database>
- Update the username and password in your respective deployment.yaml as in the previous demo.
- No changes to the service.yml
- Deploy the previous demo with the updates to the files to target the Azure database -
kubectl apply -f demo/
Validate
- Run
kubectl get pods - Run
kubectl logs -f - Run
kubectl get deployment - Access application by running
kubectl get svcand then access it via the IP of the service. - Note that this is now accessing the Azure MySQL flexible database at this time, not the local pods.
- Test using the same tests as the last quick demo, add and check users, then go query the database via the command prompt.
Clean up
kubectl delete -f demo/- Delete the MySQL database from Azure.
- Ensure nothing else is left ;)