Module 6: AKS Storage - Azure Disks
Introduction
Azure Disks are high-performance, highly durable storage for business-critical workloads.
- Cost effective
- Resilient
- Scalable
- Secure (encryption using CMK or MMK)
Terms covered in this module:
- Storage Class
- Persistent Volume Claim
- Persistent Volume
- Deployment
- Config Map
- Environment Variables
- Volumes
- Volume Mounts
- ClusterIP Service
This module uses Azure Disks with a MySQL deployment separate from the WebApp deployment.
Create Storage Class Kubernetes Manifest
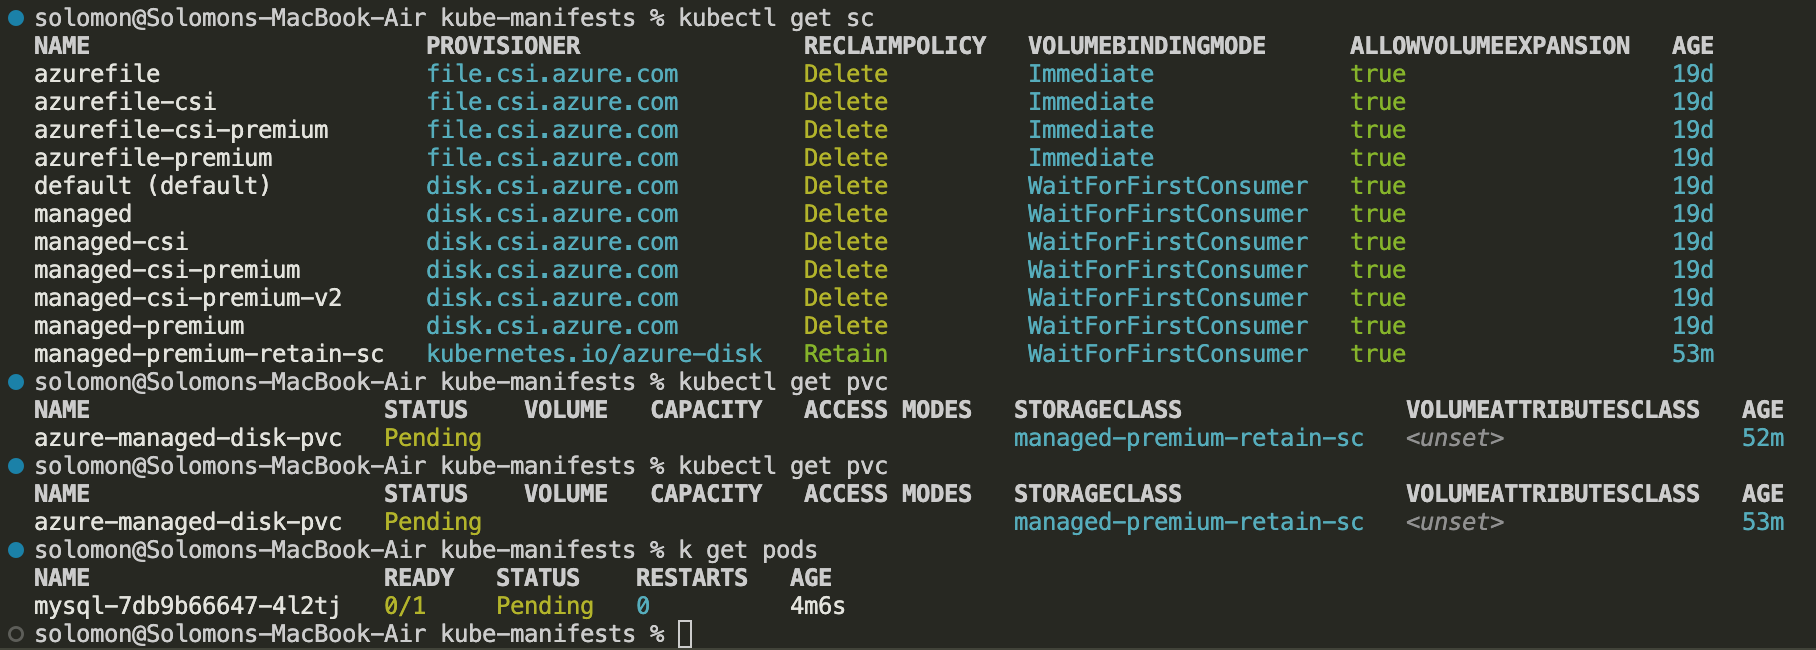
kubectl get sc gets you the storage classes on your cluster.
-
Create 5 files:
storageclass.ymlpersistentvolumeclaim.ymlconfigmap.ymlmysql-deployment.ymlmysql-clusterip.yml
-
Each of these starts from this template:
apiVersion:
kind:
metadata:
spec:
Storage Class
- Navigate to the API reference for the version of Kubernetes you are working on.
- Reminder:
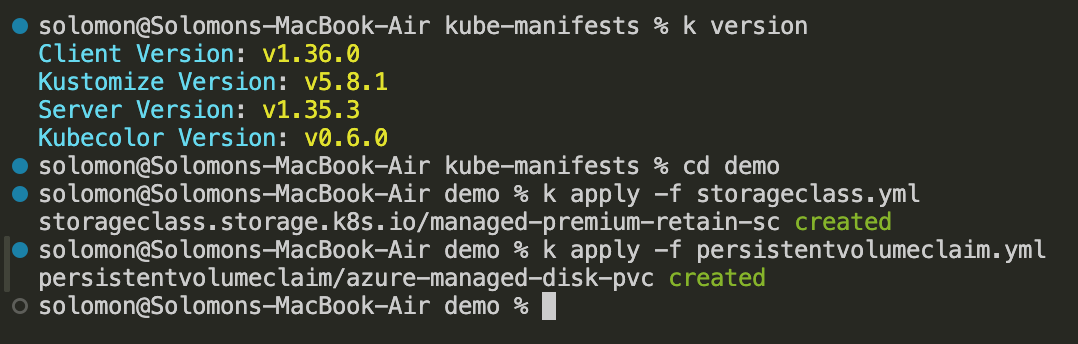
kubectl versiongets the Kubernetes version.
- Reminder:
- Create
storageclass.yml:
apiVersion: storage.k8s.io/v1
kind: StorageClass
metadata:
    name: managed-premium-retain-sc
provisioner: kubernetes.io/azure-disk
reclaimPolicy: Retain
volumeBindingMode: WaitForFirstConsumer # default here is Immediate
allowVolumeExpansion: true
parameters:
    storageaccounttype: Premium_LRS
    kind: managed
Reference: https://kubernetes.io/docs/reference/kubernetes-api/storage/storage-class-v1/
Create Persistent Volume Claim Manifest
- Create
persistentvolumeclaim.yml:
apiVersion: v1
kind: PersistentVolumeClaim
metadata:
  name: azure-managed-disk-pvc
spec:
  accessModes:
  - ReadWriteOnce
  storageClassName: managed-premium-retain-sc
  resources:
    requests:
      storage: 5Gi
Reference: https://kubernetes.io/docs/reference/kubernetes-api/core/persistent-volume-claim-v1/
- Deploy the storage class:
kubectl apply -f storageclass.yml - Deploy the Persistent Volume Claim:
kubectl apply -f persistentvolumeclaim.yml
- Verify deployment:
kubectl get pvcandkubectl get sc
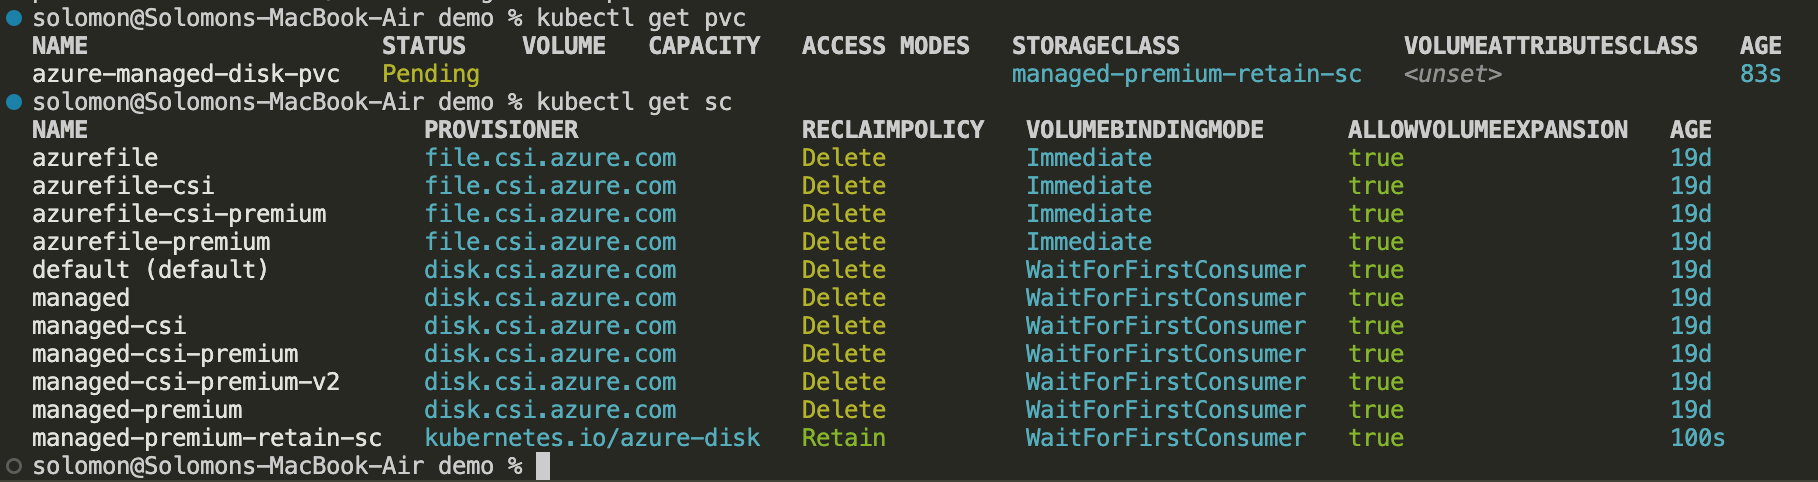
- The PVC will show as Pending because it is waiting for a pod to be deployed (due to
WaitForFirstConsumer).
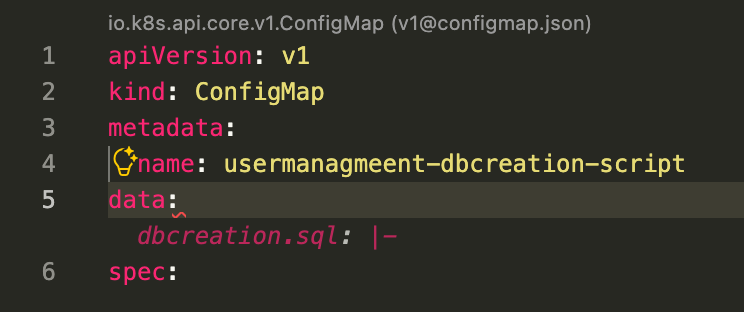
MySQL Deployment with Config Map
Config Maps provide configuration data to pods.
- Create the
mysql-deployment.ymlfile:
apiVersion: apps/v1
kind: Deployment
metadata:
  name: mysql
spec:
  selector:
    matchLabels:
      app: mysql
  replicas: 1
  strategy:
    type: Recreate #RollingUpdate is default, but for stateful apps, Recreate is recommended
  template:
    metadata:
      labels:
        app: mysql
    spec:
      containers:
        - name: mysql
          image: mysql:5.6
          env:
            - name: MYSQL_ROOT_PASSWORD
              value: "dbpassword24"
          resources:
            requests:
              cpu: "250m"
              memory: "512Mi"
            limits:
              cpu: "500m"
              memory: "1Gi"
          ports:
            - containerPort: 3306
              name: mysql
          volumeMounts:
            - name: mysql-persistent-storage
              mountPath: /var/lib/mysql
            - name: usermanagement-dbcreation-script
              mountPath: /docker-entrypoint-initdb.d/
      volumes:
        - name: mysql-persistent-storage
          persistentVolumeClaim:
            claimName: azure-managed-disk-pvc # cross check name here with PVC manifest file
        - name: usermanagement-dbcreation-script
          configMap:
            name: usermanagmeent-dbcreation-script
- The
mountPathof/docker-entrypoint-initdb.d/is used because MySQL will execute.sh,.sql,.sql.gz,.sql.bz2,.sql.xz, and.sql.zstfiles found in that directory when the container starts for the first time. See https://hub.docker.com/_/mysql under "Initializing a Fresh Instance".
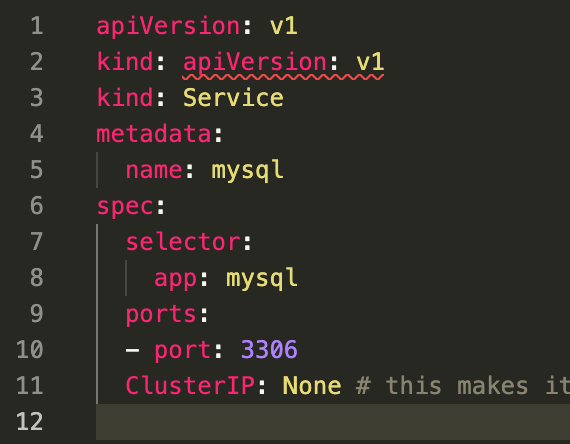
Create ClusterIP Service
- Create the
mysql-clusterip.ymlmanifest using the standard template:
apiVersion:
kind:
metadata:
spec:
- Apply the entire directory:
kubectl apply -f demo/

- If you get validation errors, check for typos such as incorrect capitalization of
ClusterIP.
- Wait for the pod to come up. If it stays in
Pending, check that resource requests don't exceed node capacity.
- Once deployed, verify everything is running:
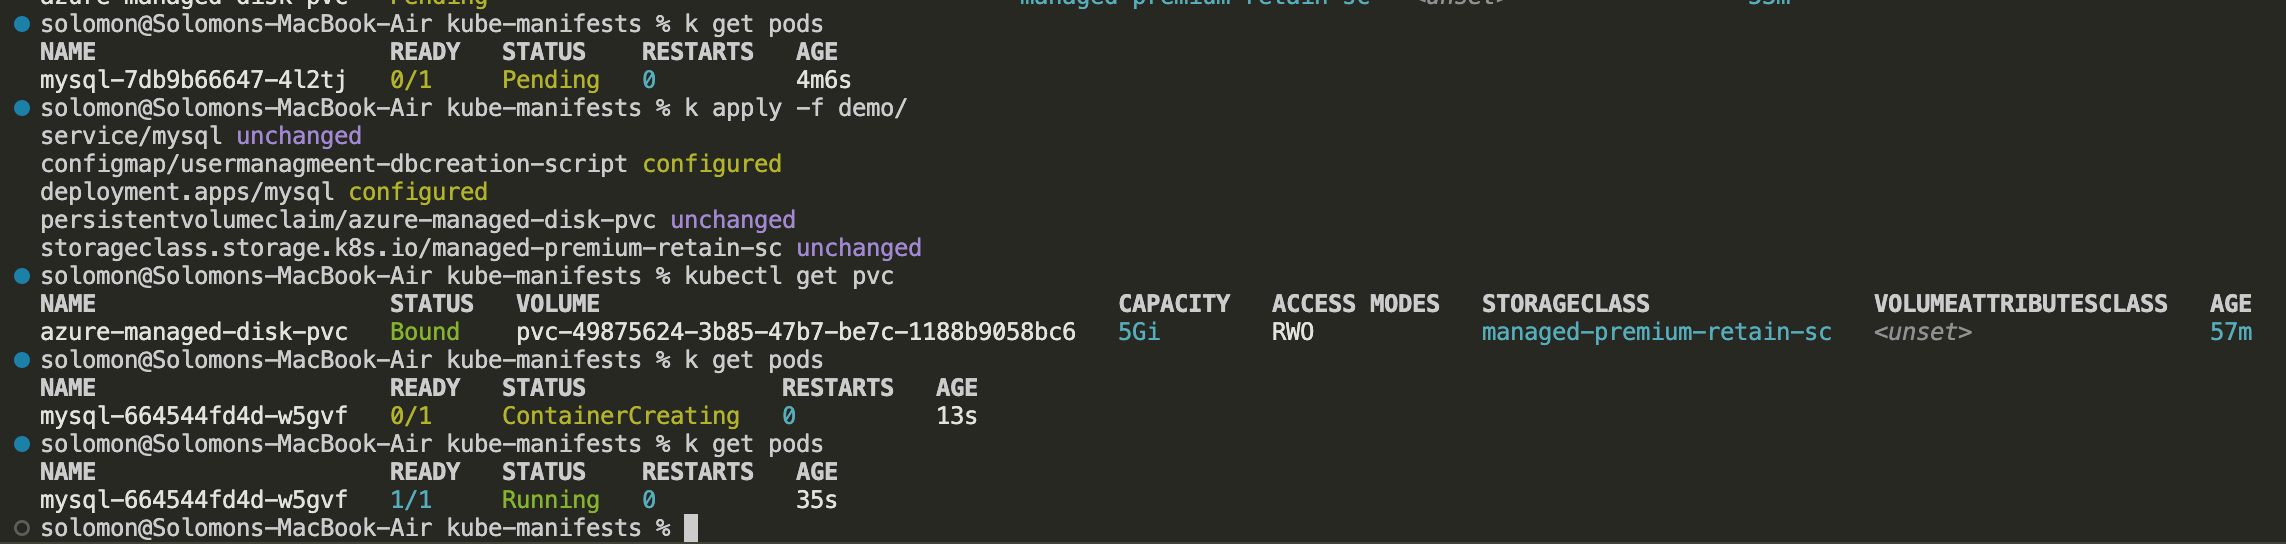
- Confirm the PVC is now Bound.
- Describe the pod:
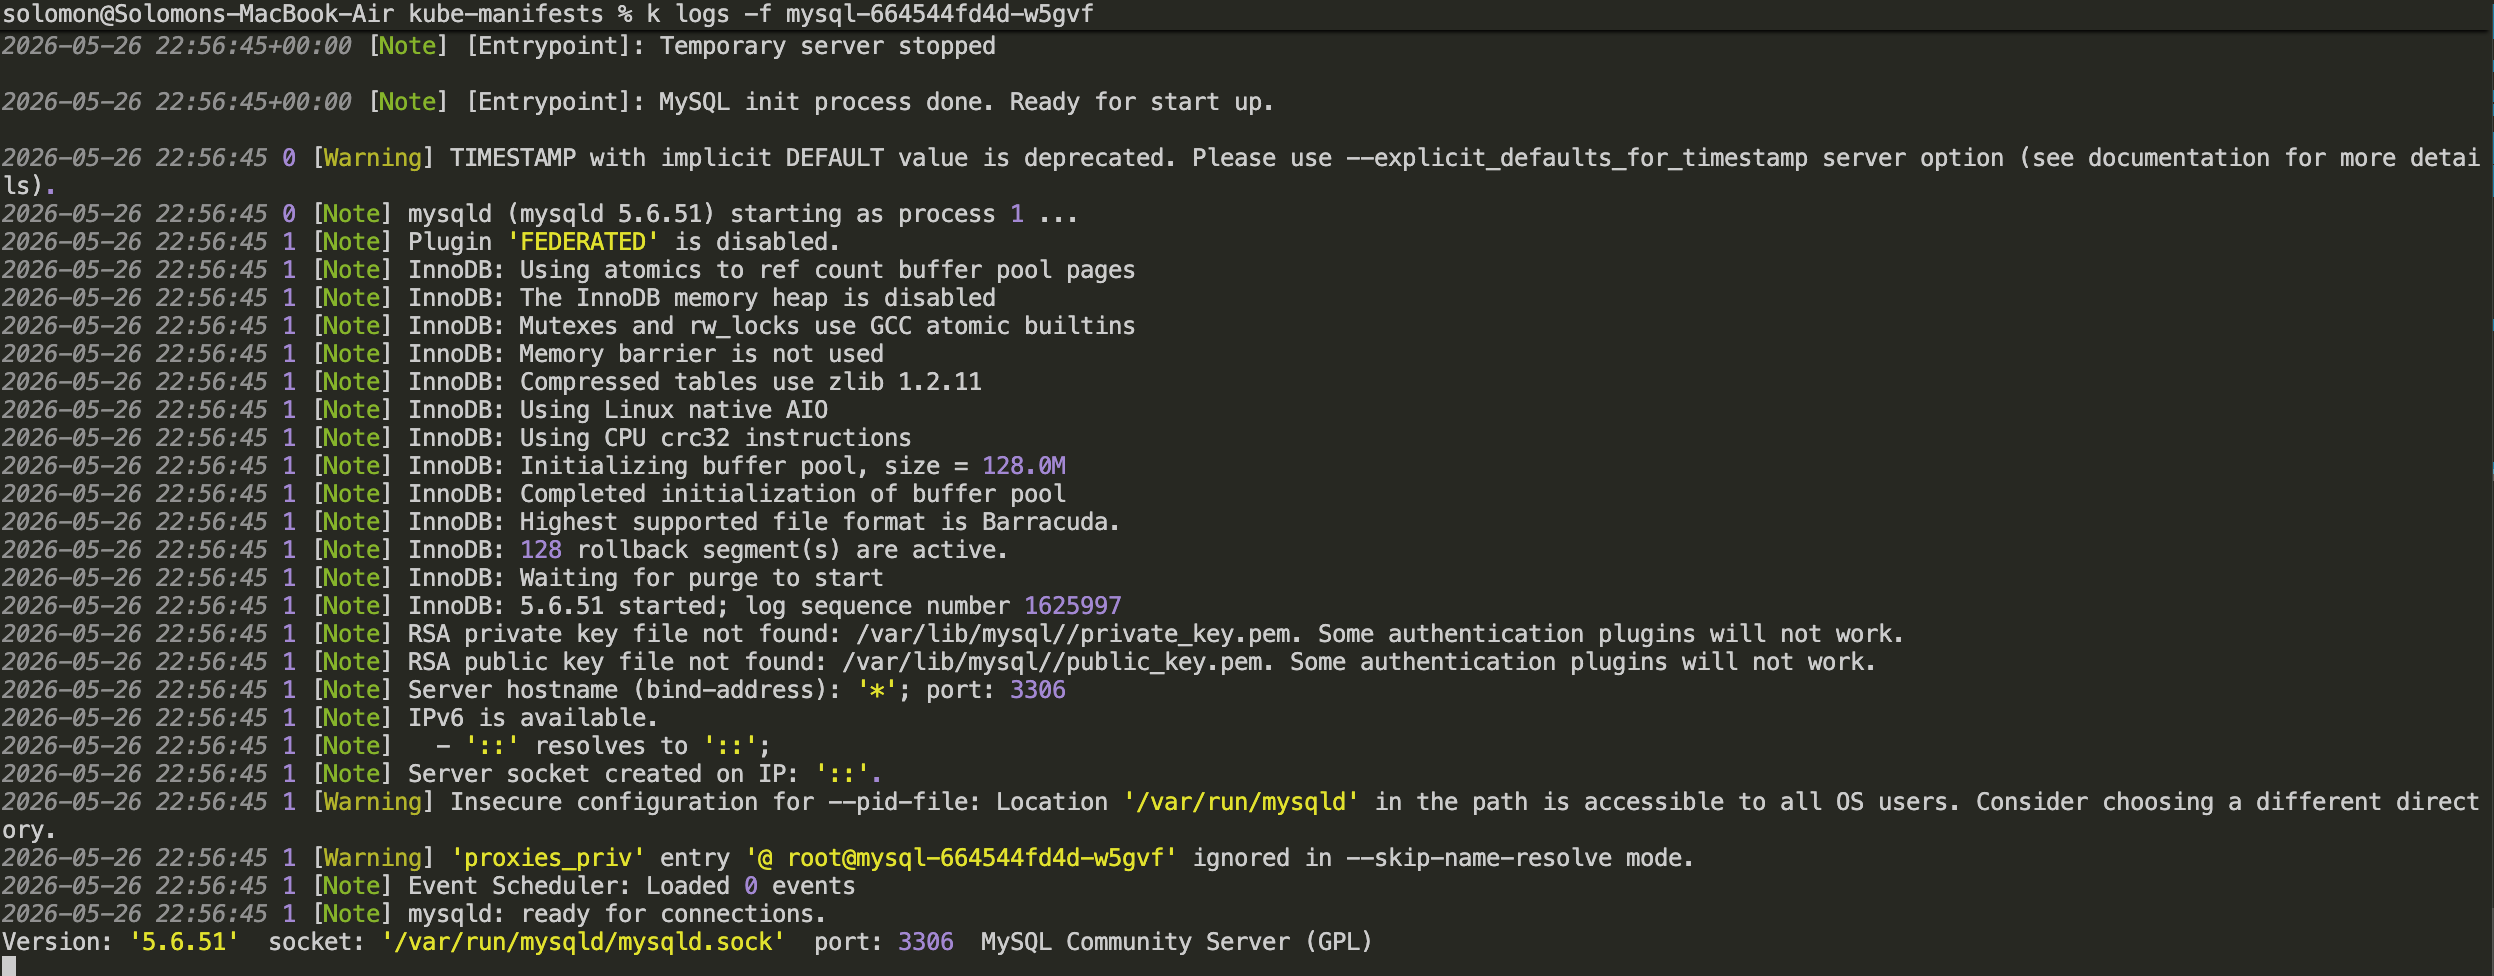
kubectl describe pod mysql-<pod-id> - Get the logs:
kubectl logs mysql-<pod-id>
- Get the Persistent Volume:
kubectl get pv

- Check Azure — you will see the disk created in the
MC_resource group.

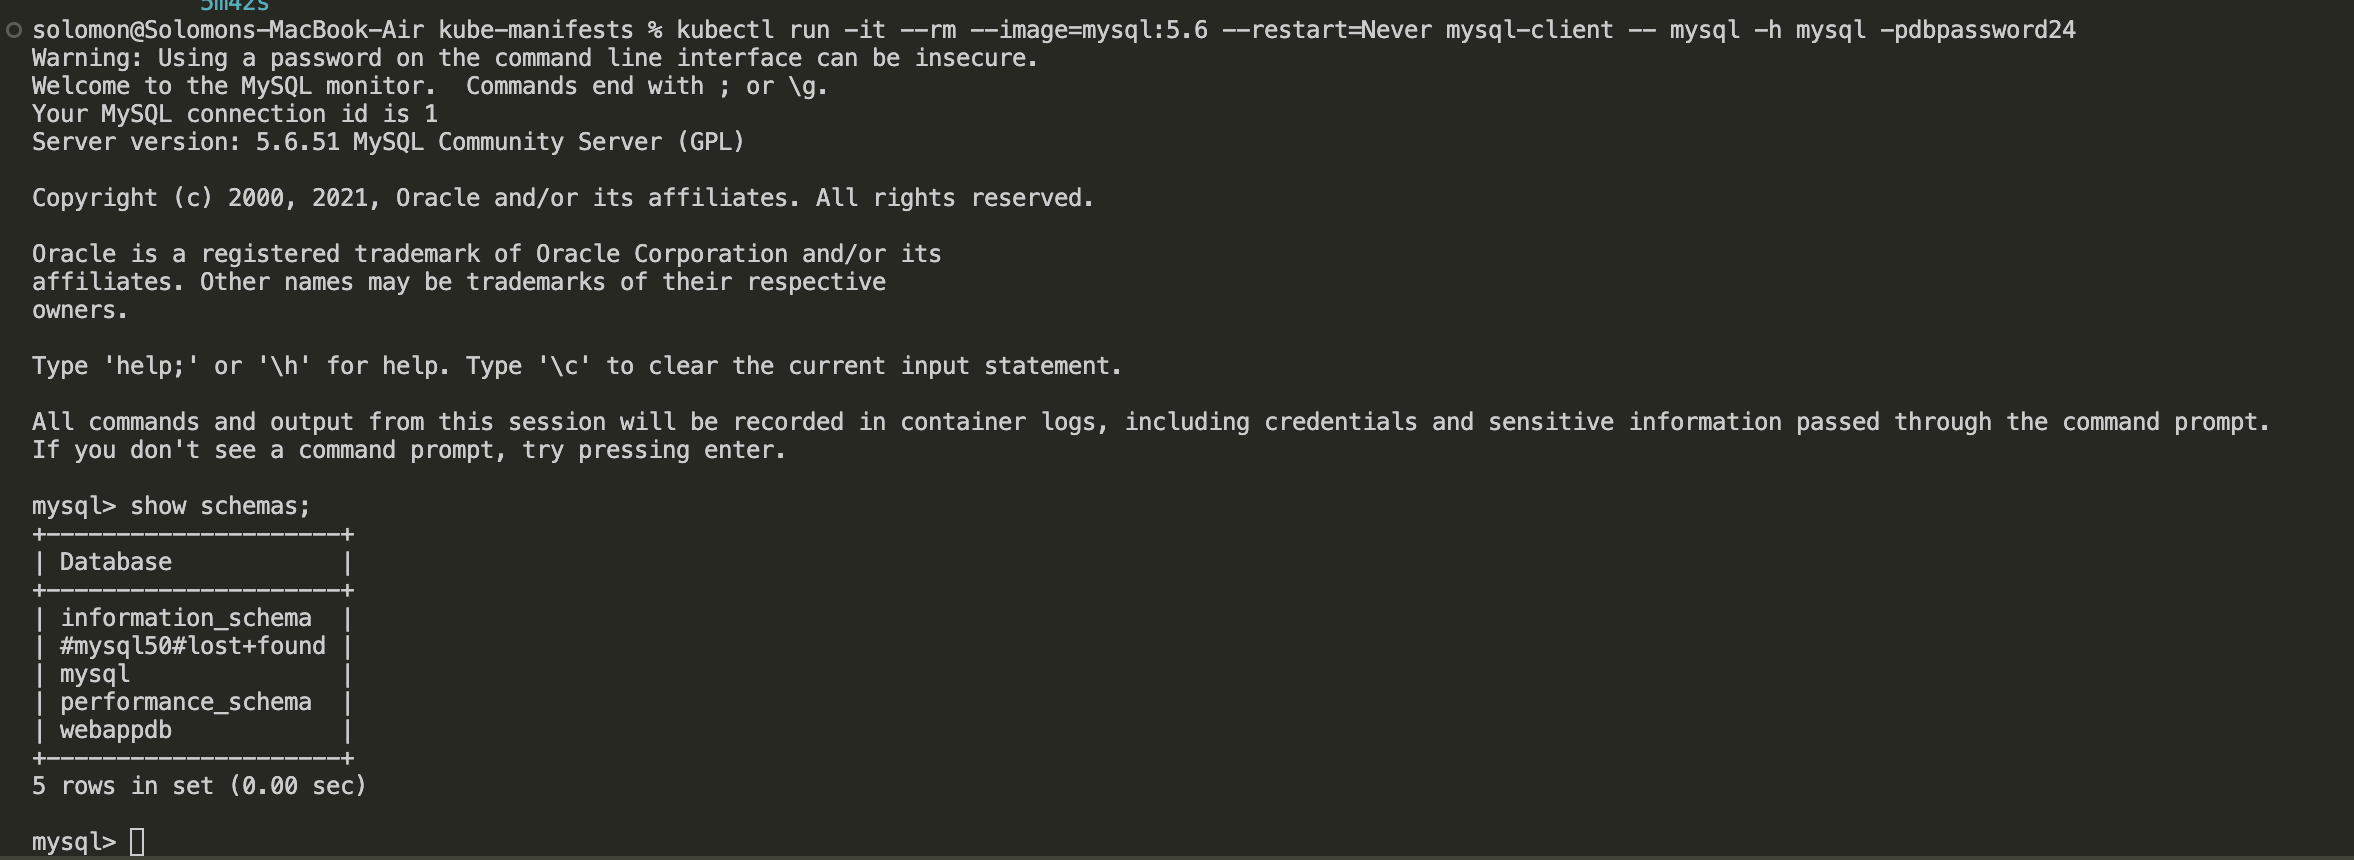
Connect to MySQL Database
- Run the following command to launch an interactive MySQL client pod:
kubectl run -it --rm --image=mysql:5.6 --restart=Never mysql-client -- mysql -h mysql -pdbpassword24
Clean Up
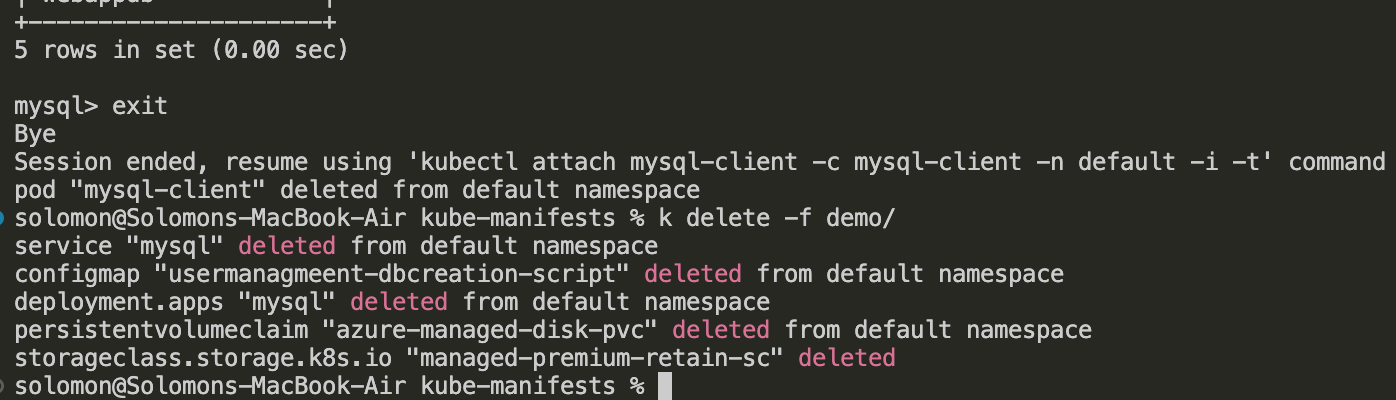
- Delete all resources:
kubectl delete -f demo/
- Notice that the PVC is still present after deleting the rest of the infrastructure (due to the
Retainpolicy). - Run
kubectl get pvto find the PV name. - Delete the PV:
kubectl delete pv <pv-name> - Go to Azure and delete the disk manually from the
MC_resource group.
Use AKS Managed Storage Class
Now that we understand custom storage classes, we can use the simpler AKS-provisioned storage class.
- Remove
persistentvolumeclaim.ymlfrom the demo directory. - Run
kubectl apply -f demo/to create the resources. - A disk will be created automatically without needing a manual PVC.
- Run
kubectl get podsto verify pods are running. - Log into the MySQL server and check the database.
- Run
kubectl get pv— note the reclaim policy isDeleteinstead ofRetain. - Clean up:
kubectl delete -f demo/— the disk will be deleted automatically.
Create an Application to Access the Database
This section introduces initContainers, which solve pod dependency ordering issues.
- Create two new files:
appdeployment.ymlandappservice.yml.
appdeployment.yml:
apiVersion: apps/v1
kind: Deployment
metadata:
  name: usermgmt-webapp
  labels:
    app: usermgmt-webapp
spec:
  replicas: 2
  selector:
    matchLabels:
      app: usermgmt-webapp
  template:
    metadata:
      labels:
        app: usermgmt-webapp
    spec:
      initContainers:
        - name: init-db
          image: busybox:1.31
          command: ['sh', '-c', 'echo -e "Checking for the availability of MySQL Server deployment"; while ! nc -z mysql 3306; do sleep 1; printf "-"; done; echo -e "  >> MySQL DB Server has started";']
      containers:
        - name: usermgmt-webapp
          image: stacksimplify/kube-usermgmt-webapp:1.0.0-MySQLDB
          imagePullPolicy: Always
          ports:
            - containerPort: 8080
          env:
            - name: DB_HOSTNAME
              value: "mysql"
            - name: DB_PORT
              value: "3306"
            - name: DB_NAME
              value: "webappdb"
            - name: DB_USERNAME
              value: "root"
            - name: DB_PASSWORD
              value: "dbpassword24"
appservice.yml:
apiVersion: v1
kind: Service
metadata:
  name: usermgmt-webapp-service
  labels:
    app: usermgmt-webapp
spec:
  type: LoadBalancer
  ports:
    - port: 80
      targetPort: 8080
  selector:
    app: usermgmt-webapp
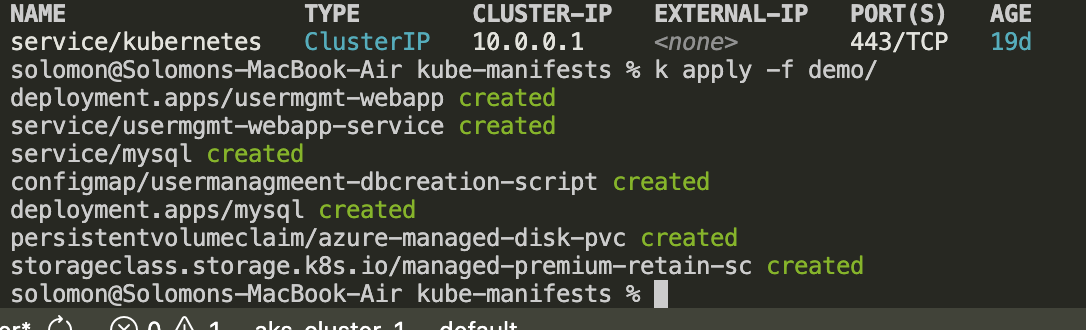
- Apply all manifests:
kubectl apply -f demo/
- If you see image pull errors, check the image names in your manifests. Use
kubectl describe pod <pod-name>to diagnose.


- Once fixed, apply again:

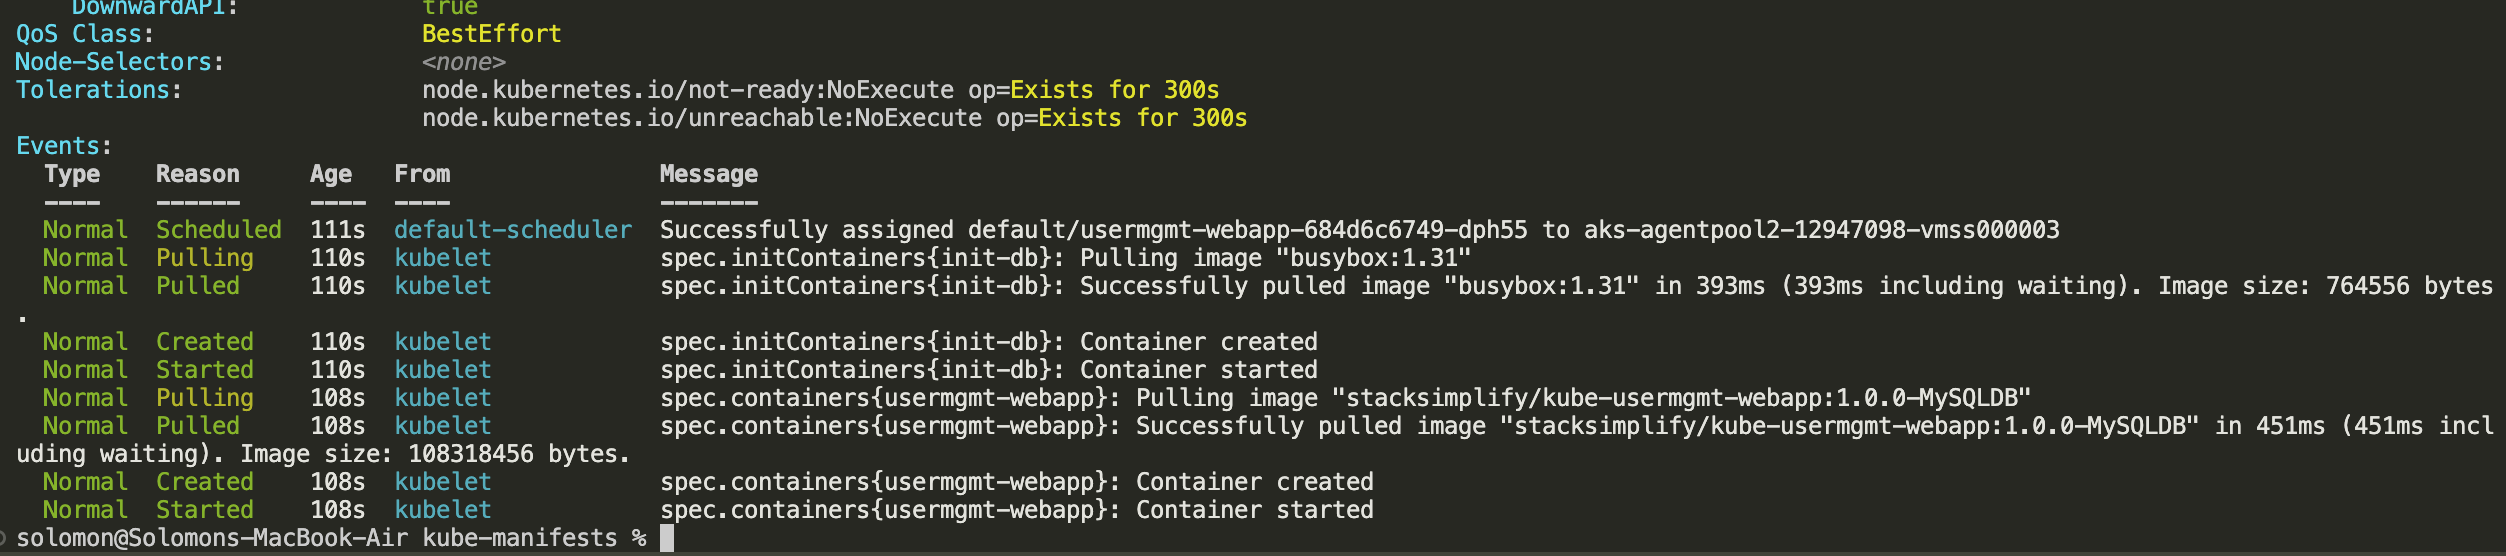
- The
Init:0/1status means the init container is waiting for the MySQL service to be available on port 3306. - Ensure the database password matches between the MySQL deployment and the webapp deployment.

Validation
- Check the logs and describe pods to verify health:
- Check the PV:
kubectl get pv - Get the LoadBalancer IP from the service:
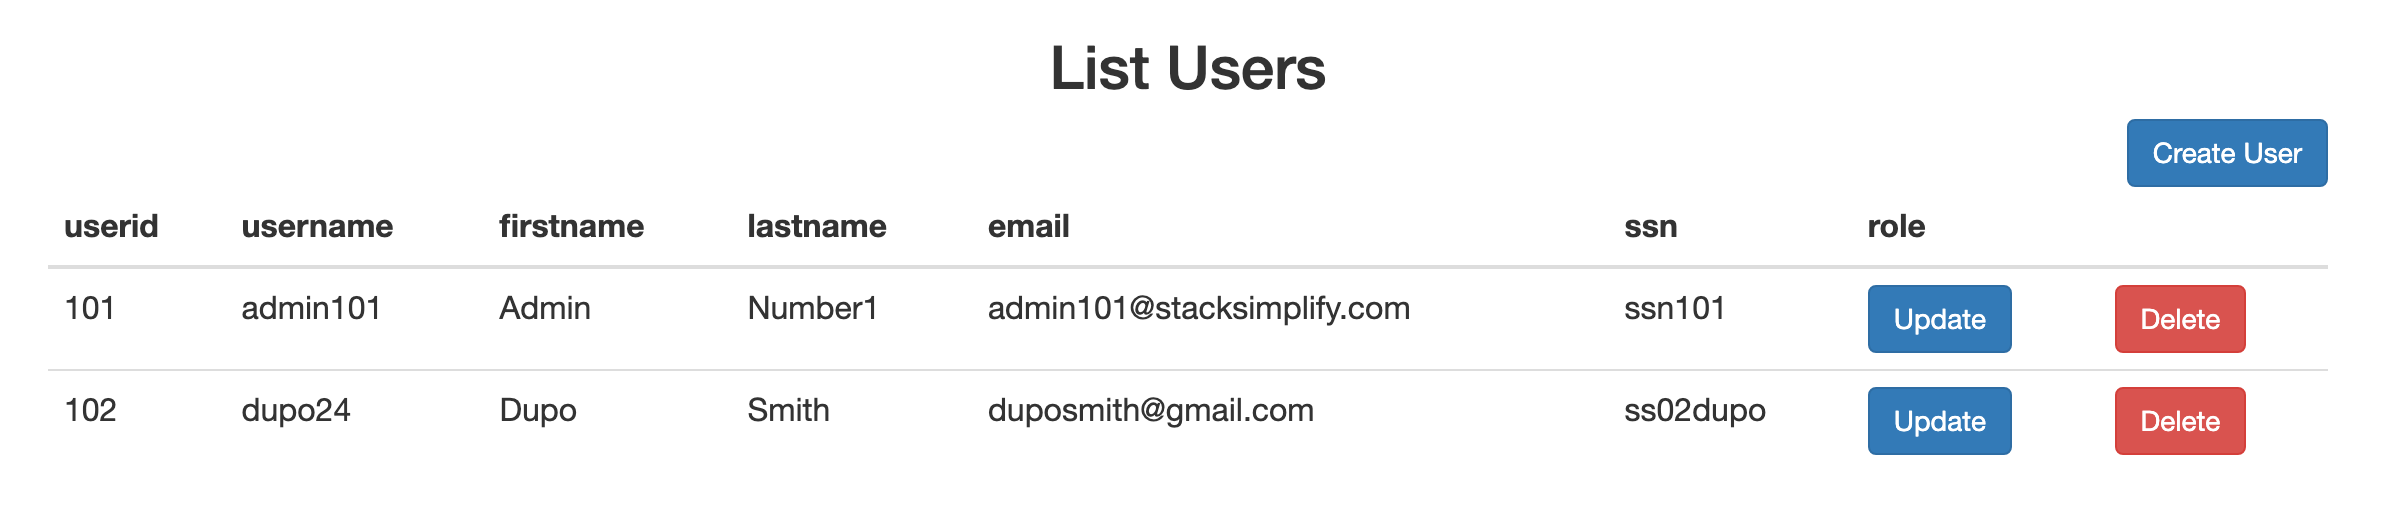
kubectl get svc usermgmt-webapp-service - Log into the application using
admin101/password101. - Create a new user and verify it works.
- Verify data in MySQL:
kubectl run -it --rm --image=mysql:5.6 --restart=Never mysql-client -- mysql -h mysql -pdbpassword24
show tables;
select * from user;
Clean Up
- Delete all resources:
kubectl delete -f demo/ - Check for remaining PVs:
kubectl get pv - Delete any remaining PVC disks from the Azure portal if needed.