Lab 1: Create Users and Groups
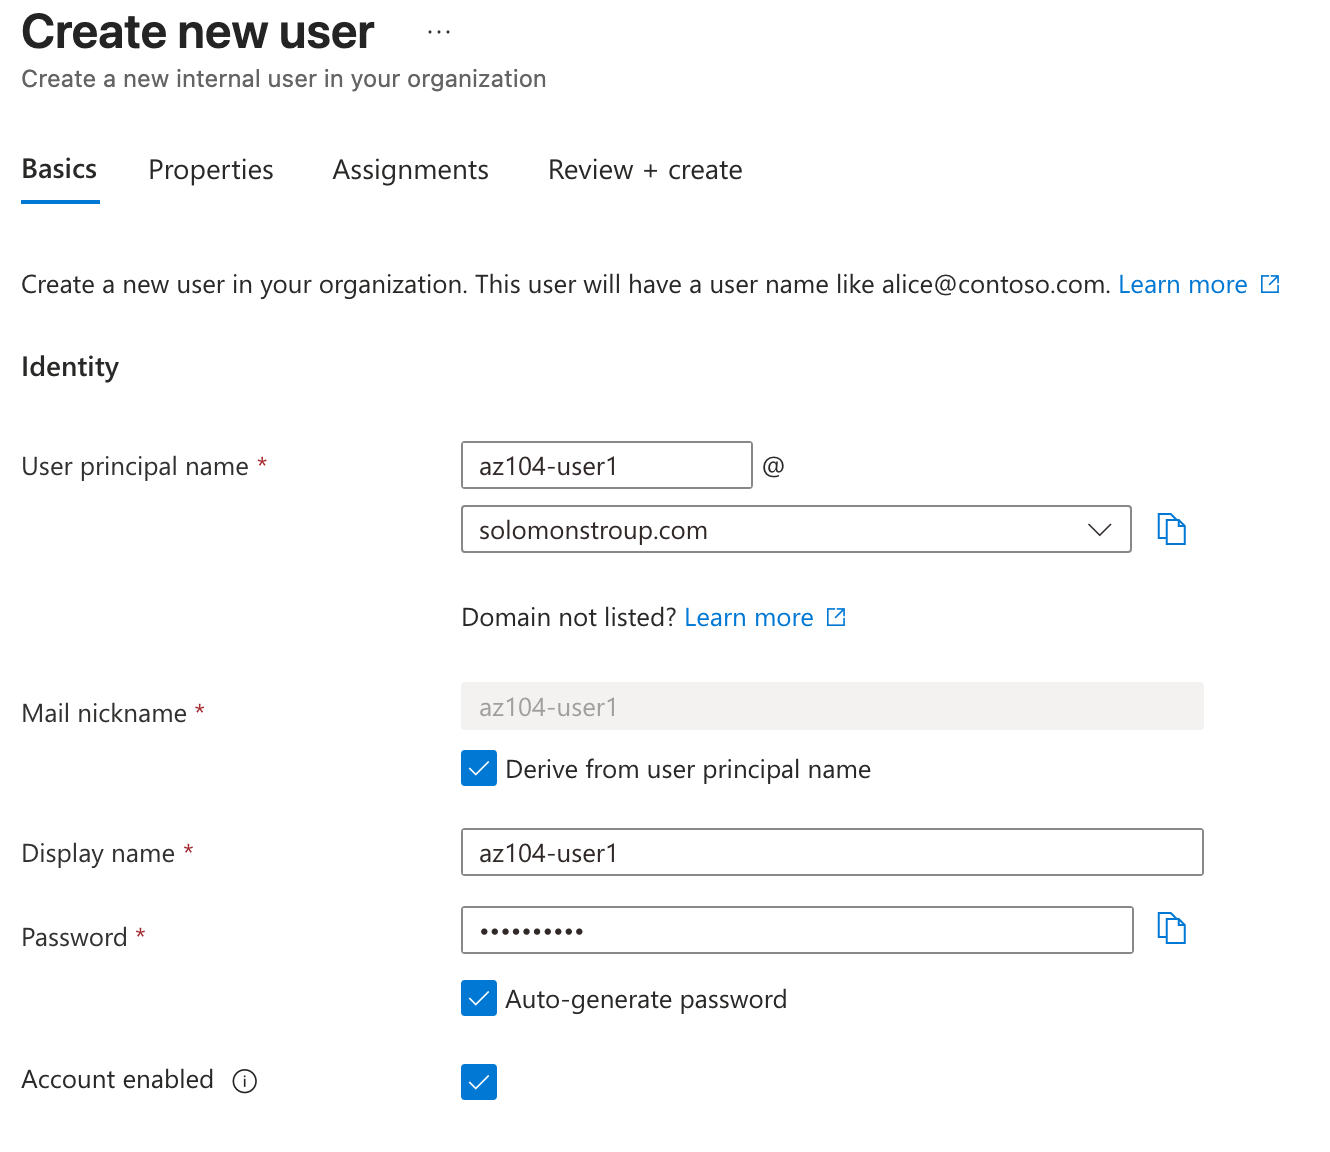
- Log into Azure Portal and navigate to Microsoft Entra ID.
- Click on "Users" in the left-hand menu and then click on "New user" to create a new user account.
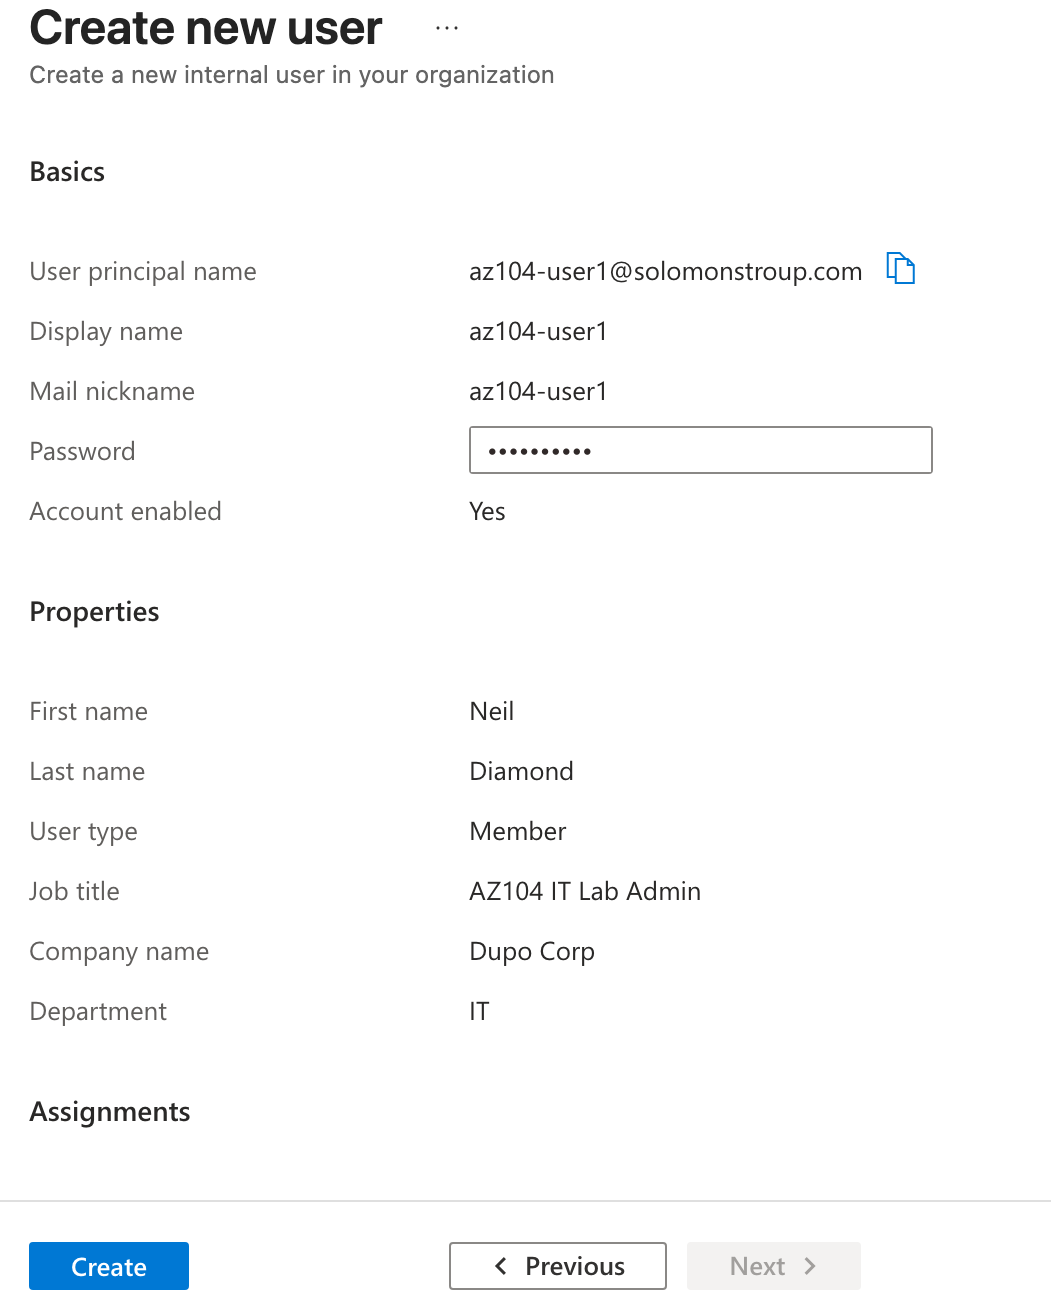
- Fill in the required information for the new user, such as name, username, and password.
- Click "Create" to create the user.
Invite a user
- To invite a user, click on "Users" in the left-hand menu and then click on "New guest user".
- Fill in the required information for the guest user, such as email address and display name.
- Click "Invite" to send an invitation to the guest user.

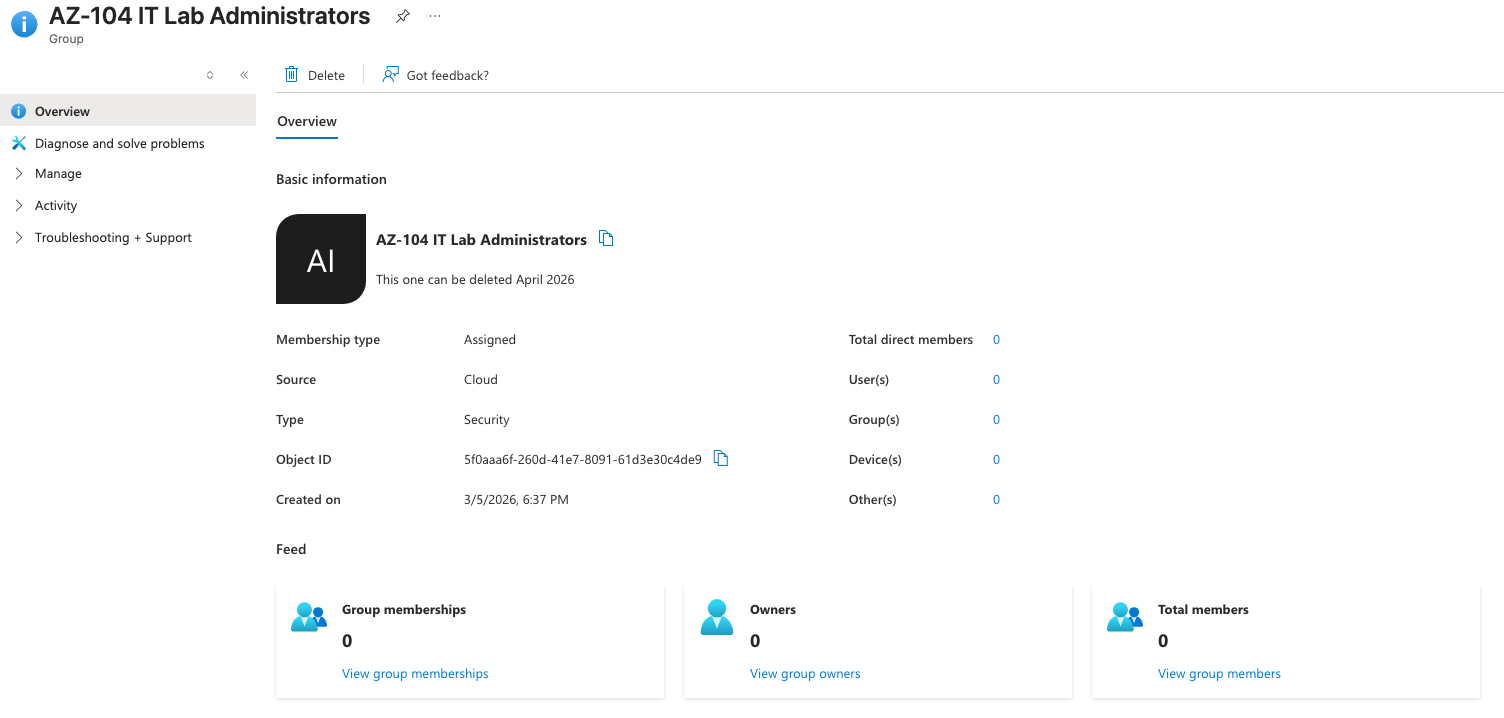
Create a group
- To create a group, click on "Groups" in the left-hand menu and then click on "New group".
- Fill in the required information for the new group, such as name and description.
- Click "Create" to create the group.
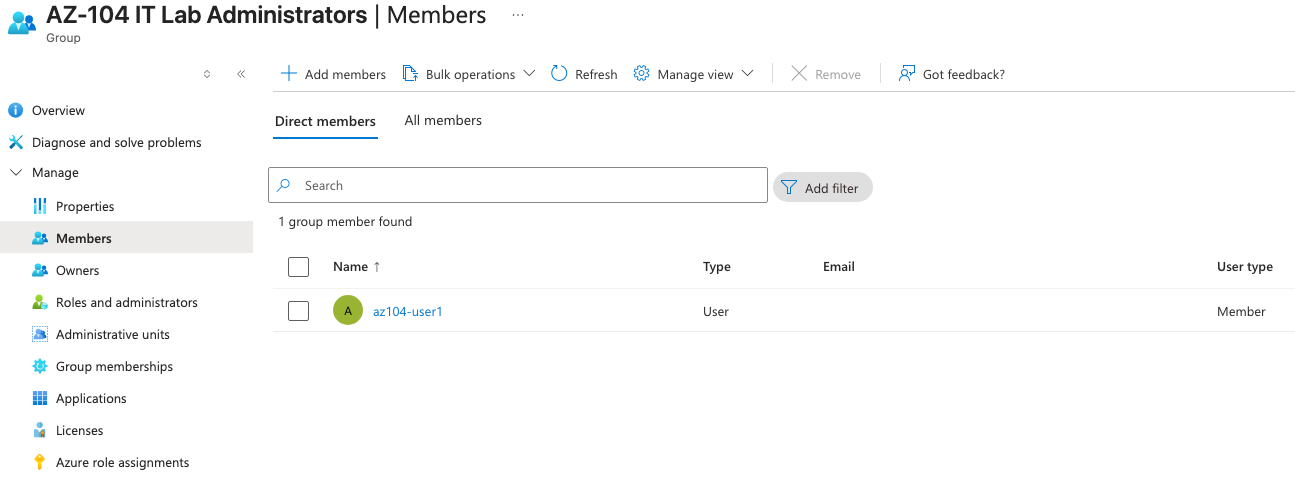
Add the user to the group
- To add the user to the group, click on "Groups" in the left-hand menu and then click on the group you just created.
- Click on "Members" in the left-hand menu and then click on "Add members".
- Search for the user you created and select their account.
- Click "Select" to add the user to the group.
More Learning
- What are the Azure PowerShell and CLI commands to create a security group called IT Admins?
# Azure PowerShell
New-AzADGroup -DisplayName "IT Admins" -SecurityEnabled $true -MailEnabled $false
# Azure CLI
az ad group create --display-name "IT Admins" --mail-enabled false --security-enabled true
- Provide a step-by-step strategy for managing users and groups in Microsoft Entra ID.
- Define clear roles and responsibilities for user and group management within your organization.
- Establish a process for creating, modifying, and deleting user accounts and groups, including approval workflows if necessary.
- Implement a naming convention for user accounts and groups to ensure consistency and ease of management.
- Regularly review and audit user accounts and group memberships to ensure they are up-to-date and reflect the current organizational structure and access requirements.
- Use Microsoft Entra ID features such as dynamic groups and role-based access control (RBAC) to automate group membership and manage access to resources more efficiently.
- #programmatically :)
- What are the steps in the Azure portal to bulk create users and groups?
- To bulk create users, you can use the "Bulk create" feature in the Azure portal. This allows you to upload a CSV file containing the user information, and Azure will create the user accounts based on that information.
- To bulk create groups, you can also use the "Bulk create" feature in the Azure portal. Similar to users, you can upload a CSV file containing the group information, and Azure will create the groups based on that information.
- Provide a comparison table of internal and external Microsoft Entra ID user accounts.
- the difference between internal and external Microsoft Entra ID user accounts is that internal user accounts are created and managed within the Microsoft Entra ID tenant, while external user accounts are created and managed outside of the tenant, typically in another directory or identity provider.
- Internal user accounts are typically used for employees and other users who need access to resources within the organization
- External user accounts are used for partners, contractors, and other users who need access to specific resources but do not require full access to the tenant.
That's it, end of this lab. Onward to Lab 2.