Delete: Revoking Temporary Credentials
- Create CF stack with 03/03_rolesession/01_demosetup/yaml file.
- Verify that the EC2 instances are up and running and accessible by the public IP addresses
- Connect to instance A.
- Grab the security credential data by running
curl http://169.254.169.254/latest/meta-data/iam/security-credentials/ - Copy the instance role name and paste it into the end of the curl statement above:
curl http://169.254.169.254/latest/meta-data/iam/security-credentials/A4L-InstanceRole-R1L6MYROLENAME - Copy the role access token information, the access key, secret key and token to Notepad.
- Run these commands to set the environment variables:
SET AWS_ACCESS_KEY_ID=Accesskey
SET AWS_SECRET_ACCESS_KEY=secretkey
SET AWS_SESSION_TOKEN=the big token
aws s3 ls
aws ec2 describe-instances --region us-east-1
- You should then get access to the AWS S3 buckets and EC2 instances.
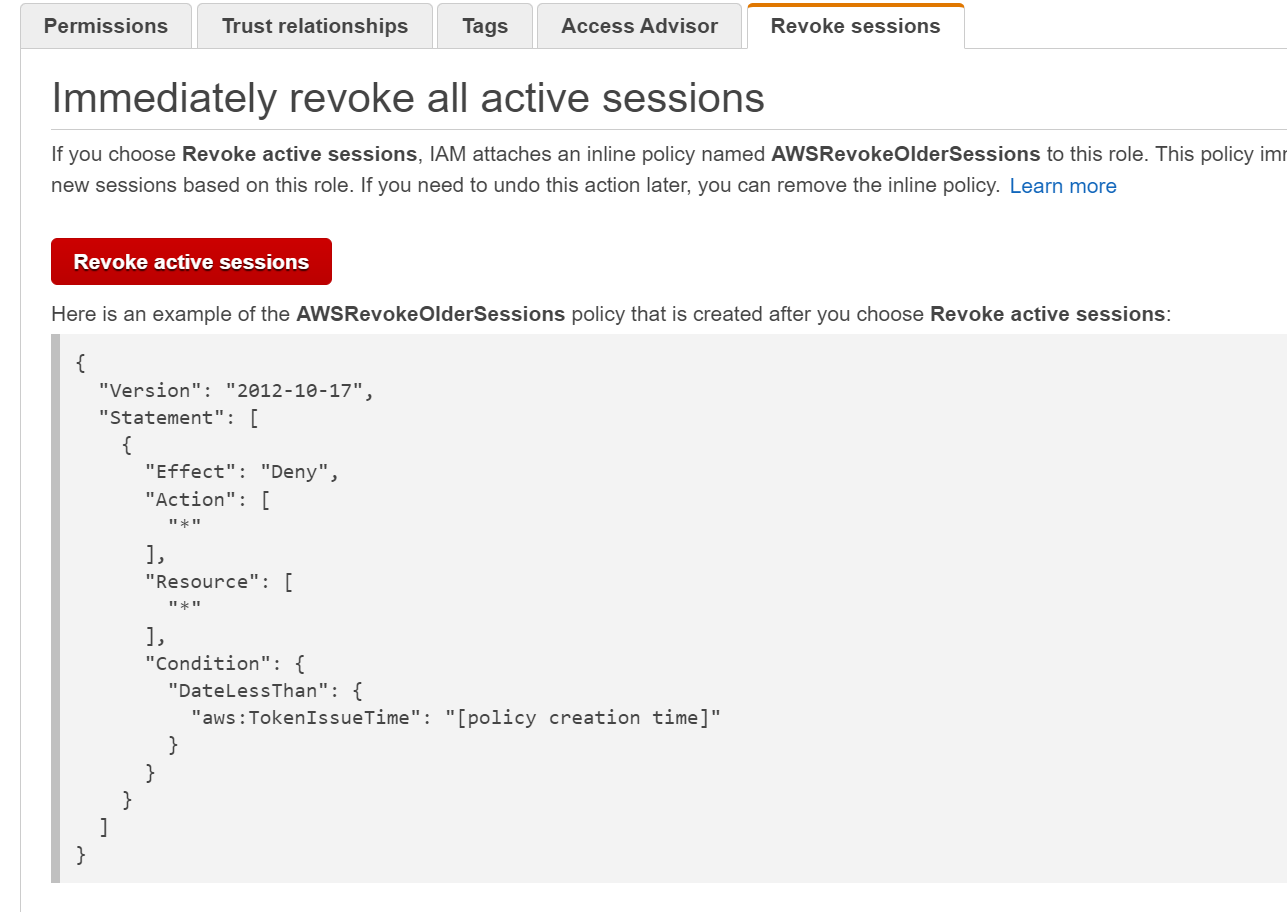
Revoke the session information from the IAM console
- In the IAM console > roles, you'll see the Instance Role that you used to access the EC2 instance.
- Click Revoke Sessions which applies the following policy to the role:
{
  "Version": "2012-10-17",
  "Statement": [
    {
      "Effect": "Deny",
      "Action": [
        "*"
      ],
      "Resource": [
        "*"
      ],
      "Condition": {
        "DateLessThan": {
          "aws:TokenIssueTime": "[policy creation time]"
        }
      }
    }
  ]
}
-
This applies an explicit deny policy that denies any sessions when the session date and time is less than what the time stamp was in there.
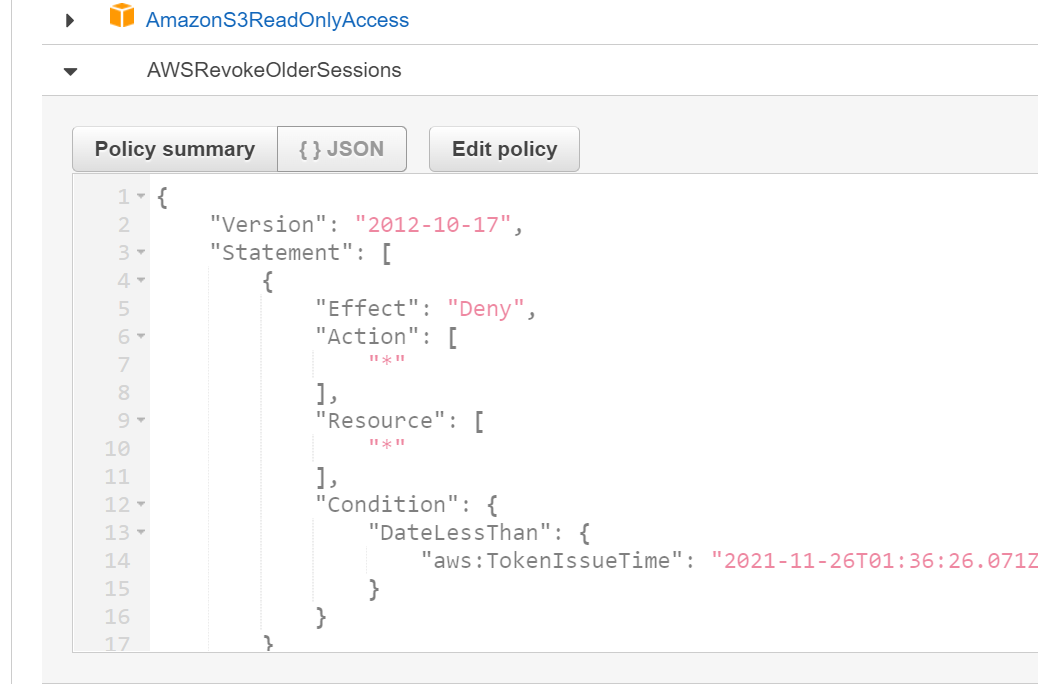
-
Back in the EC2 Session, run one of the commands to list EC2 instances
aws s3 lsand it won't work -
You'll have to restart the EC2 instances to generate the new session for the instance role which is now later than the date in the explicit deny policy.
-
You can regenerate the credentials in a real life scenario by following this process.
Cleanup
Delete the stack. If you get an error, go into the IAM console adn then delete the instance role directly and then delete the stack again.
Cross Account Access
Setup
- Create a stack that creates two users in the management or master account.
- You can find this stack in the
03-AdvancedPermissionsAndAccounts\04_Cross-AccountPermissions\demoSetupfolder - Once that's created, you'll need to gather a couple pieces of information.
- account id: 489725180016
- canonical account ID: 77d13e55f110446a5a2b5cb2d6dded8a37847571431bd3f19263abb834650755 this is found by creating an s3 bucket, going in, clicking the permissions tab and then grabbing the canonical id from that tab under the ACL.
- Create the S3 bucket in the PROD account.
- load the prod stack in the same folder
- note the name of the role: Buckets-CrossAccountS3Role-H3GMU270SINY
- note the id of the production account: 658052557949
- note the urls for the s3 buckets
- https://s3.console.aws.amazon.com/s3/buckets/buckets-petpics1-1lymlu7unde7k?region=us-east-2&tab=objects
- https://s3.console.aws.amazon.com/s3/buckets/buckets-petpics2-e0b5tmhgcrx3?region=us-east-2&tab=objects
- https://s3.console.aws.amazon.com/s3/buckets/buckets-petpics3-1uen1ih46rm9k?region=us-east-2&tab=objects
- Log into the Management account in a completely different browser session.
- Copy the name of the Bob user you created in the stack and then log into that account in a completely different browser session
Interact with the "1" S3 Bucket
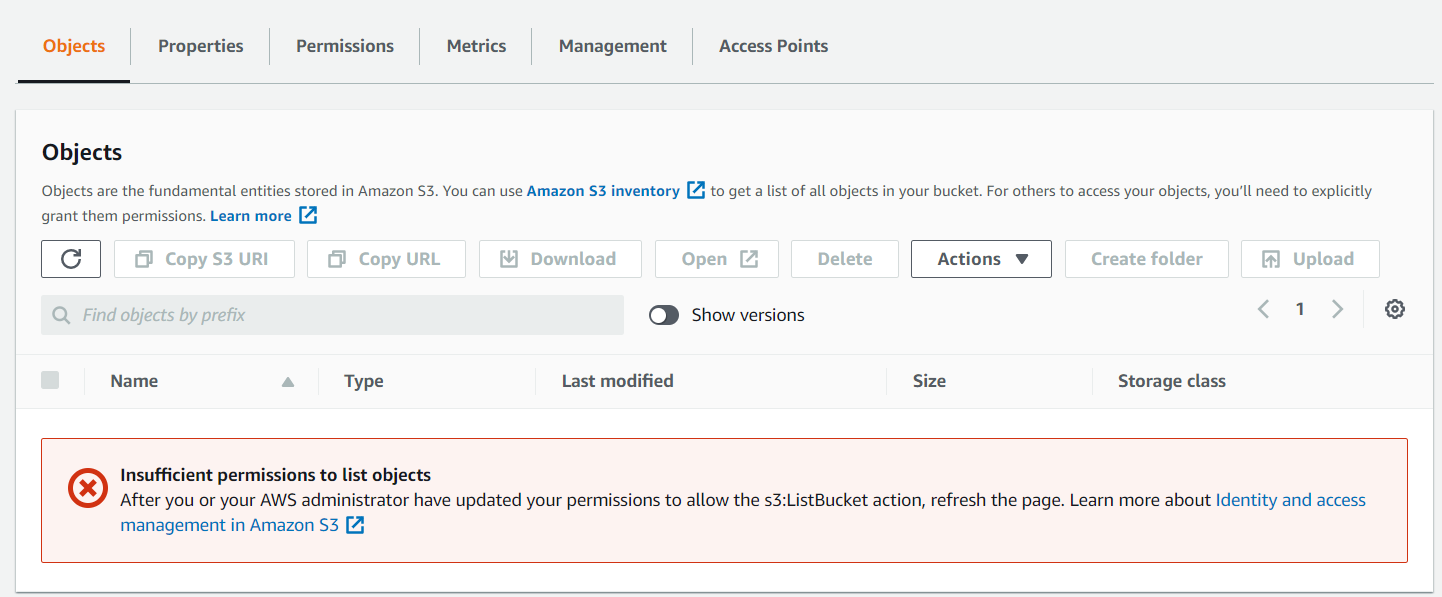
- With the browser session with the Bob user, go to the s3 bucket using the first bucket link above. You should see an access denied message because you have no permissions cross account.
- Switch to the Admin browser session and switch roles to the production account.
- Go to the permissions tab and scroll down to the ACL.
- Add the account using the canonical ID you noted above.
- Go back to the S3 bucket in the Bob user session and refresh the link. You should have access now.
- Using the Bob account, upload a file.
- In the Admin session, refresh the S3 bucket and notice that the file now exists.
- Try to open this file. You'll get an access denied error.
- This is because other objects are owned by other people and not the admins.
- In the admin session, remove the cross account permissions for Bob.
- Back in the Bob session, try to refresh the bucket.
- You'll get an access denied error even though you have ownership on the object in the bucket but no cross account permissions to that bucket.
Interact with the "2" S3 Bucket
- In the Admin session, go to the #2 S3 bucket
- On the Bucket policy tab, enter in this policy, replacing the information as needed:
  "Version": "2012-10-17",
  "Statement": [
      {
          "Effect": "Allow",
          "Principal": {
              "AWS": "arn:aws:iam::489725180016:user/Bob-bob-FZJ32EPSF8W"
          },
          "Action": [
              "s3:GetObject",
              "s3:PutObject",
              "s3:PutObjectAcl",
              "s3:ListBucket"
          ],
          "Resource": [
              "arn:aws:s3:::buckets-petpics2-e0b5tmhgcrx3/*",
              "arn:aws:s3:::buckets-petpics2-e0b5tmhgcrx3"
          ]
      }
  ]
}
- From the Bob session, navigate to the URL for the #2 bucket. You'll get another access denied error. You should be able to upload files into this bucket though.
- Once the files are uploaded, you can refresh and you won't be able to see the file you just uploaded because you don't have the permissions to view the contents of the bucket.
- If you try to open this file with the Admin account, you can't open the file either. It exists in kind of a no man's land with the permissions as given.
Interact with Bucket #3
- In the Bob browser session, switch the role into the production account. a. this uses the sts:AssumeRole and assumes a role from the Bob user in the management account into the Production account.
- Upload the third file into the 3rd bucket
- You can now switch over to the Admin account session and then try to view the object. You should now be able to view that object because you assumed a role into the account and uploaded it as a role inside that account.
Clean up
Empty the S3 buckets in the production account. Delete the stacks in each of the accounts.
Summary:
Shared Org VPC
- Log into the Management account and navigate to the cloudFormation console.
- Create a VPC stack from the
03advancedPermissionsAndAccounts\05SharedORGVPC\DEMOSETUPfolder - This stack will create the VPC's, subnets, and route tables.
- Once this stack is in a completed state, create the second stack that creates the NAT gateways.
- Once that completes, navigate to the RAM console in AWS.
- Click on Settings and then enable sharing within the AWS Organization.

- Click on Resource shares under Shared by me.
- Click on Create Resource Share
- Name this BabyYodaSharedVPC or whatever you want to name it.
- Sort by the VPC ID that you just created
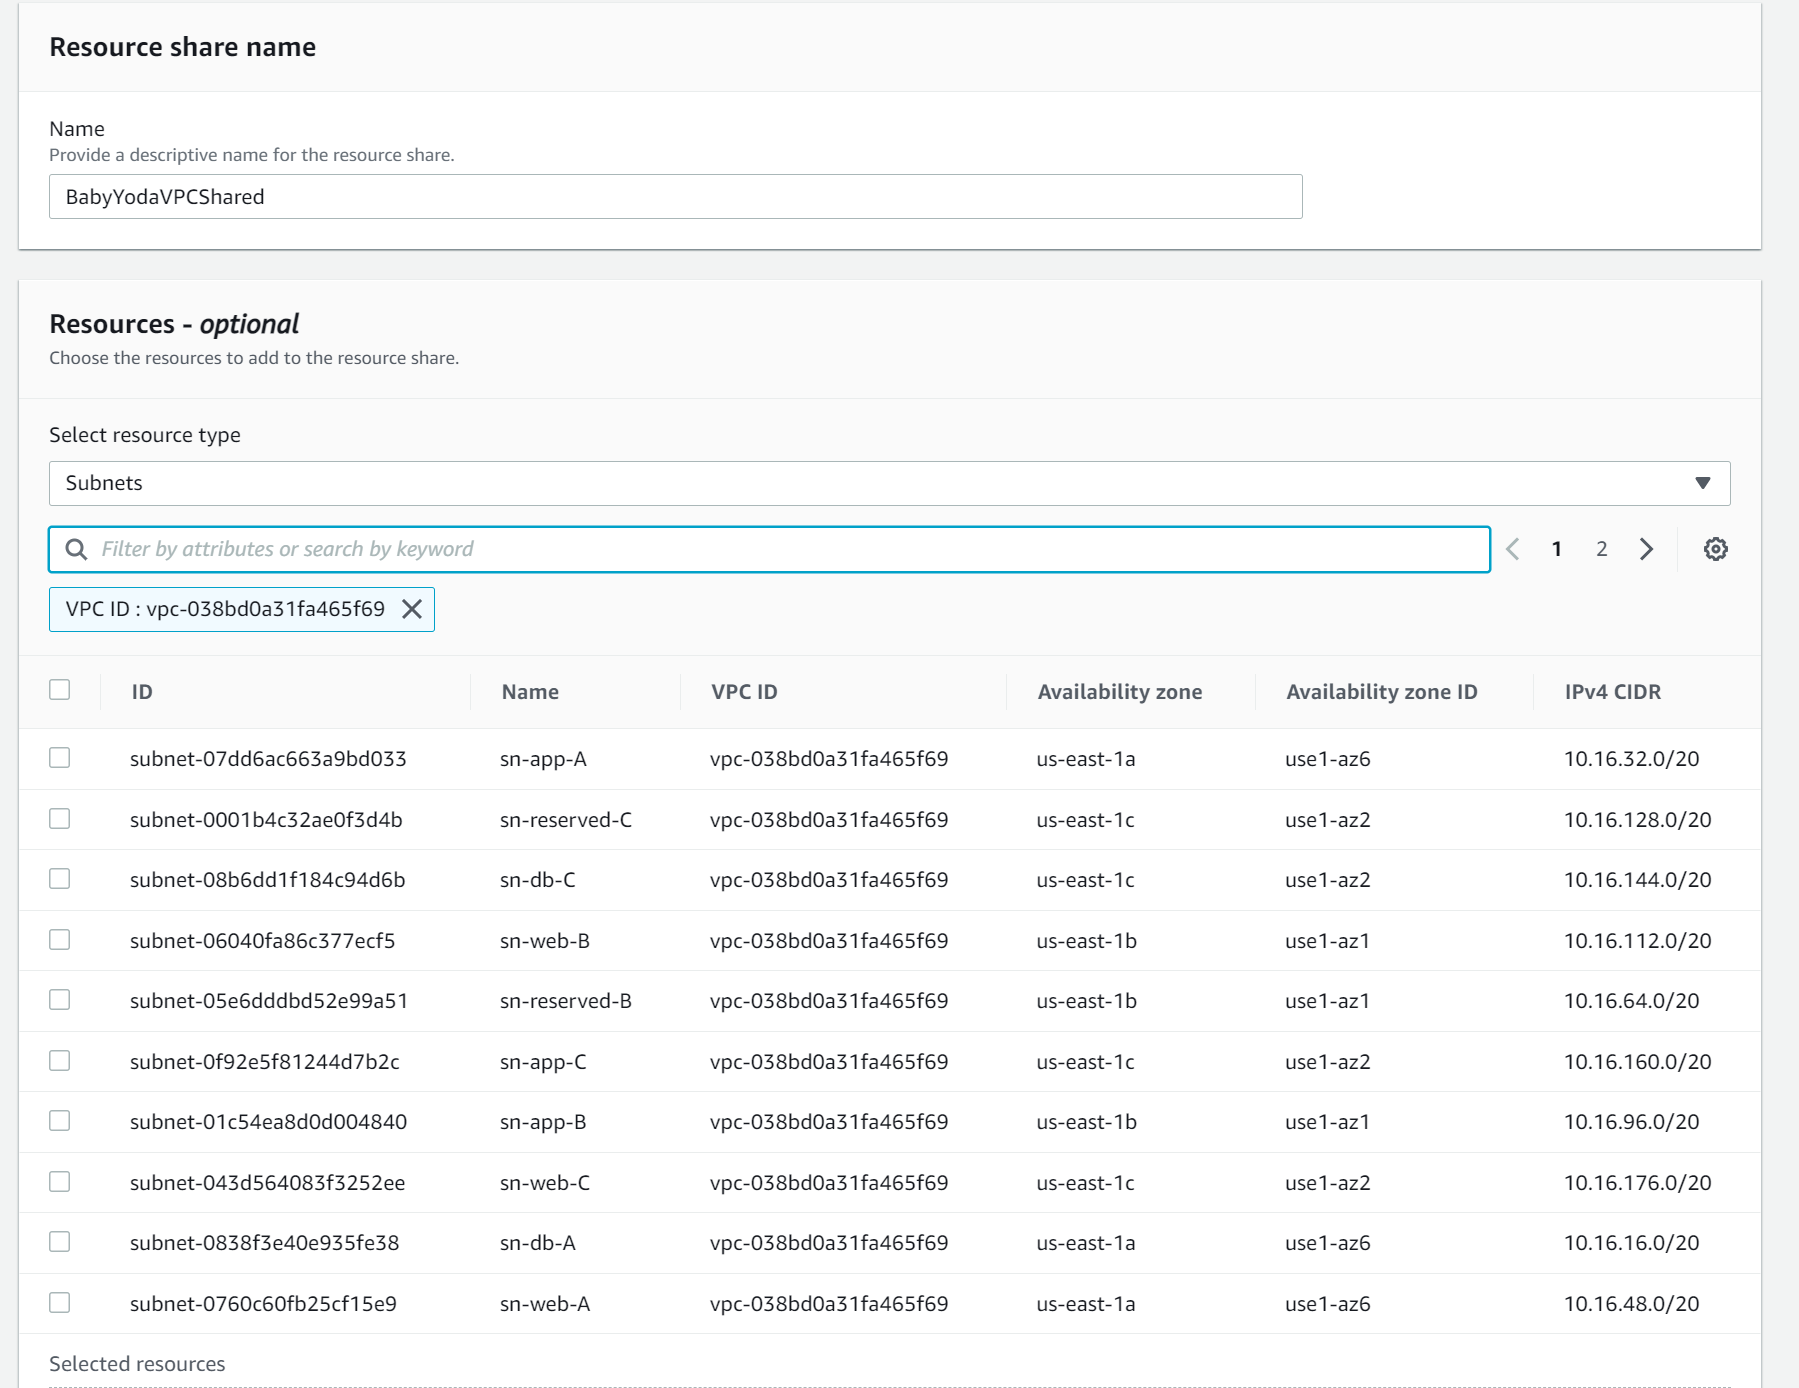
- Click next
- Select the accounts you wish to share these resources with.
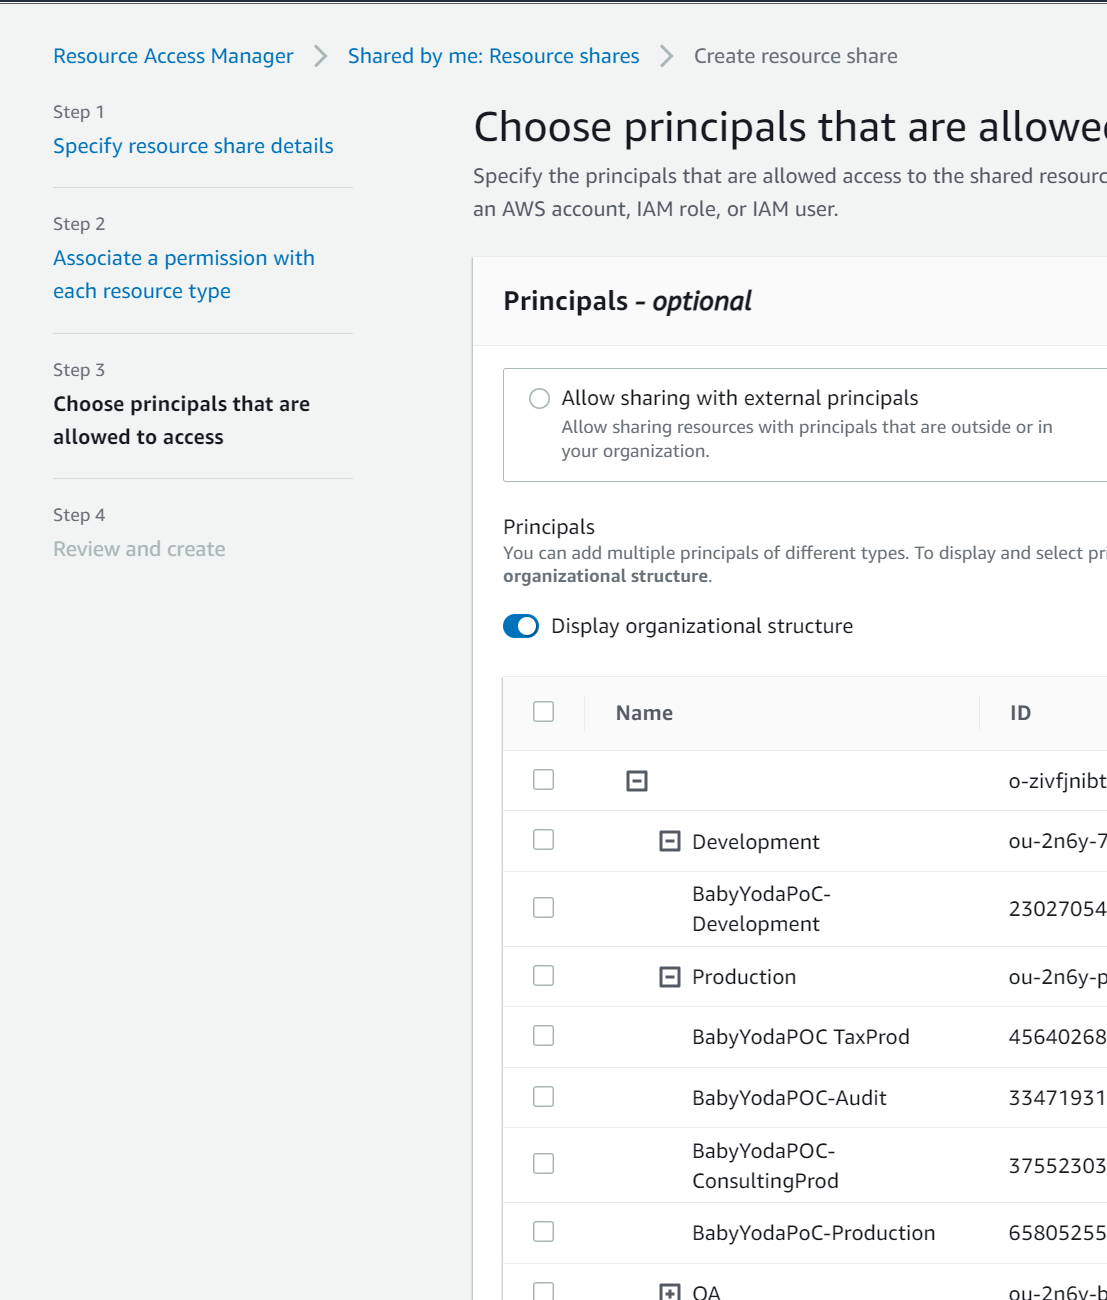
- Click Create Resource Share

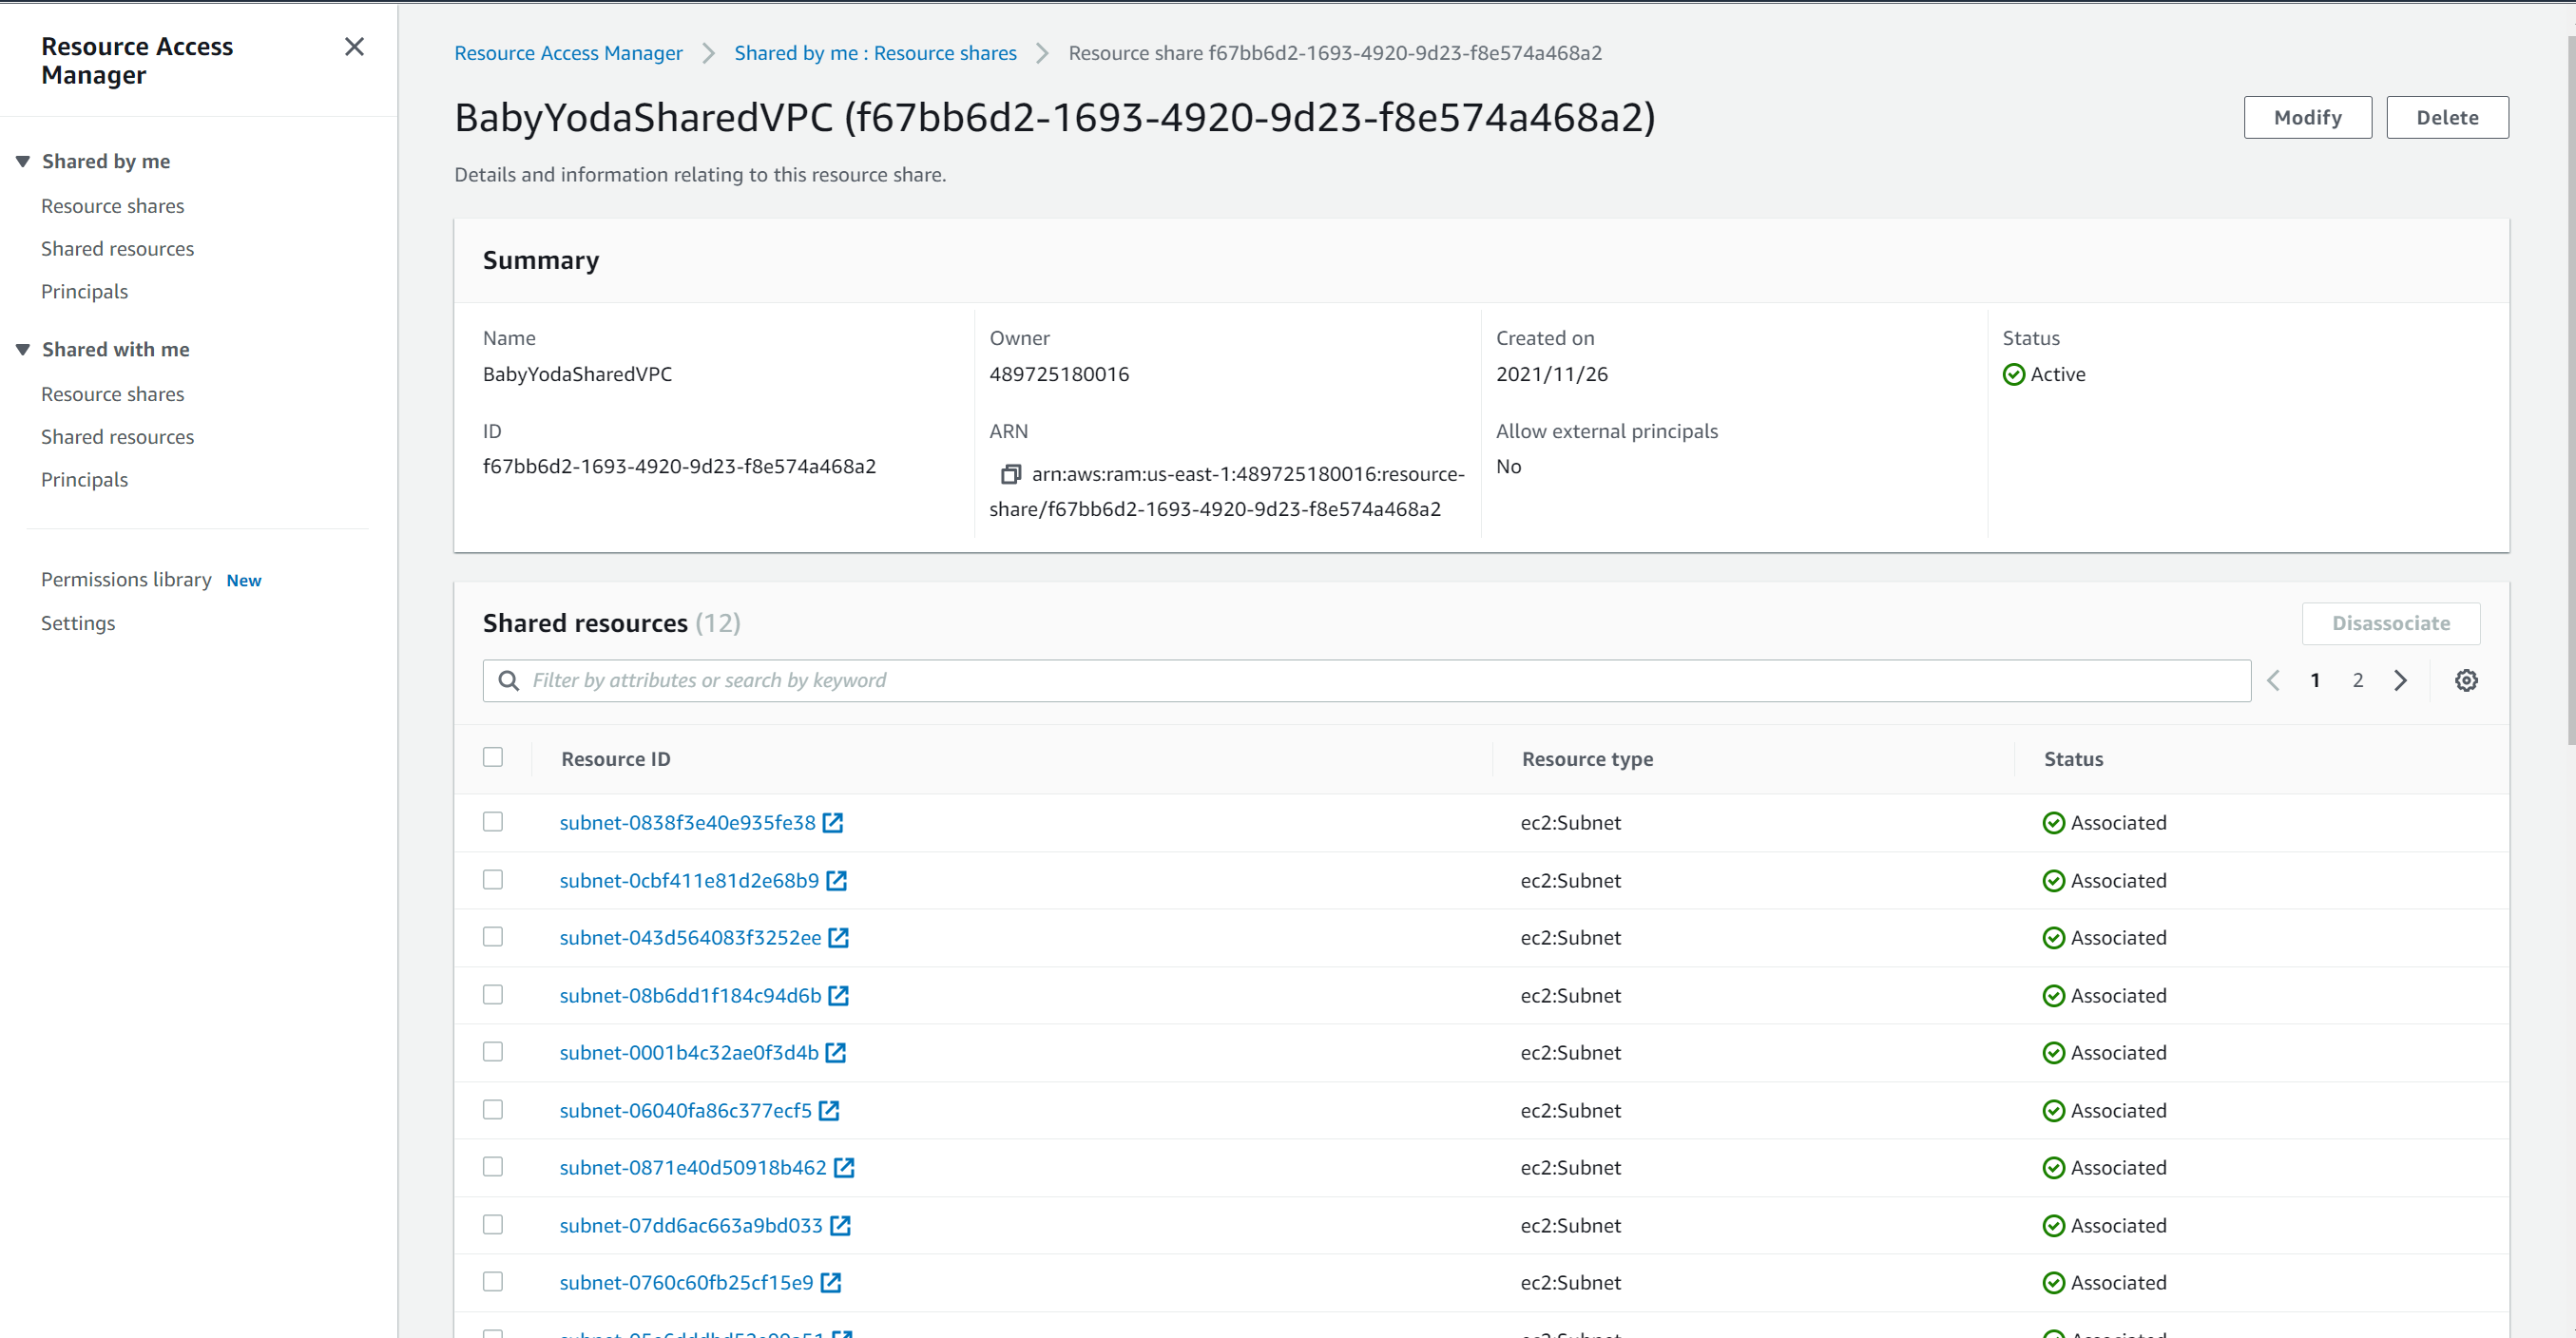
View Resource Share
- You'll have something that looks like this once created:
Prod Account
- Role Switch into the Production Account.
- Click on Resource Shares under shared by me and notice there's nothing there.
- Now, click on Resource Shares under Shared With Me and notice that the resource Share is listed here.
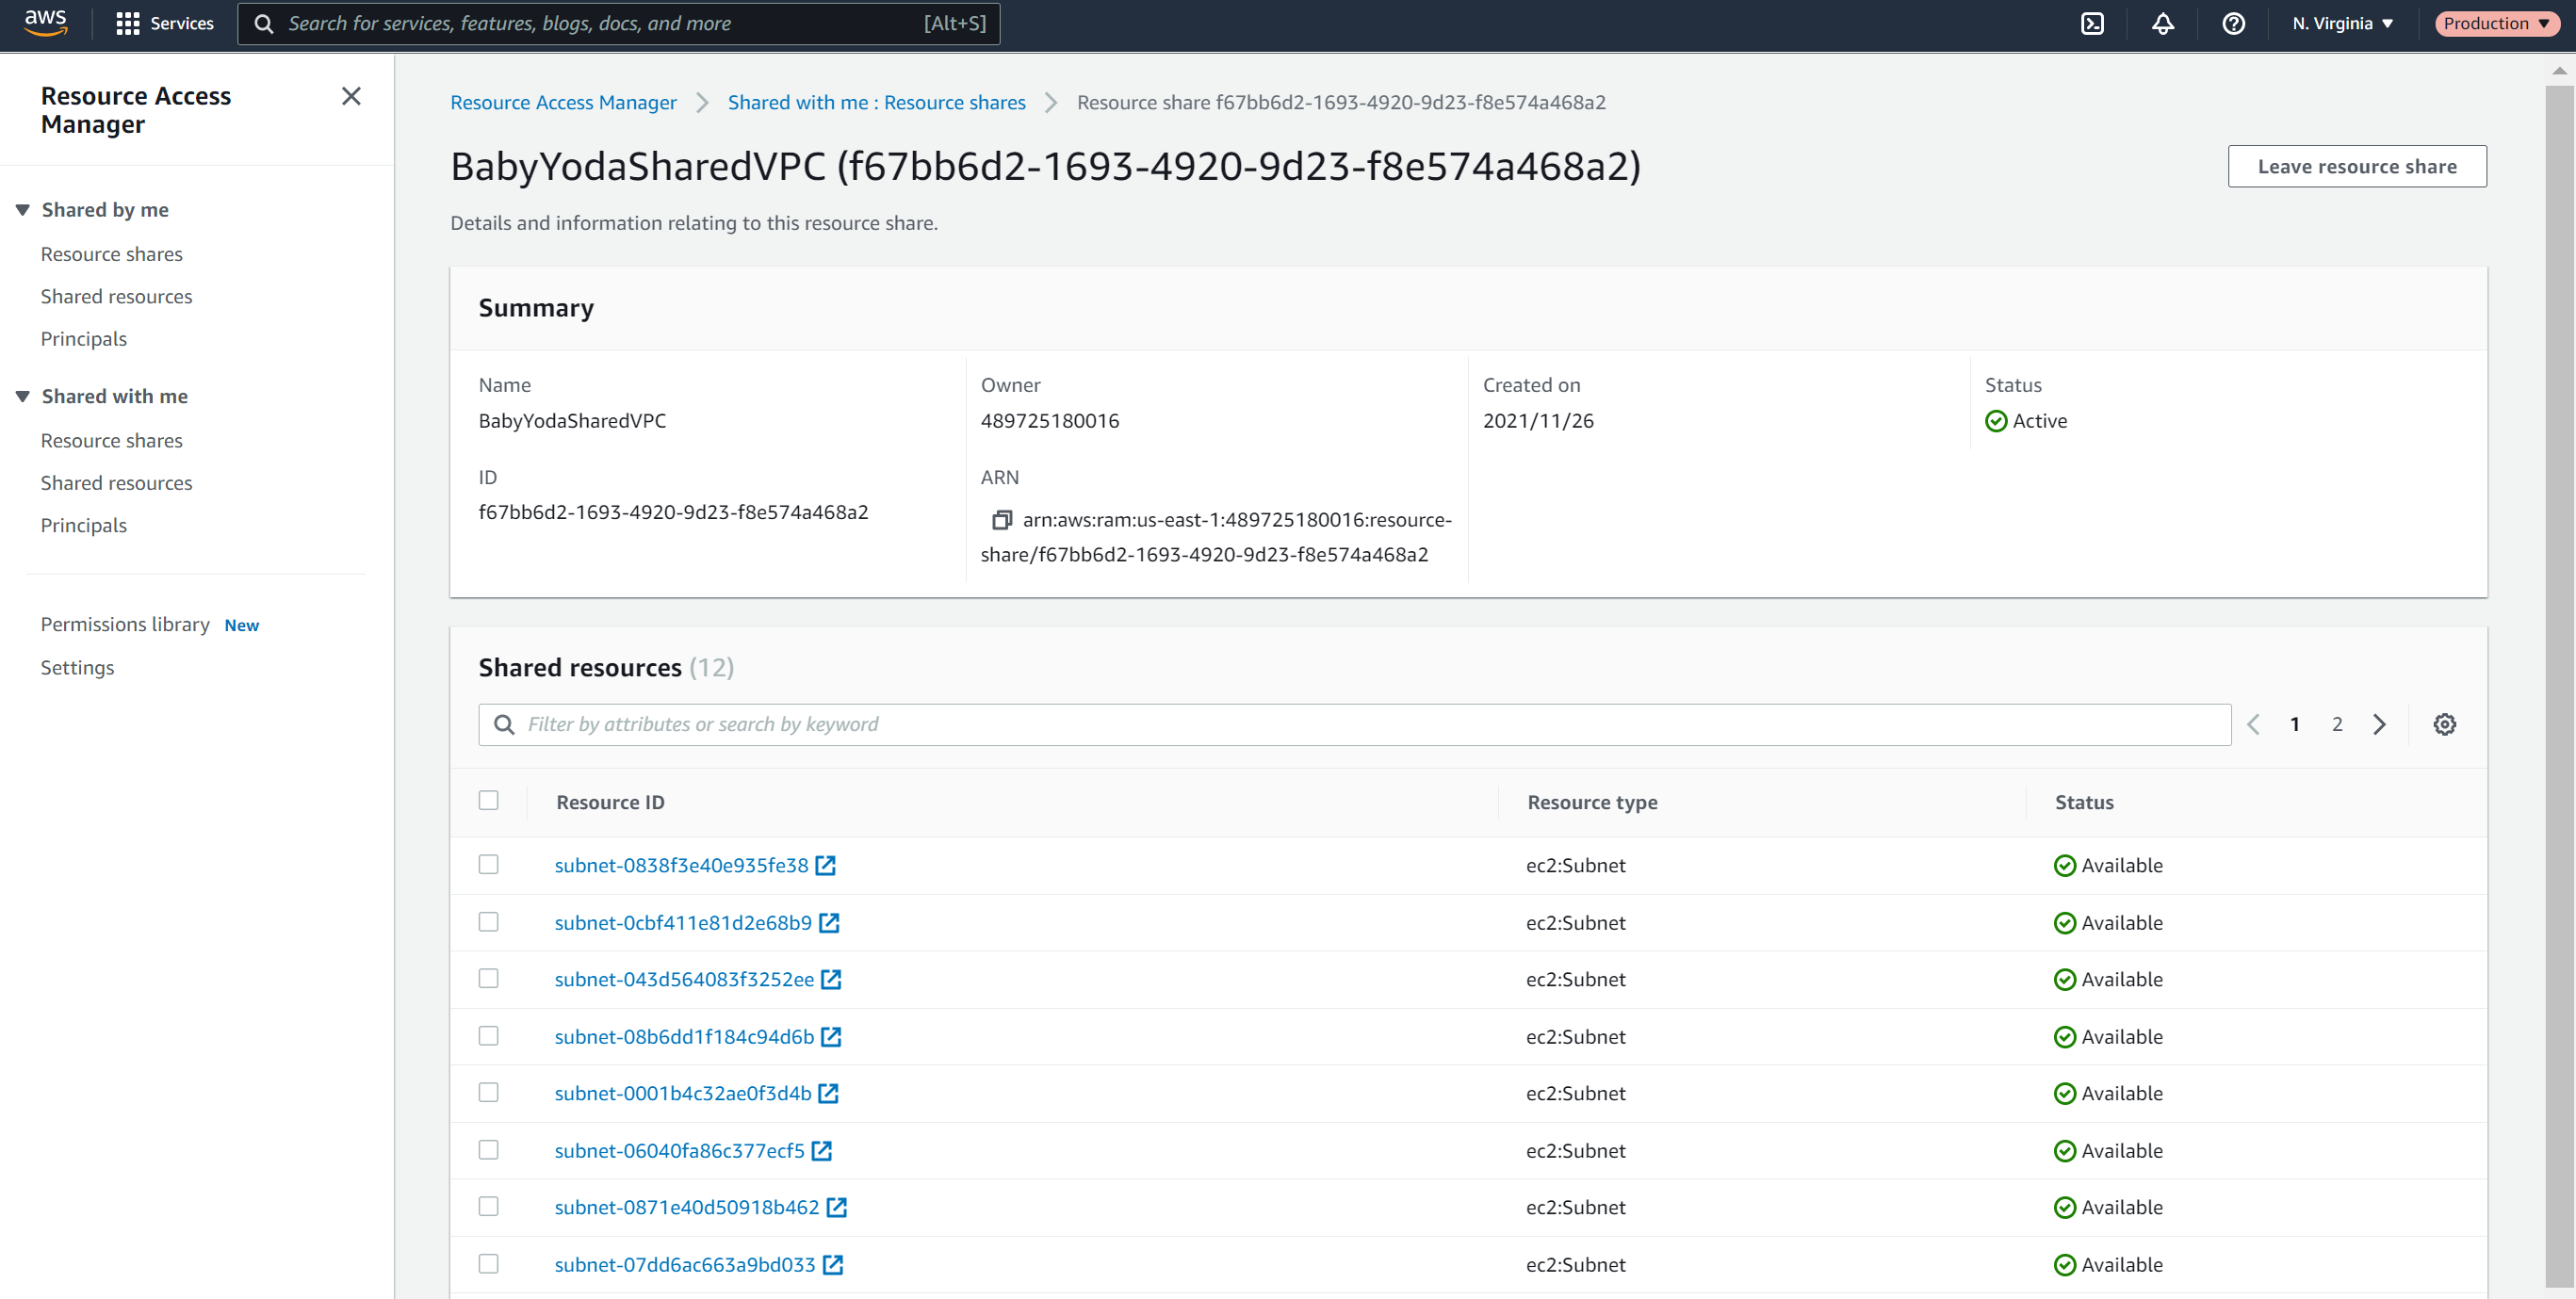
- Click on Shared Resources and you can see the list of subnets that have been shared into the production account.
- Navigating to the VPC console, you can see the shared subnets listed here from the management account. This is how you will see all of your resources
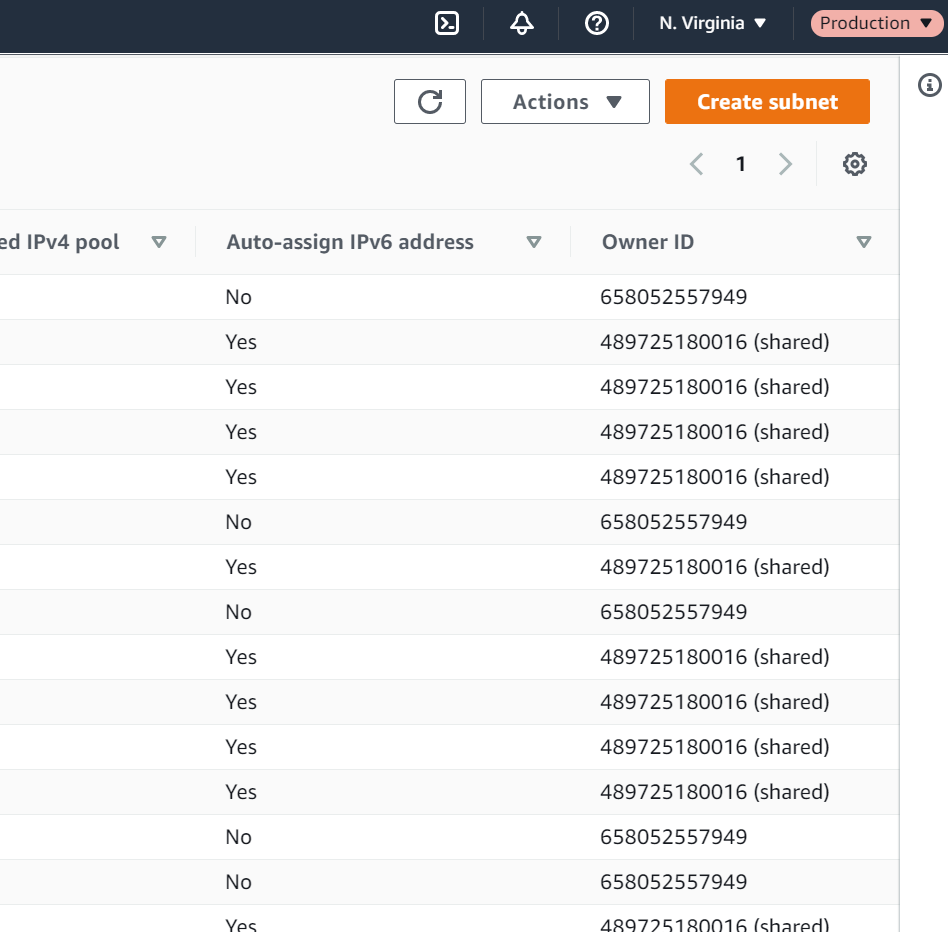
- Also notice that these subnets do not have names listed in the production account when we did name them in the master account.
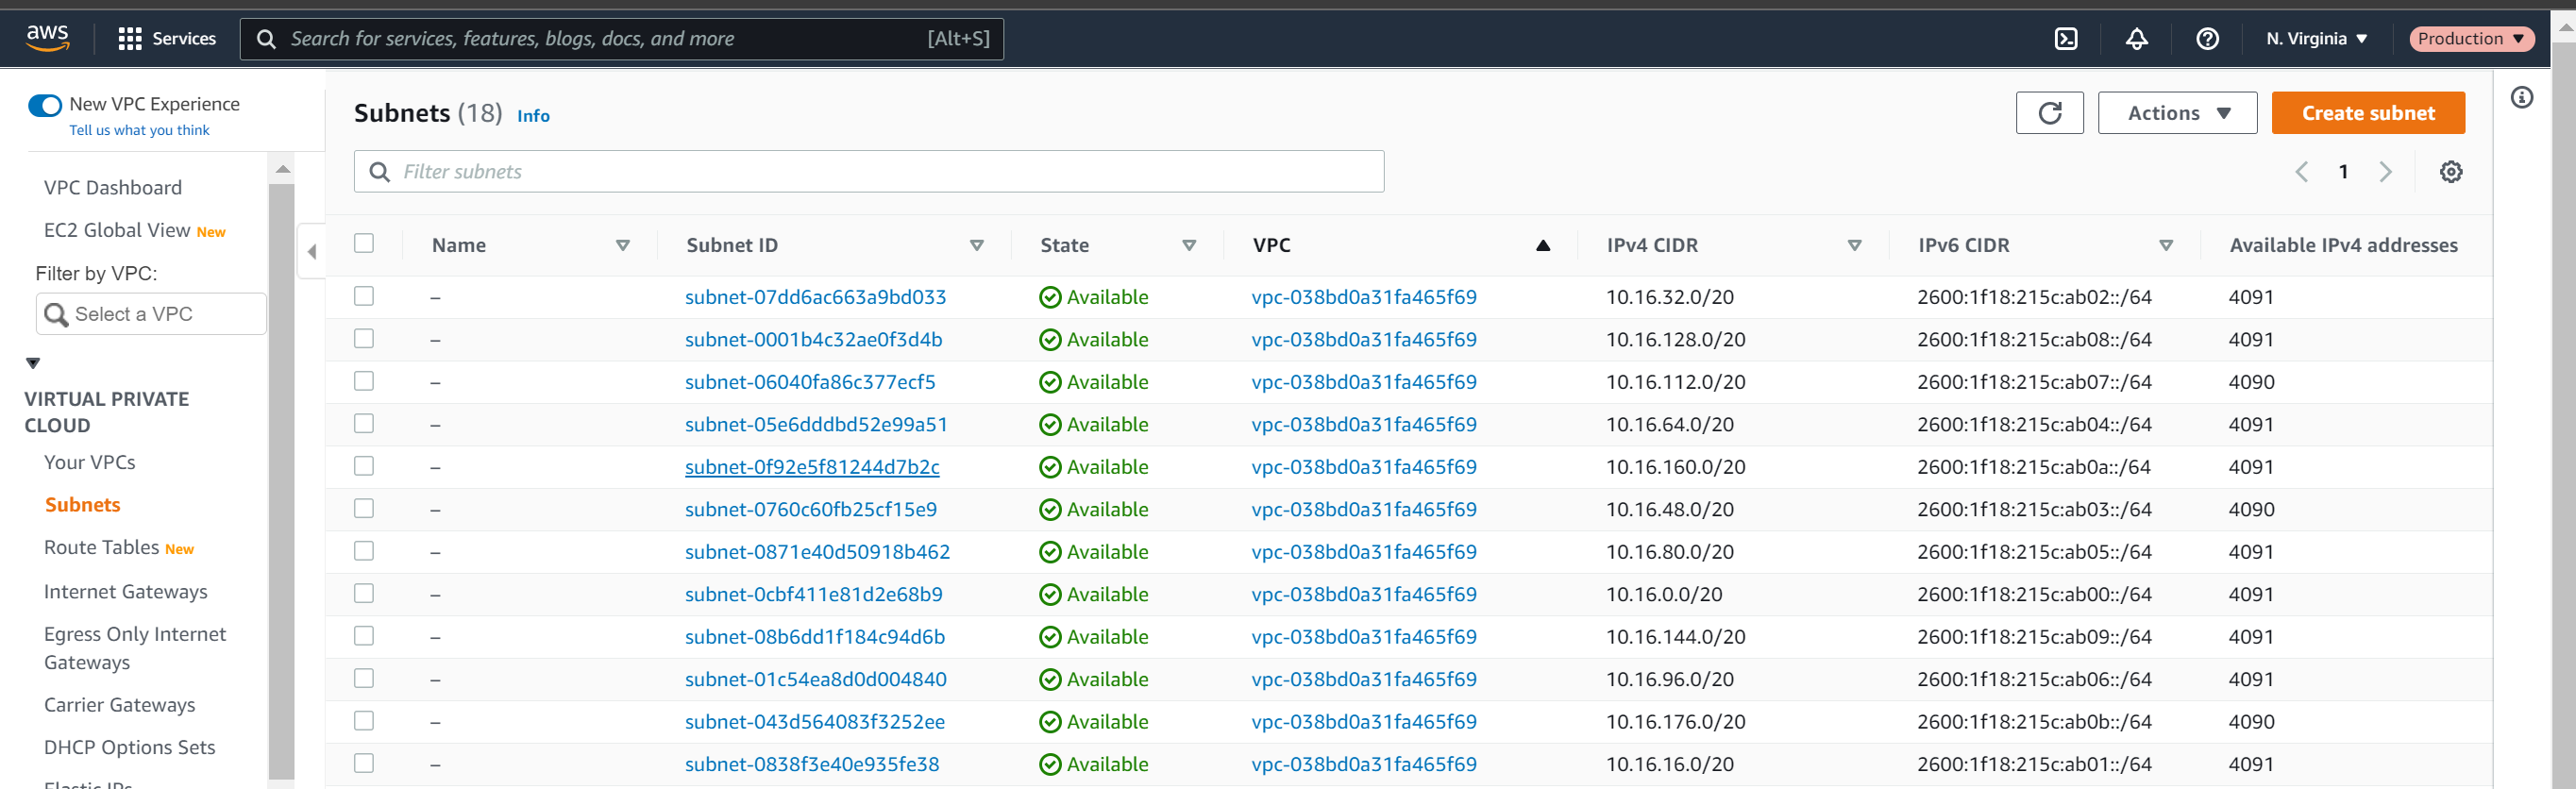
- You can tag these separately from within the production account as you wish.
Deploy an EC2 Instance
We will now deploy an ec2 instance in the Production account into the Management Account.
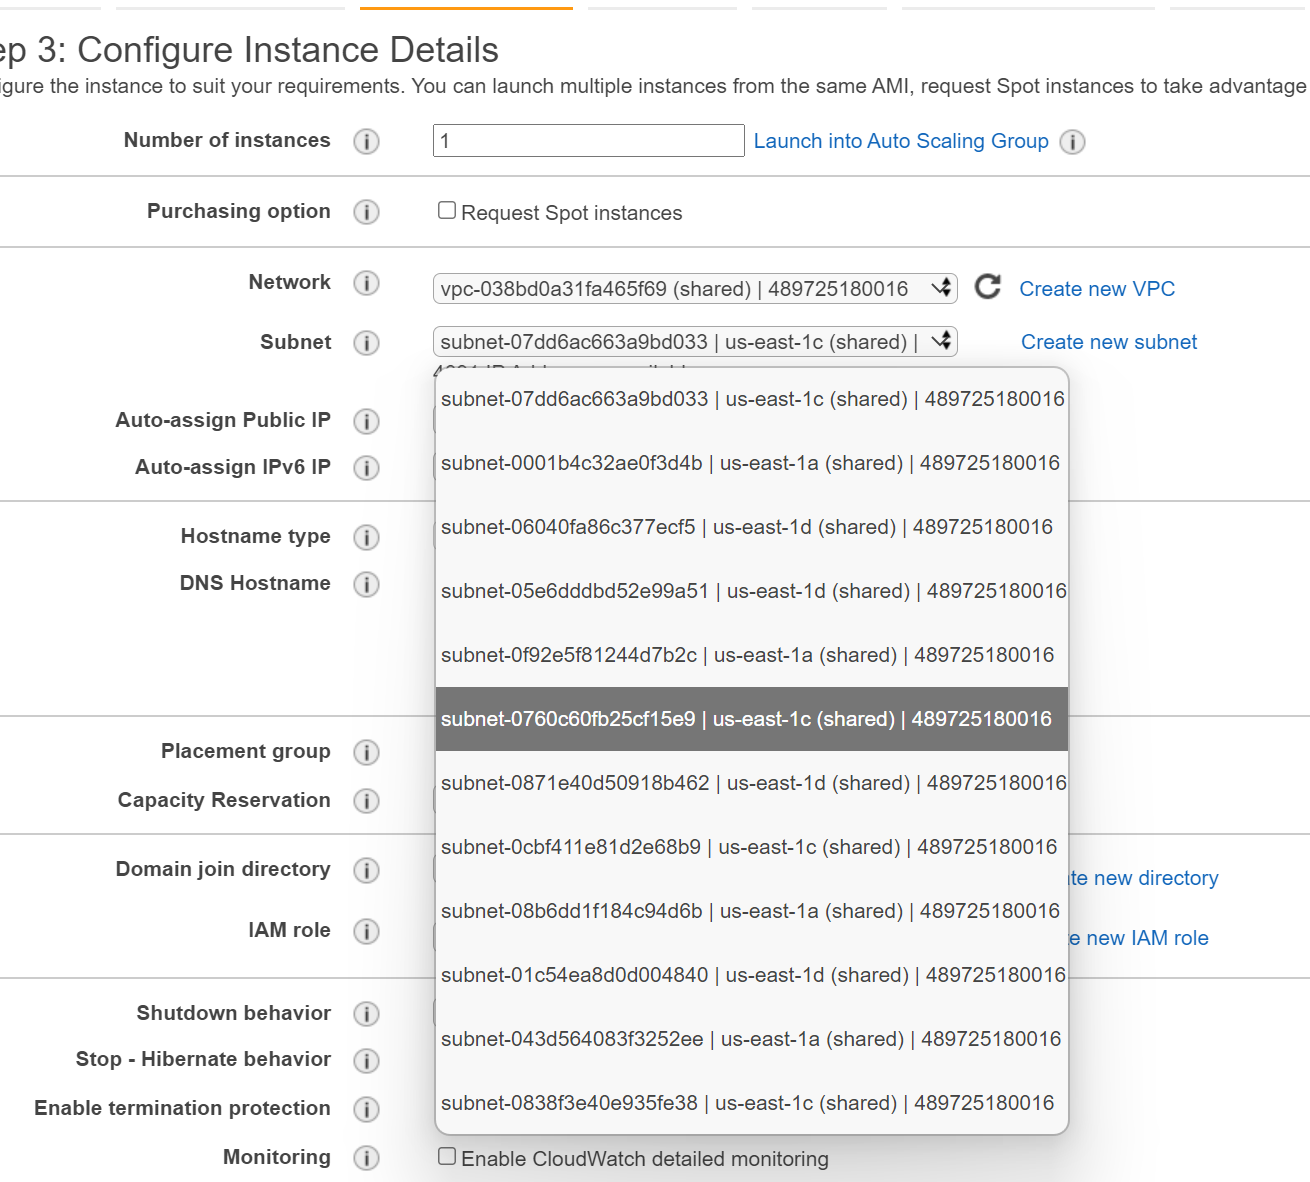
- Switch back to the Management account and make a note of the subnet that you want to deploy your EC2 instance into.
- Because the names don't translate across, you don't necessarily know which one it is. I used subnet-0760c60fb25cf15e9 but that means absolutely nothing to you, I just put it here as a reminder for myself.
- In the EC2 instance, launch an instance and when you get to the network option, select the shared VPC.
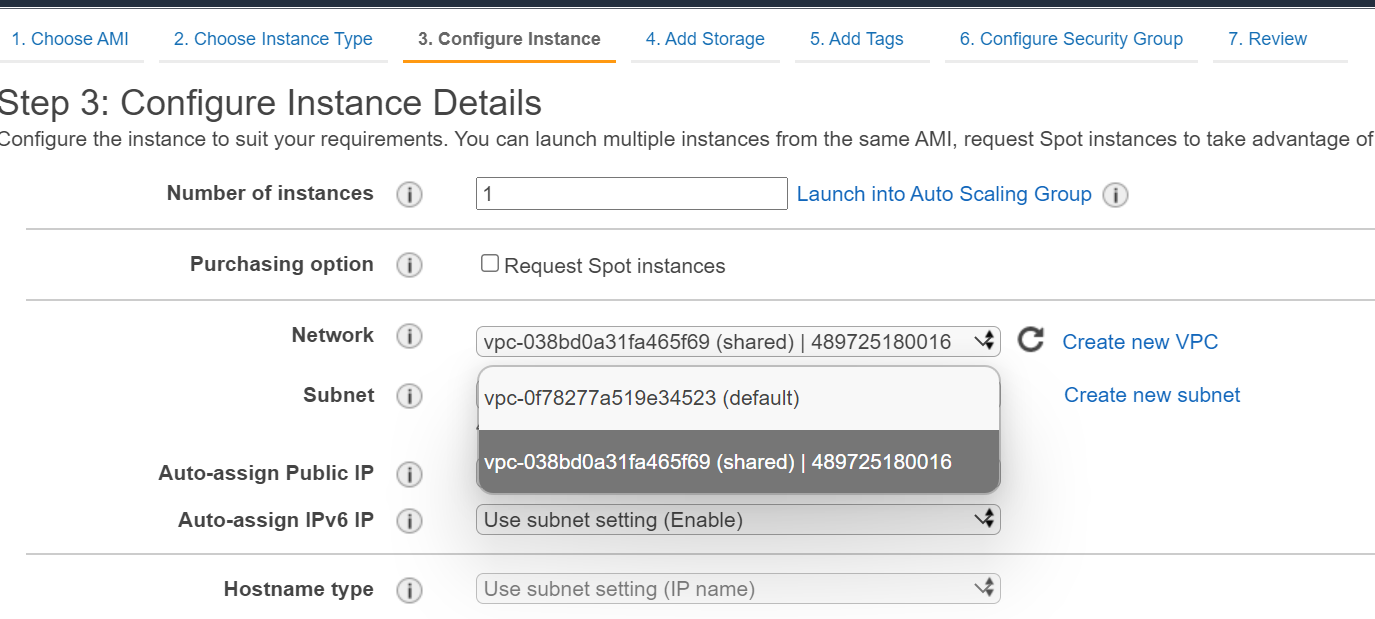
- Select the correct subnet that you want. Notice the lack of names. Also notice, if you remembered to, that the Availability zone may not be the same in the Management account as it is in the production account.
- Copy the userdata from the file in the git repo into the userdata
- Once this instance launches, open the IP address in the browser.
- Navigate through the settings of the shared VPC and subnets and route table and notice you can't make any changes. They're all read only
Development Account
- navigate to the EC2 section after role switching into the Development account
- Notice that you have no EC2 instances running in the shared subnet.
- Navigate back to the Management account and you'll notice there are no EC2 instances there either. They're owned by the production account.
Cleanup
Terminate the instance Delete the security group Delete the resource share Delete the NAT Gateway stack Delete the VPC Stack