2. Demos
This may be deleted as the same section is in the 1. Notes page
Implement AWS SSO
- Navigate to the SSO console in the Management account.
- Click enable SSO
a. I got a rate exceeded so I refreshed and tried again.
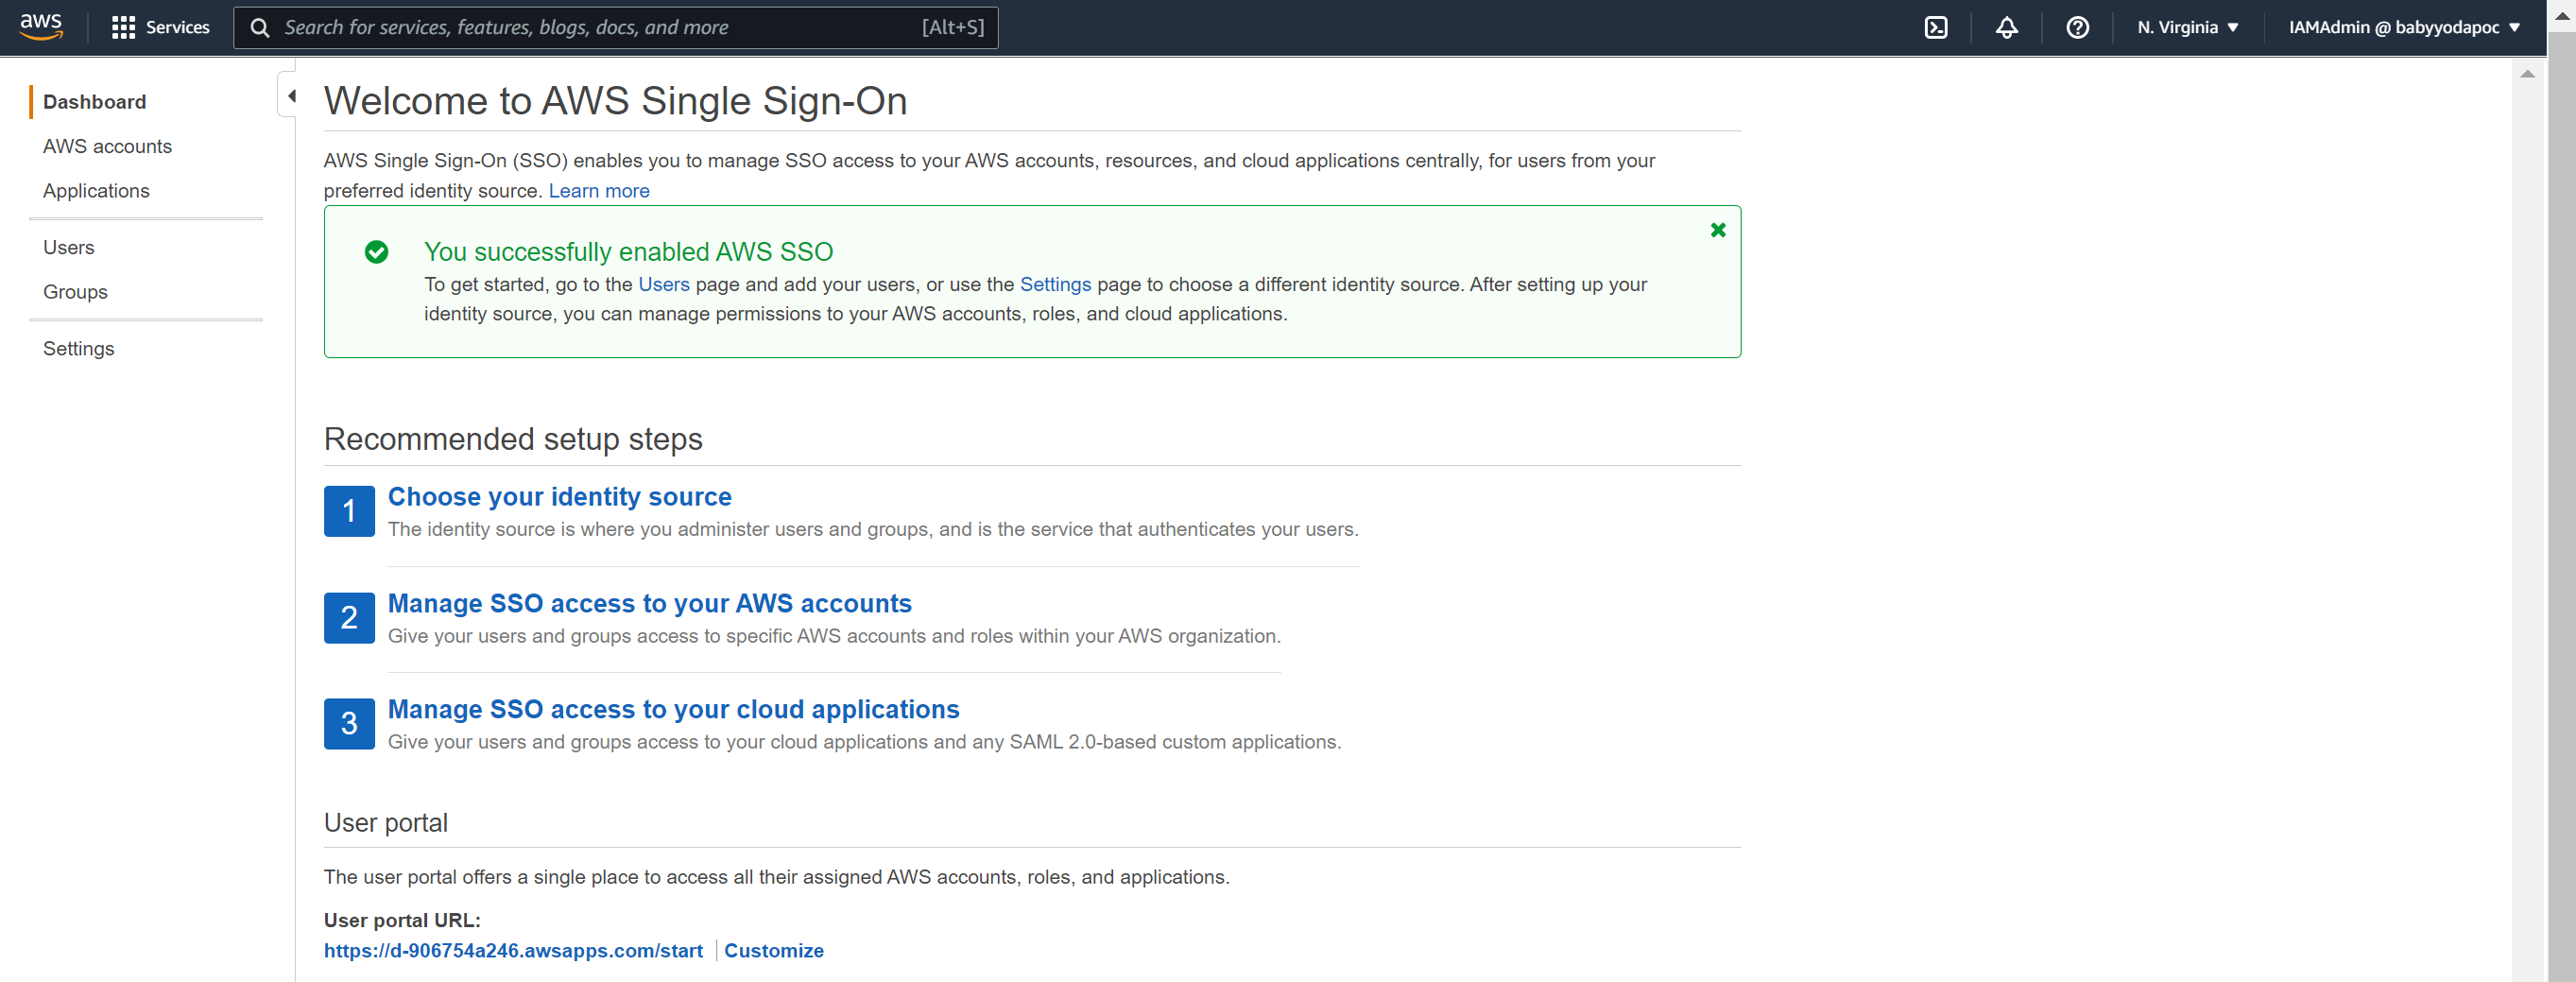
- You can change the portal URL to something more useful.
- Under the AWS SSO page, click permission sets.
- Click Create permission set, then select administrator access and then select next, add some tags, and then click create permission set.
Repeat until you have the 4 permission sets below:
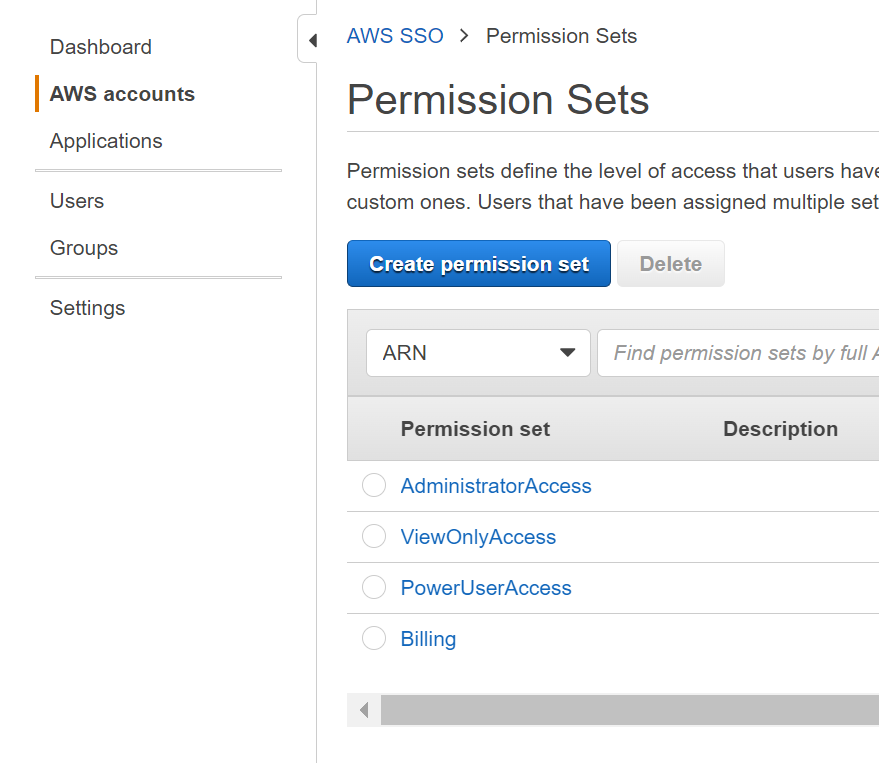
You can also pick the signed in duration time - I chose 12 hours.
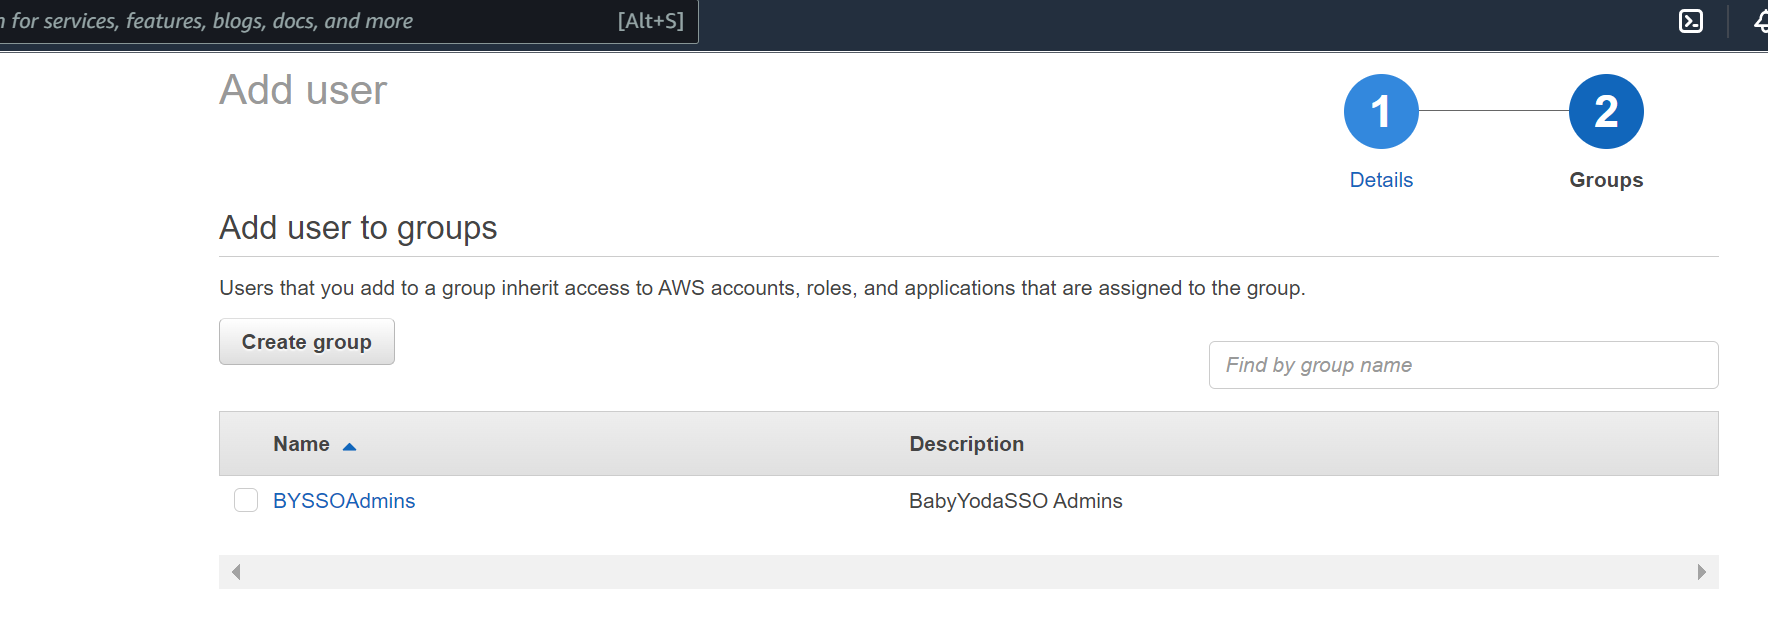
Create a User
- Click on Users on the left and then click New User
- Enter in the information here and then click next.
- We don't have any groups, so click New Group.
- Once the user is created, they will get sent the following email:

Assigning Permissions
- Click on AWS Accounts and then Select all of the accounts that you want this user to have access to
- Click Assign Users
- Click on the groups tab and then select the appropriate group
- Click next and then select the permission set for that group.
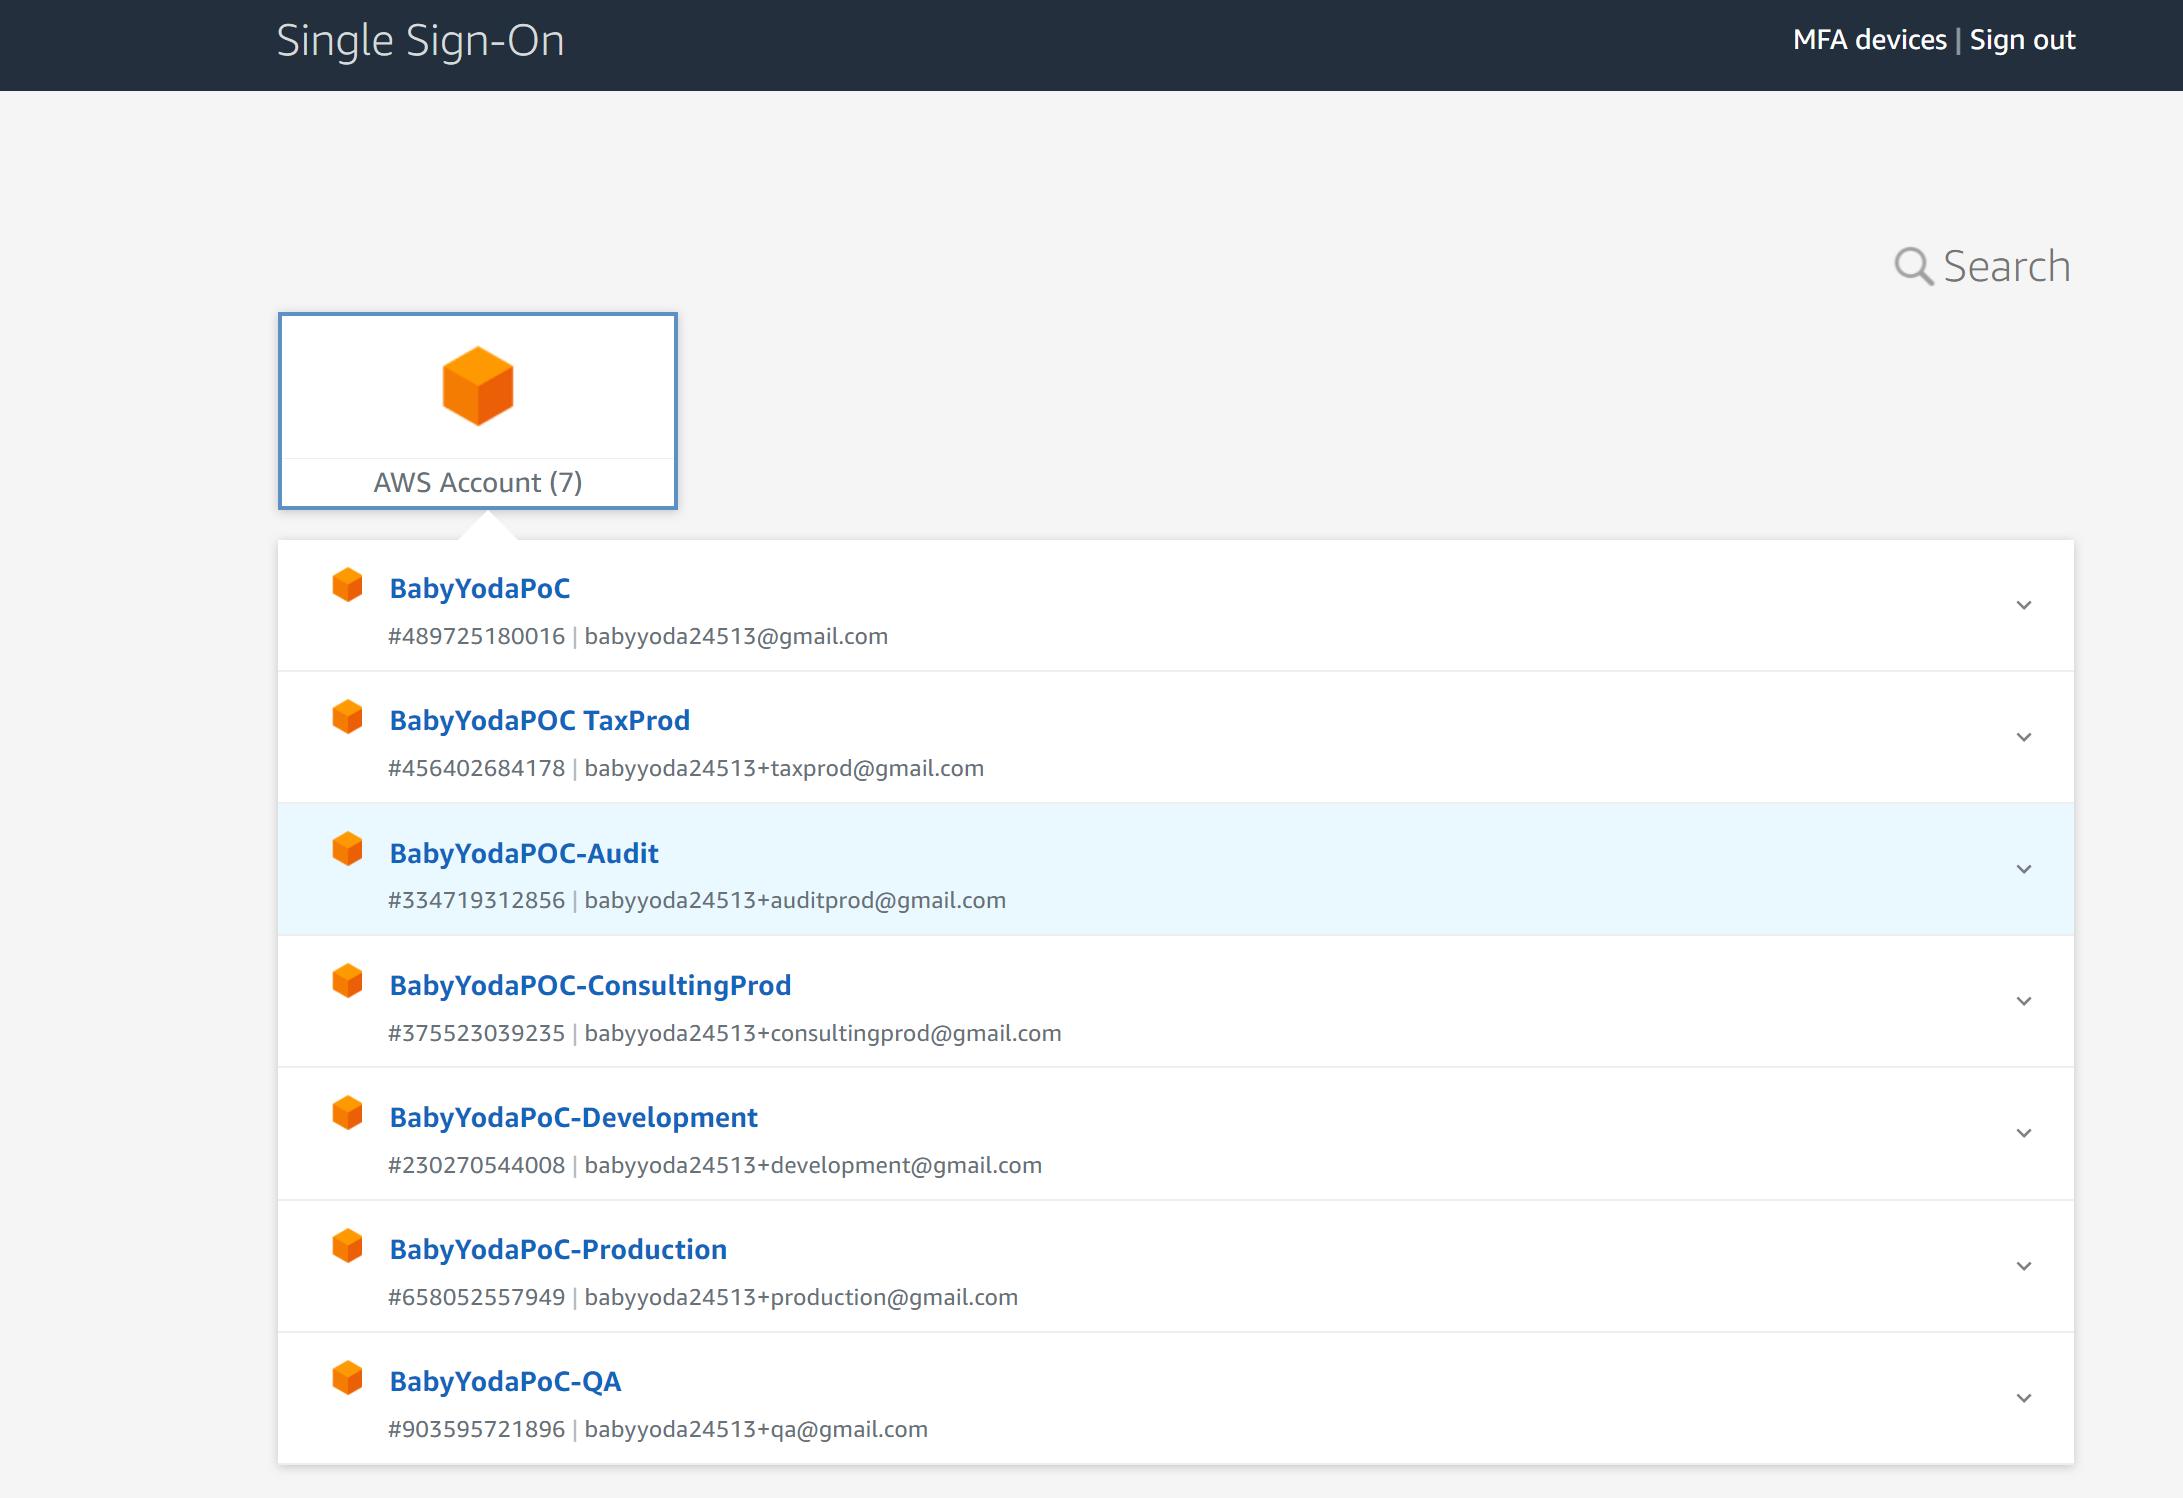
Testing Access
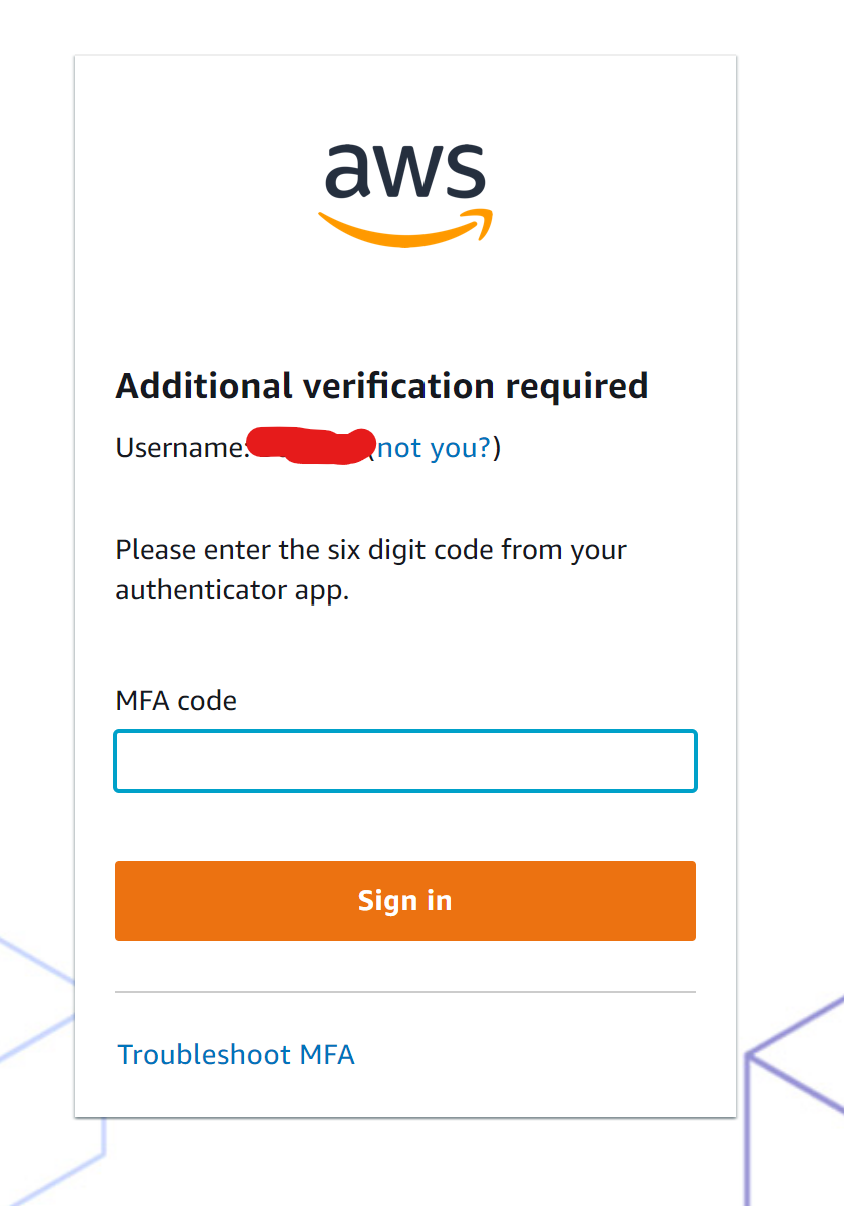
- Click on the SSO Url and then log in as the user.
- You should see that user having access to the accounts in your AWS Organization.
Set Up MFA
- Click MFA Devices at the top
- Click the type of registration
- Scan the QR code
- Finish setting up MFA.
- Sign out and sign back in to test.
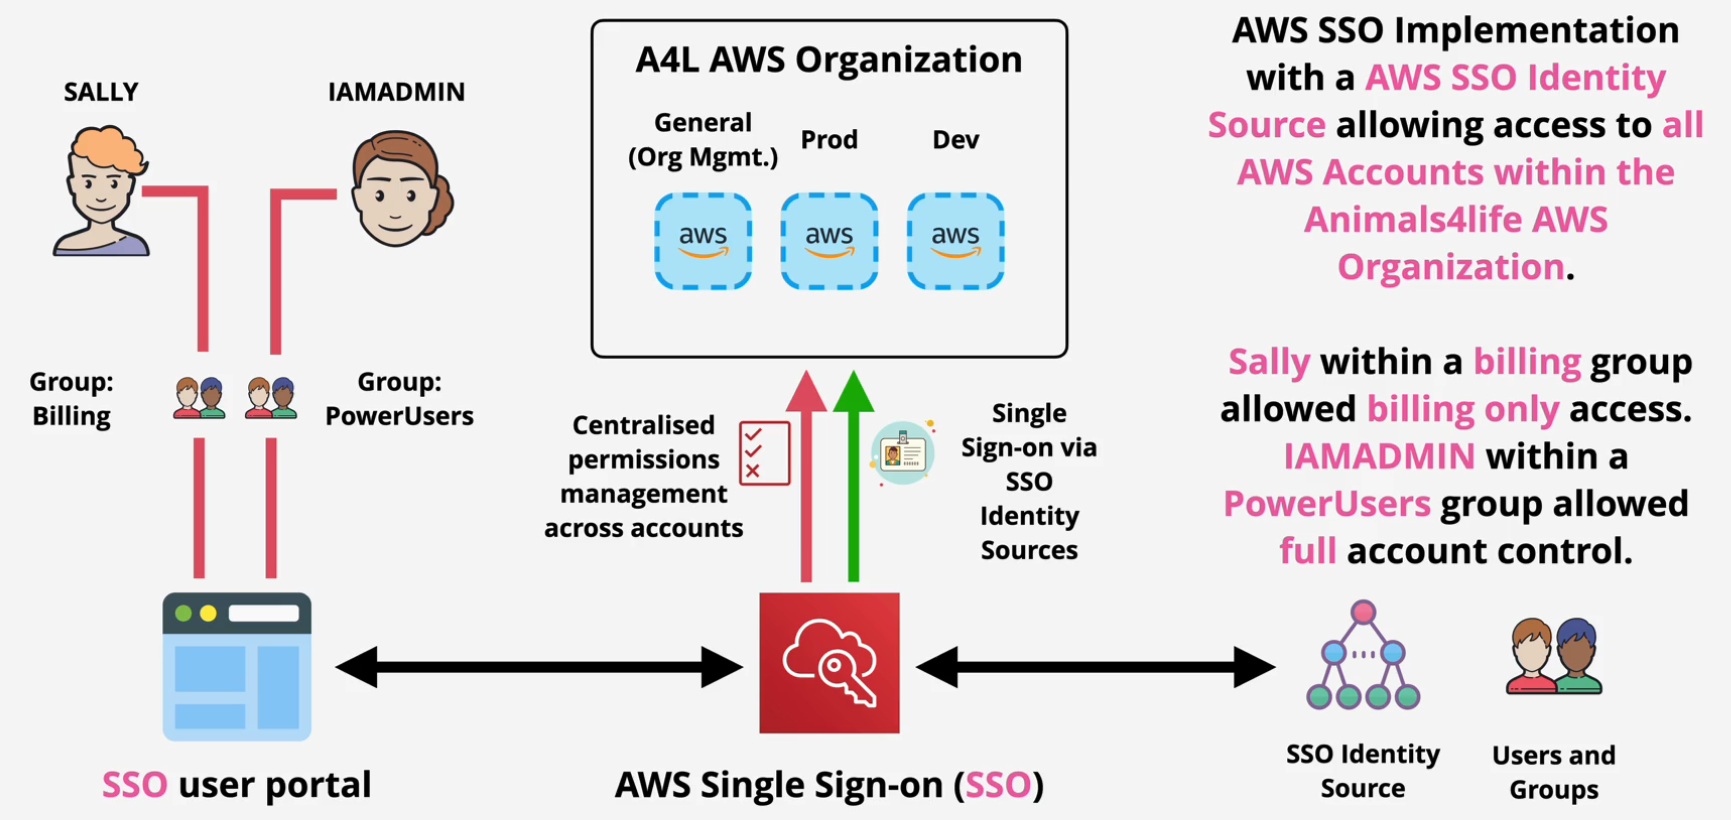
Congrats, you've built this:
Using Web Identity Federation
-
Log into the Development account
-
Create a CloudFormation Stack from this link: https://learn-cantrill-labs.s3.amazonaws.com/aws-cognito-web-identity-federation/WEBIDF.yaml
-
Navigate to the S3 bucket called appbucket
-
Copy the bucket website endpoint from the bucket.
-
If you paste that in your browser, you should get a Google Sign in link, but you haven't actually implemented anything so this won't work.
-
At this point, you should have your html and your javascript loaded into the browser. That's it.
Setup Google Project
- Navigate to this link: https://console.developers.google.com/apis/credentials
- Click Create Project.
- I named mine
solosidfbut you can name it whatever you'd like. - Click on Configure Consent Screen
- Choose whether this is an internal app or an external app. Ours is external for now, so check the external box and click Create.
- Enter your name of the project and email and hit Save and Continue.
- On the scopes screen, click Save and Continue
- On the Test Users screen, click Save and continue and then on the summary screen, click Back to Dashboard.
Google Credentials
- Click Credentials on the left
- Click Create Credentials and select OAuth Client ID.
- Select Web Application and rename the app.
- Navigate back to the S3 Bucket and copy that Bucket Website Endpoint
- Paste it into the URL here
- Click Create
- Copy the Client ID and Secret somewhere safe
Configure AWS Cognito
- Navigate to the Cognito Console in AWS
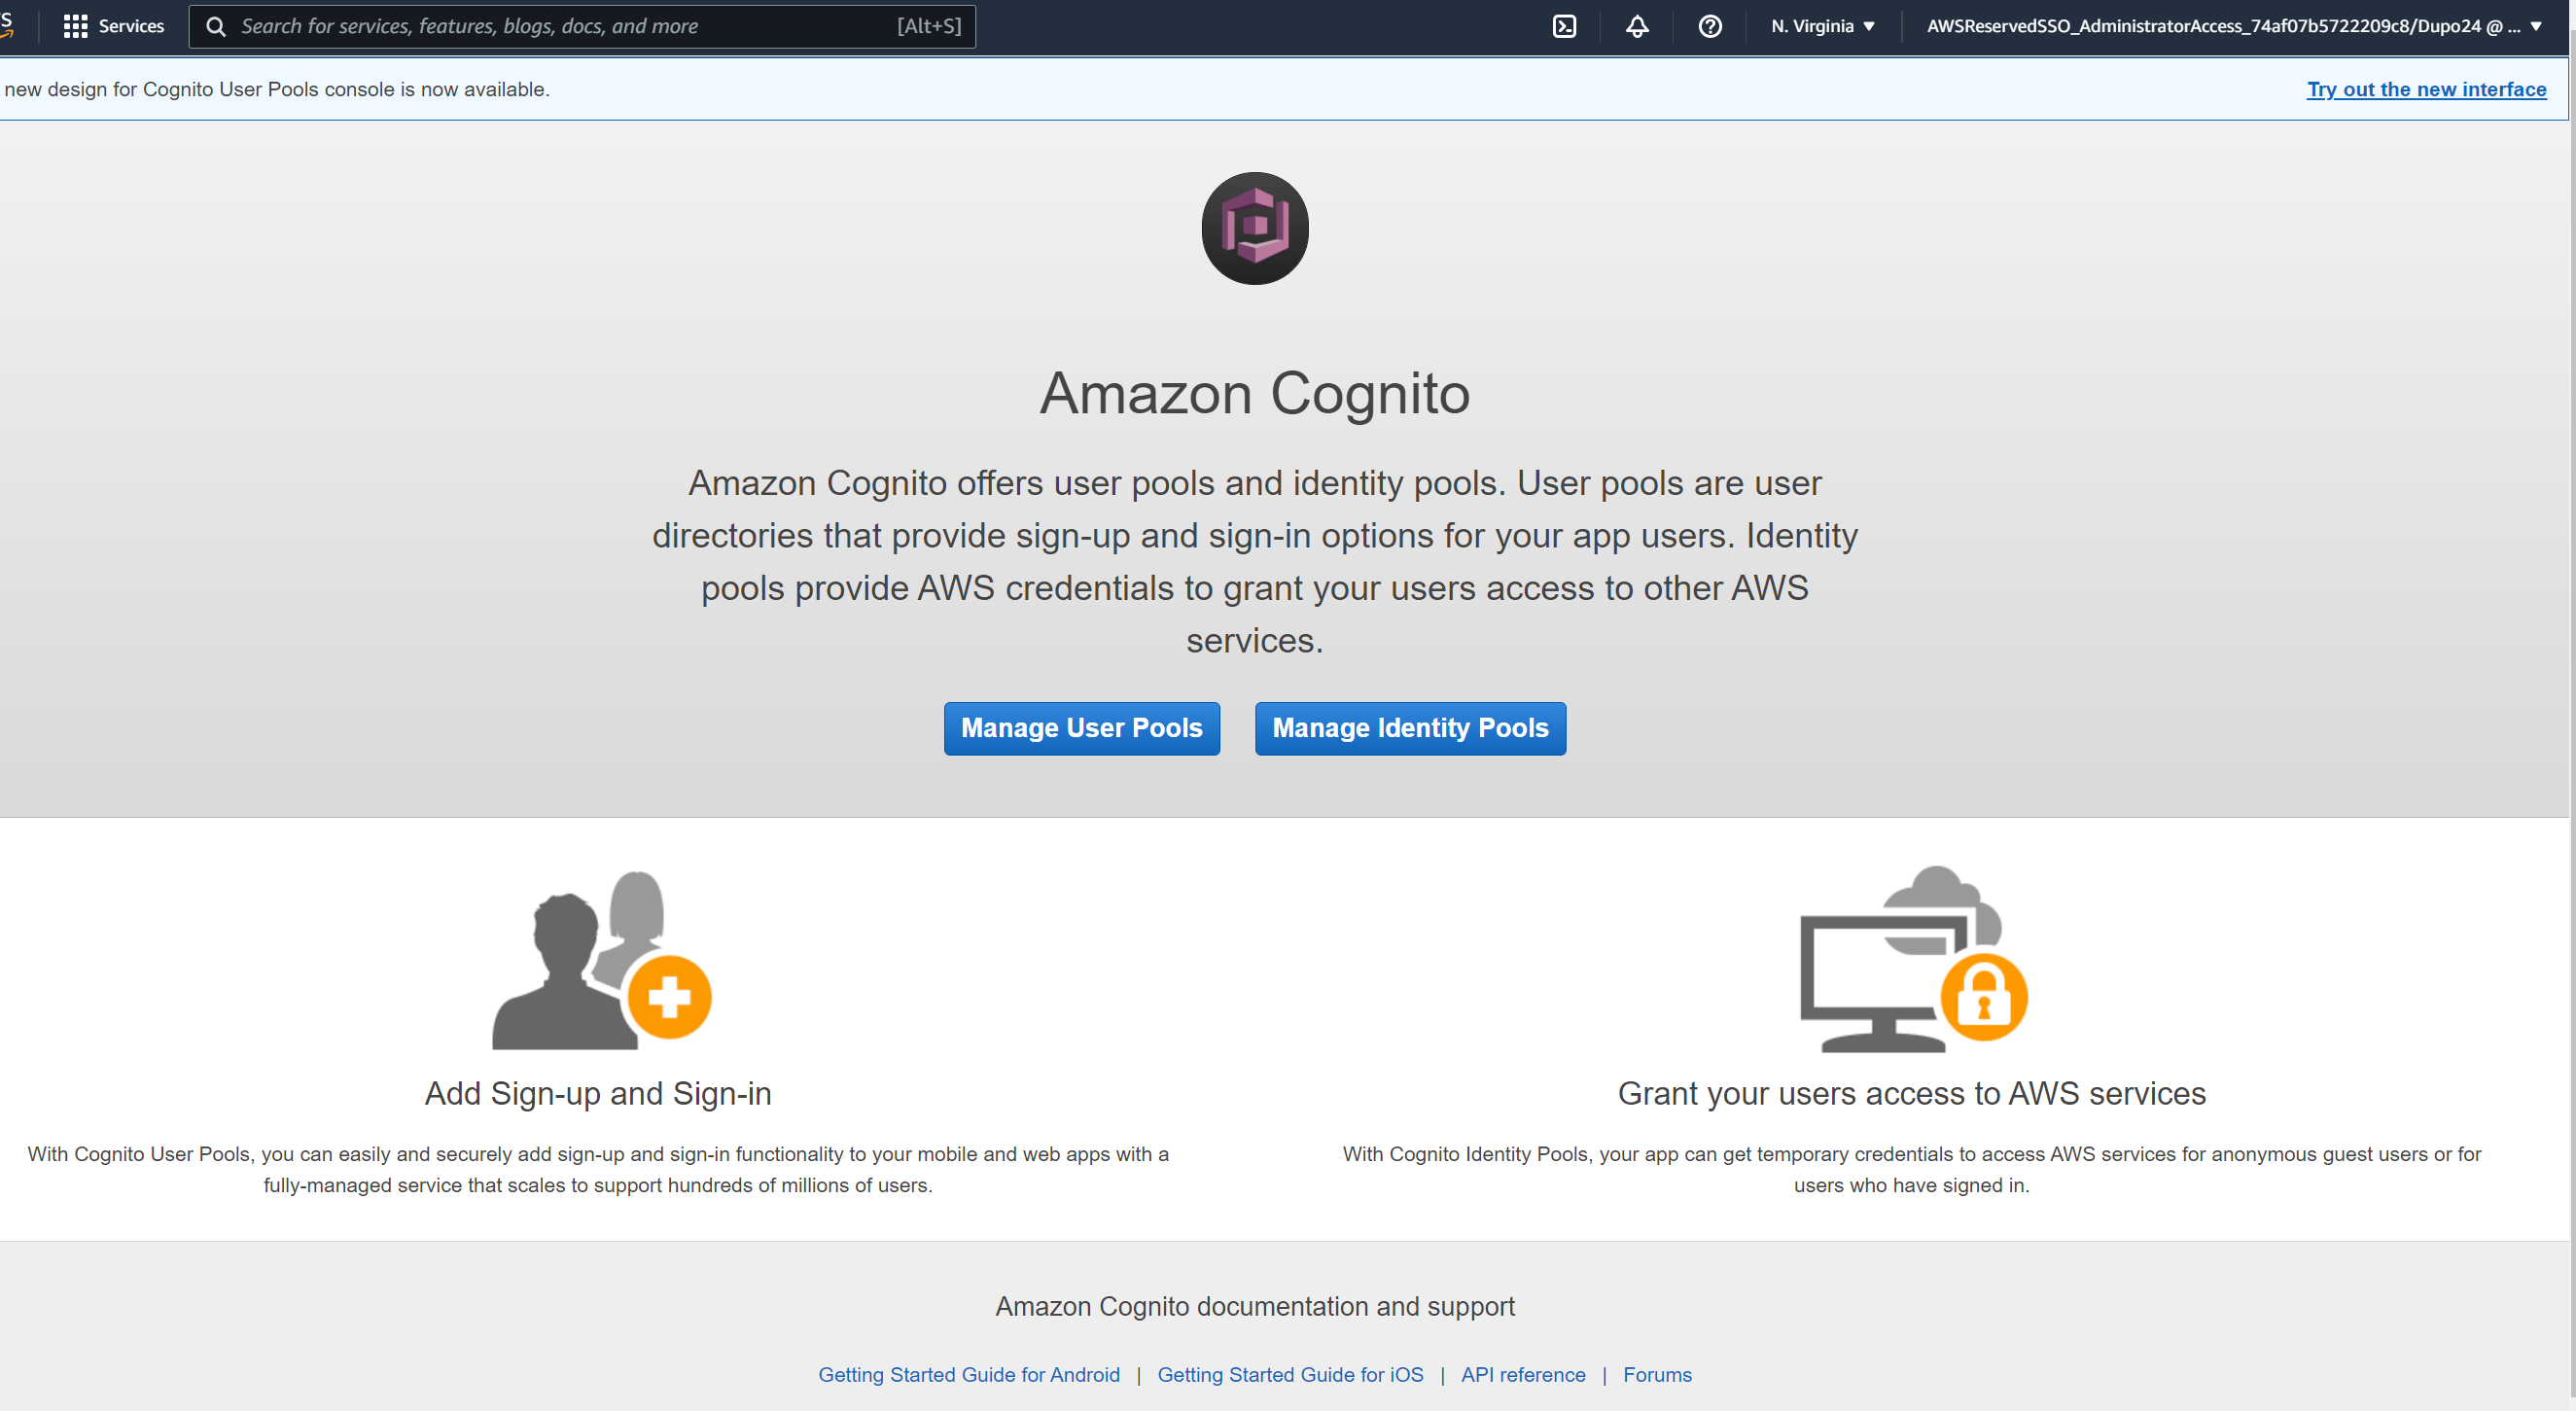
- Click Manage Identity Pools
- Click New Pool
- Name this pool
- Scroll to the bottom and paste in your Google Client ID that you saved earlier.
- Click Create
- Note the fields here, we are going to create a new role and call it whatever it autopopulated
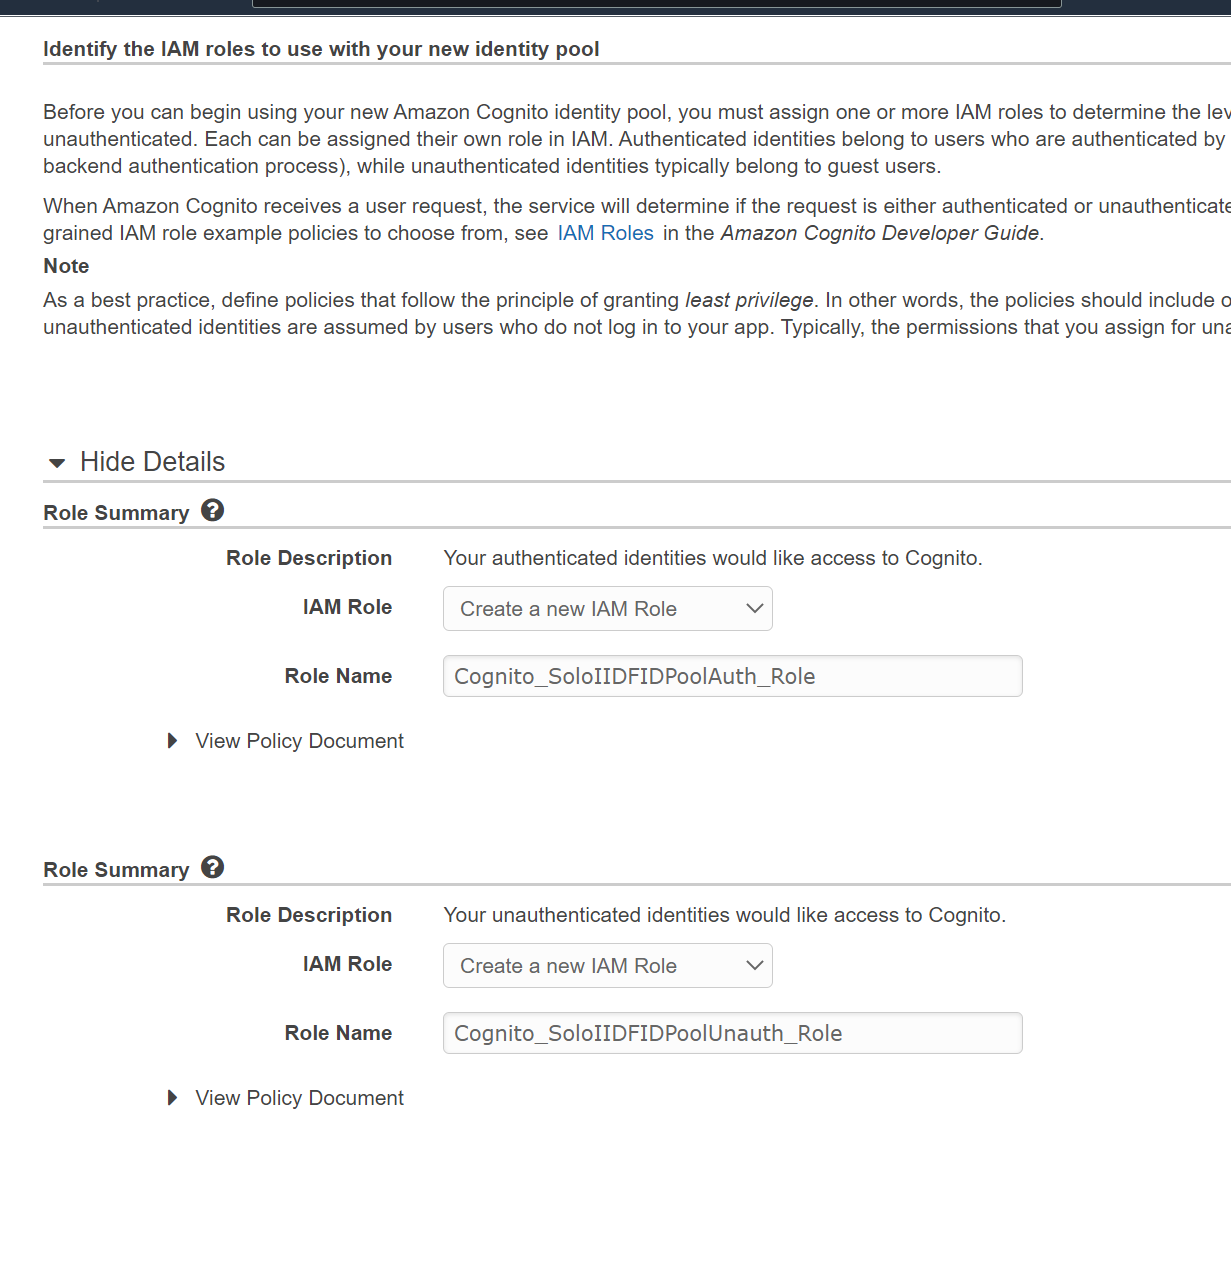
- Click Allow
- Copy the AWS credentials that are highlighted in red on the next screen.
- Click Go To Dashboard
Configure IAM Role
- Navigate back to the IAM console and go to Roles.
- You should have two new roles:

- Click on the Auth_Role
- Click on the Trust Relationships tab
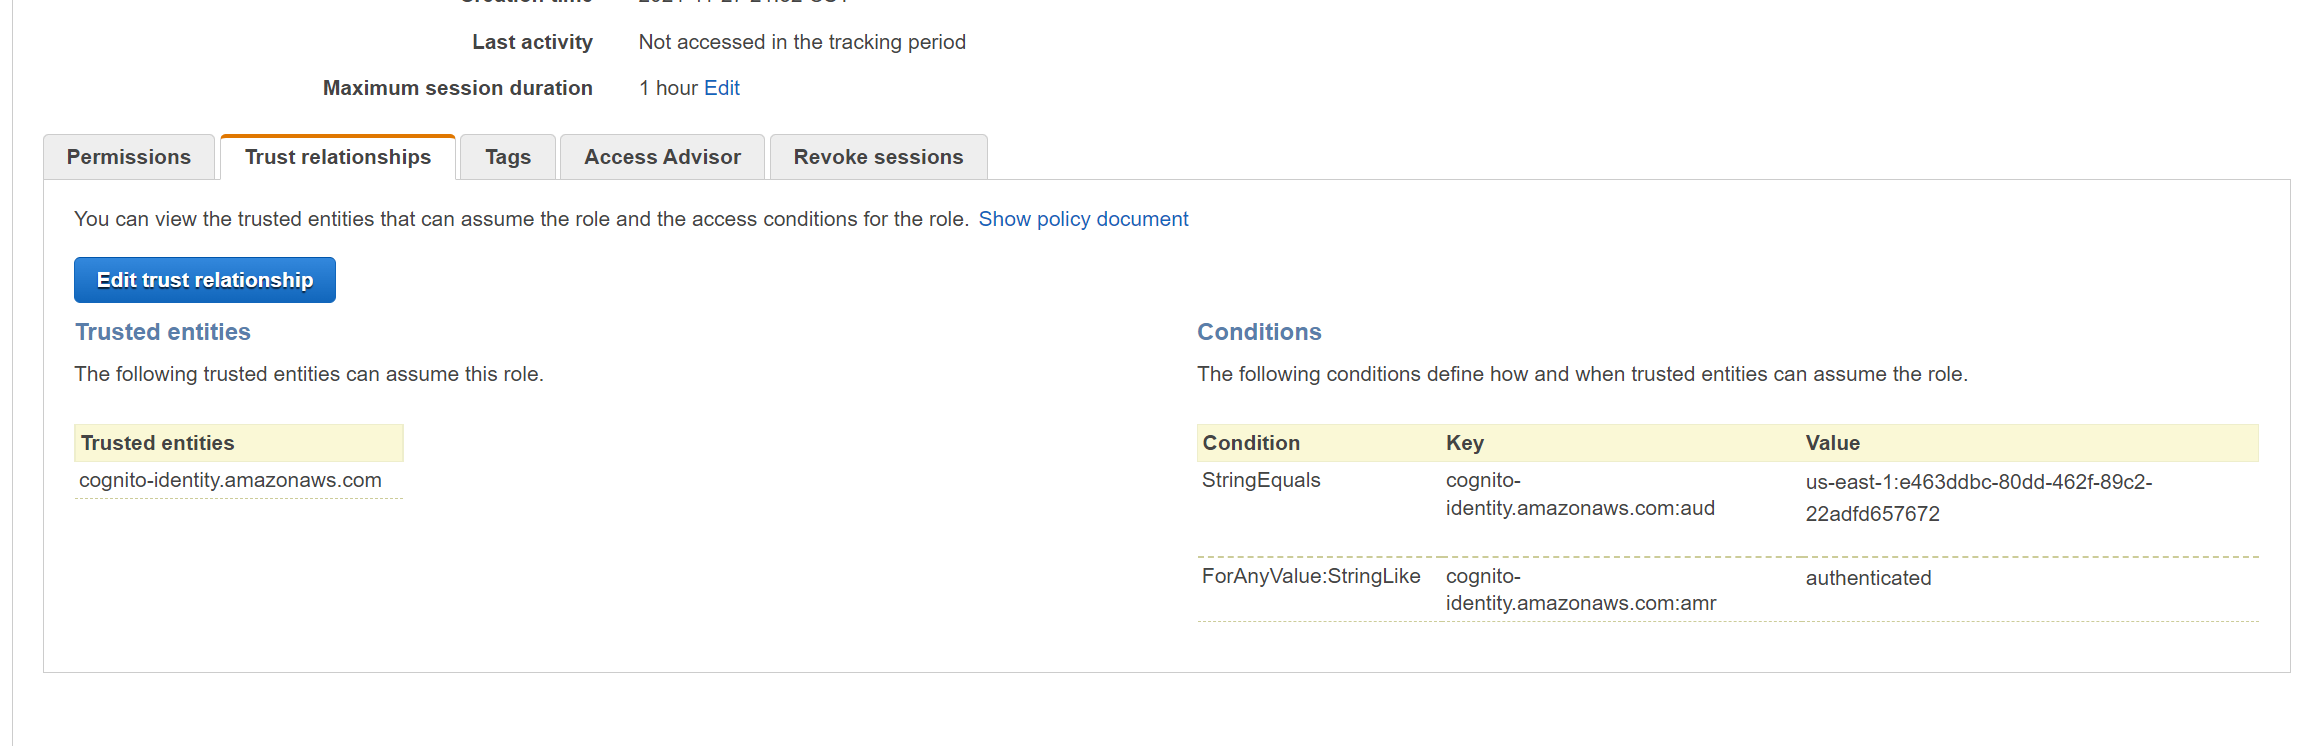
- What you see here is that the role is trusted by Cognito AND the string must match the value that we were given earlier. Remember what we copied in red?
- On the Permissions tab, notice you have a default policy attached.
- Attach the private permissions policy created by the stack.
Update the HTML and JavaScript
- Navigate to the appbucket s3 bucket
- Download the two files and open them in your text editor of choice
- Replace the 3 lines in those files and then save them and reupload them to the S3 bucket.
- Grab the bucket website endpoint from the static website hosting section.
Test this thing out
- Paste the URL into an incognito browser session
- Click Sign in
- Enter your credentials for your google account
- Click sign in
- You should be taken to a page that shows you are signed in and should show the images from the private S3 bucket.
Clean Up
- Go to google and delete the project
- Navigate back to Cognito and delete the identity pool
- Navigate to IAM and delete the two roles that were created
- Delete the stack.
AWS Workspaces with a Directory Service
Setup and Directory Creation
- In your development account, create a new stack from the yaml located here:
04-AdvancedIdentitiesAndFederation\03_Workspaces_with_DirectoryServices\DEMOSETUP - Once that is completed, go to the Workspaces service console
- Click Get Started and then click Launch next to advanced setup.
- Click Simple AD as we don't want to spin up an entire AD service for this demo.
- Click Small as we'll only set up a couple users
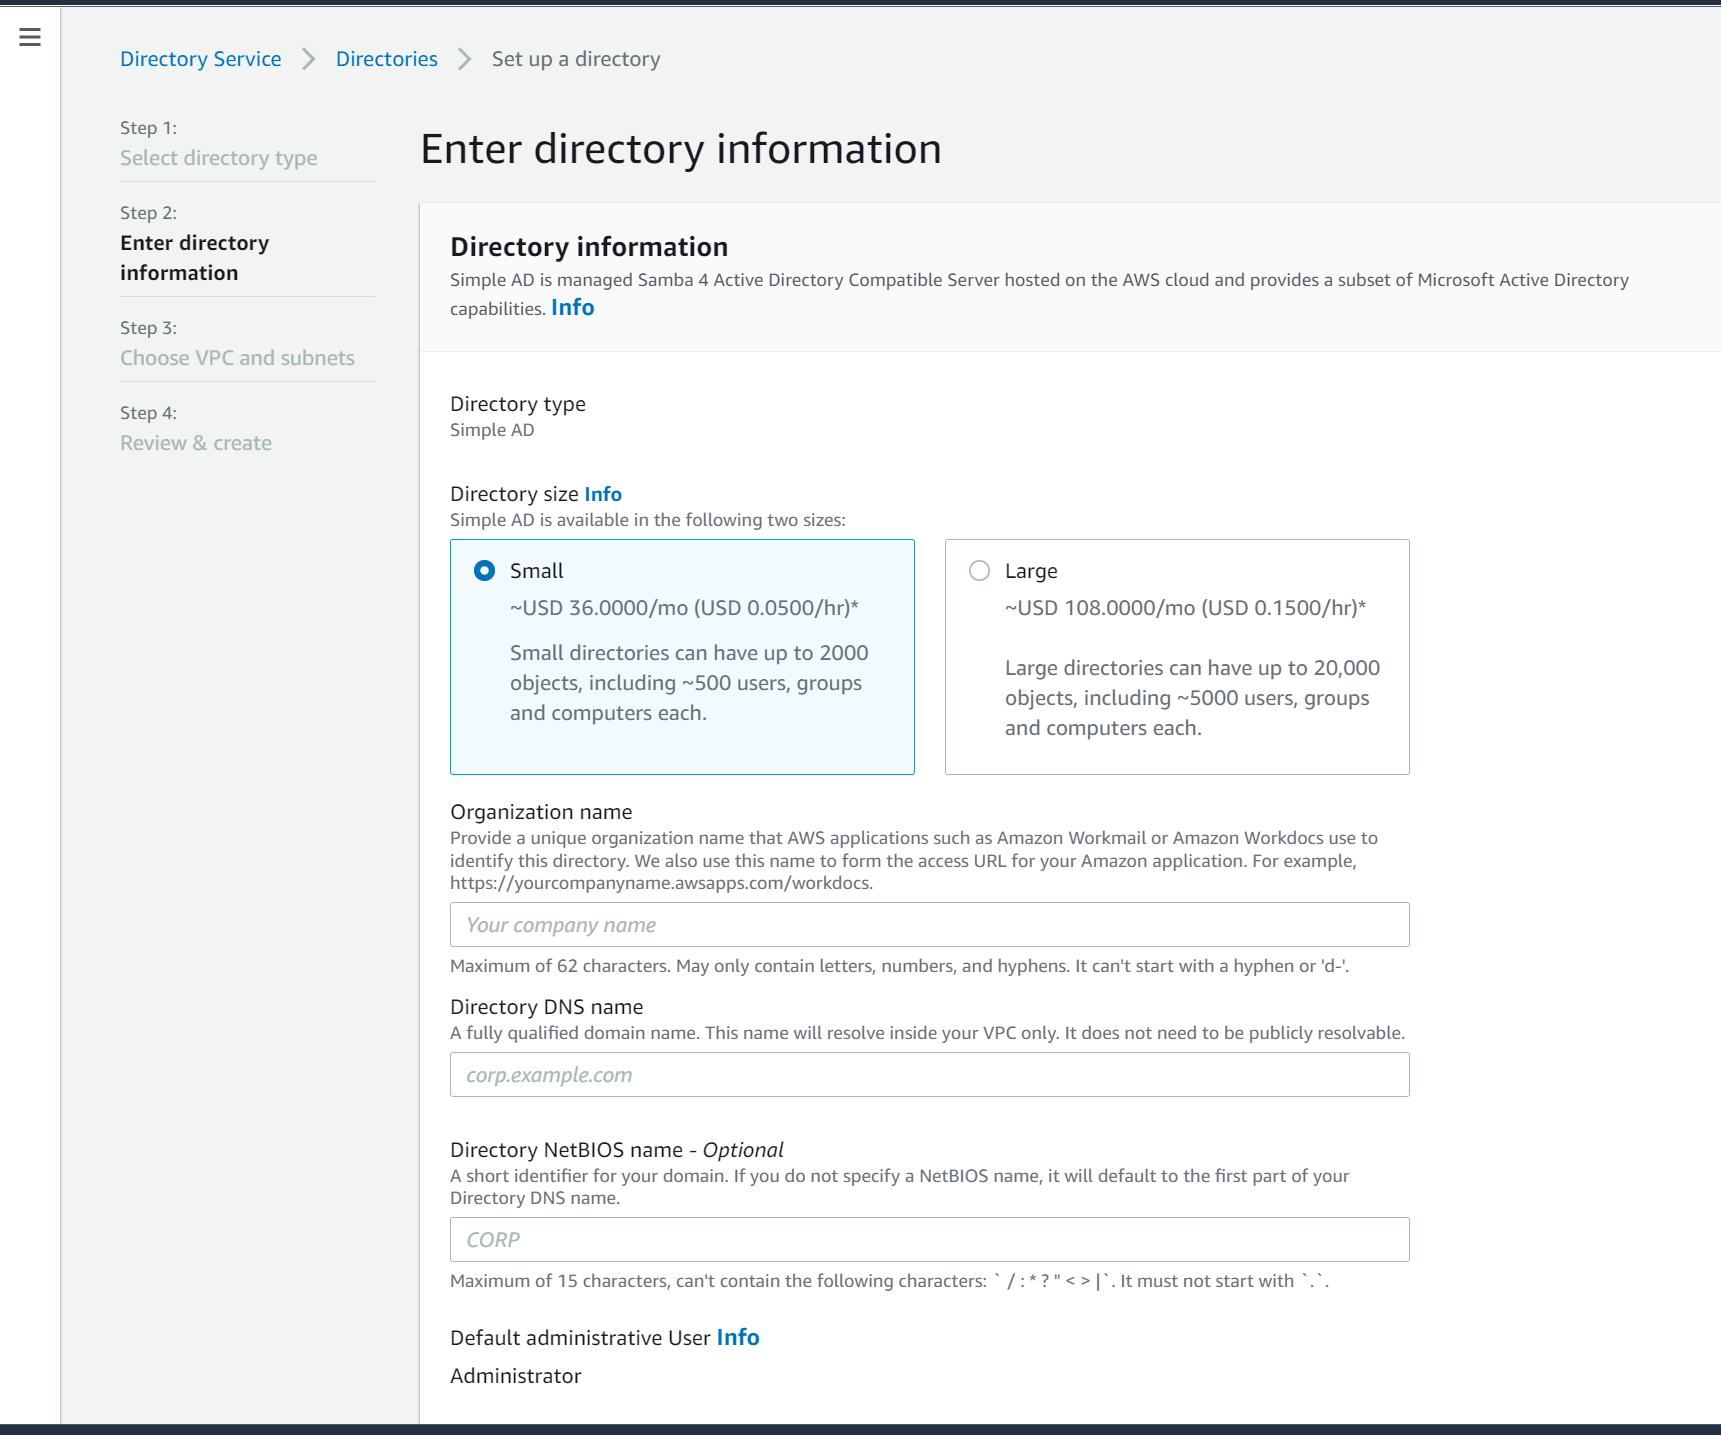
- Enter the name and the Admin password for this directory. Click Next
- Select the appA and AppB subnets and then click next to review and then Create.
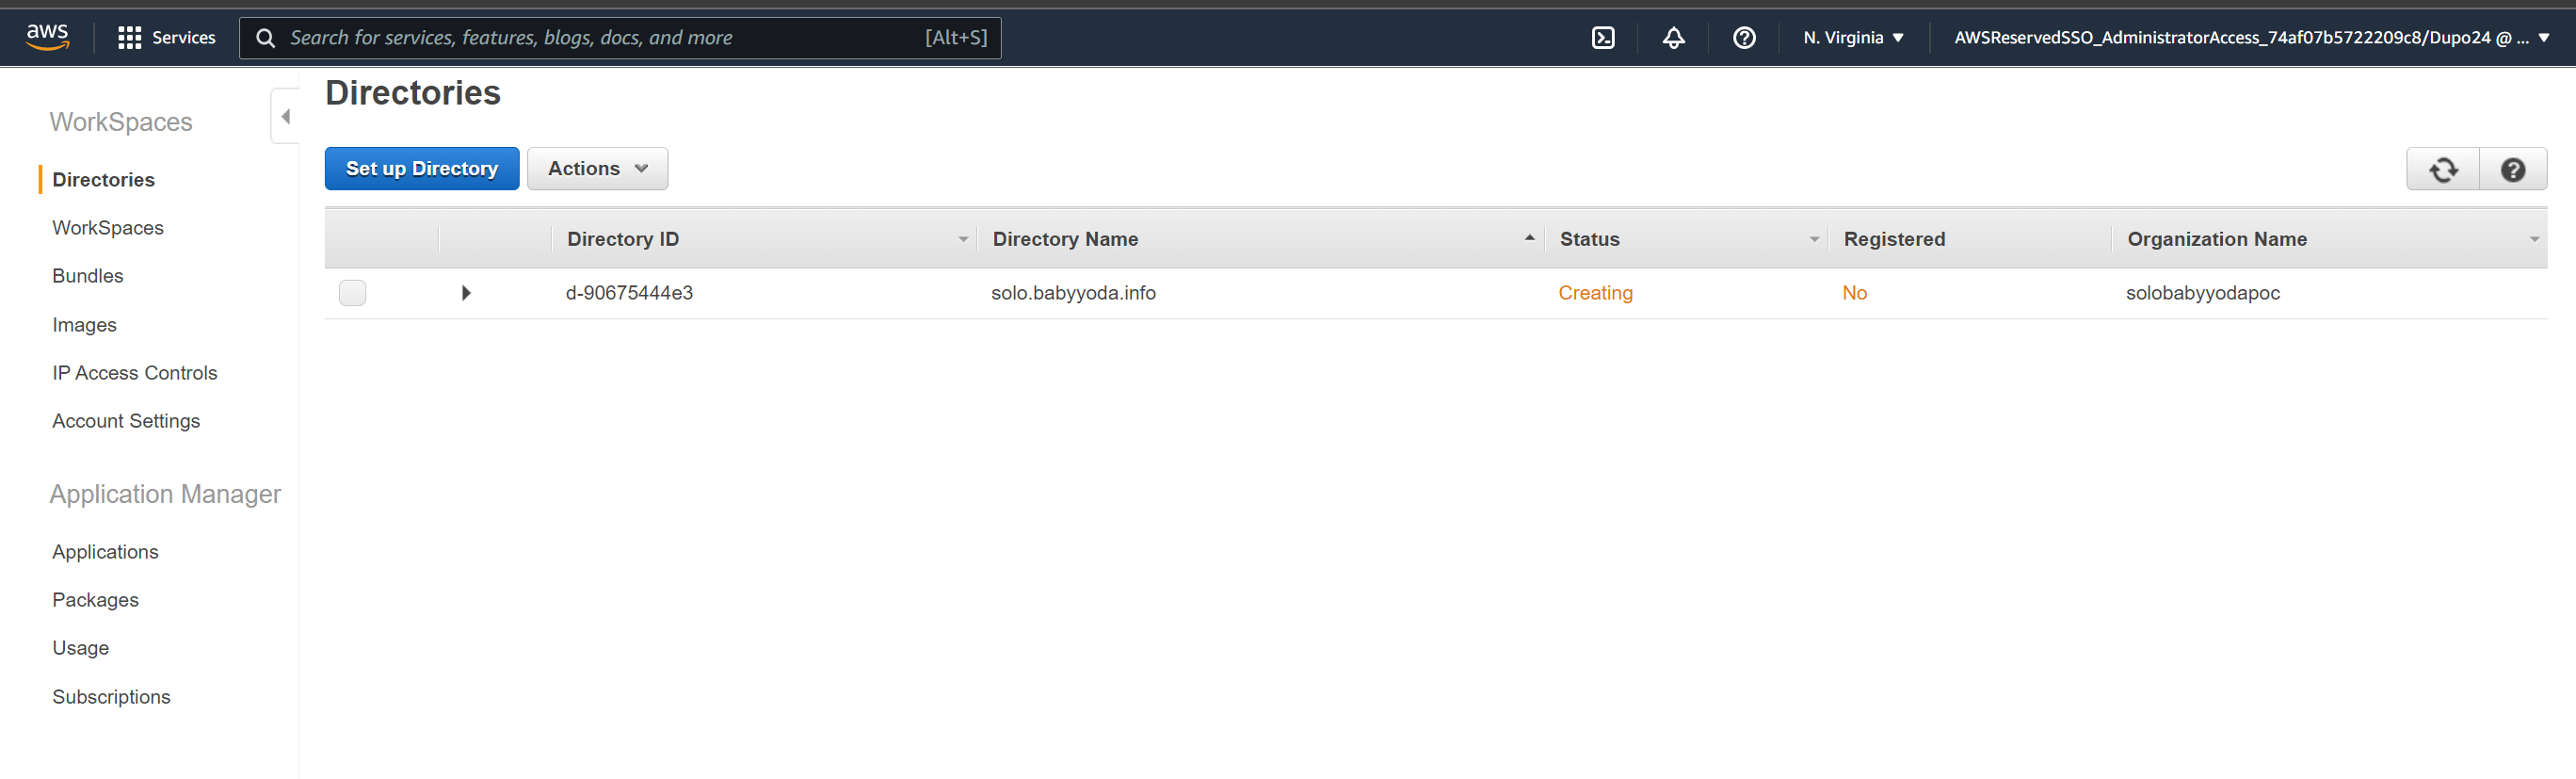
Create Workspaces
- Once this is in an Active state, click on workspaces on the left.
- Select the VPC and two of the App subnets
- Toggle Workdocs and self service permissions to off and click next step.
- Create your username using a personal email address. You'll get emailed some setup steps.
- Click next and select your OS and VDI size
- At the bottom, you can select specific sizes of your volumes.
- Select AutoStop and leave it at One Hour.
- You can select encryption using KMS here if needed, but to keep it simple, scroll down and select Next Step and Launch Workspaces.
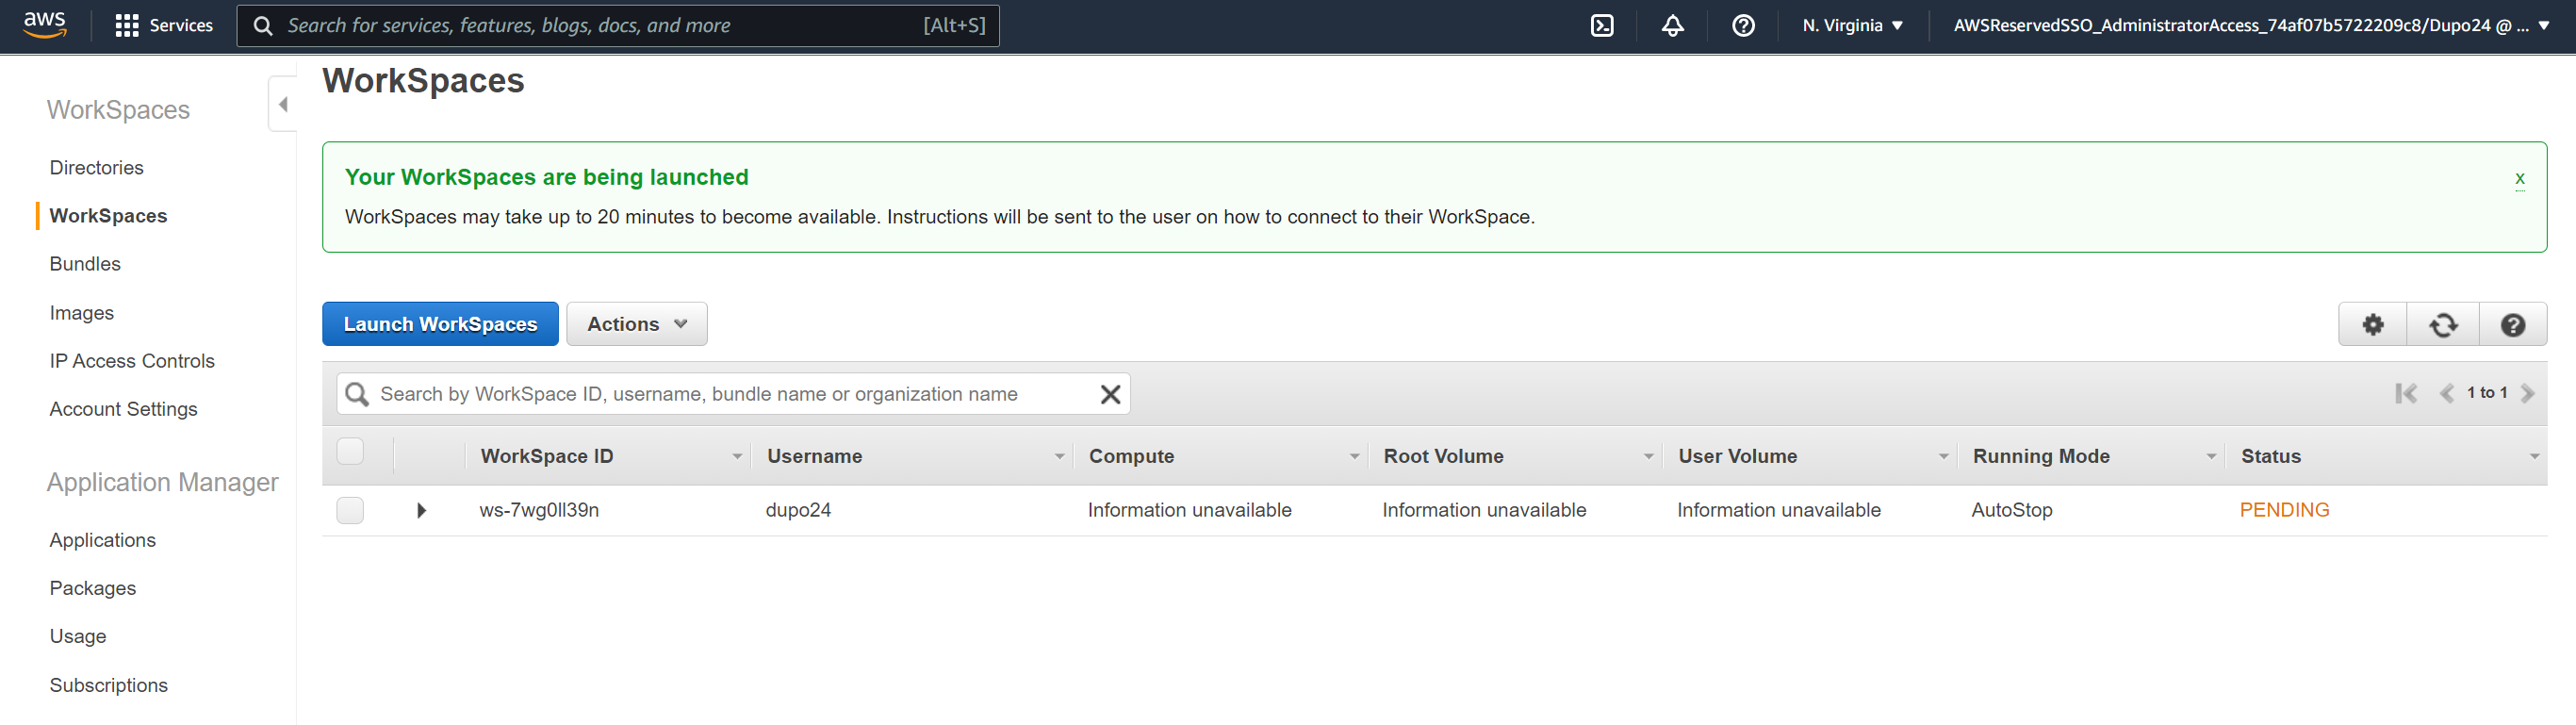
Access Workspace
- You'll get an email such as the one below when this has been provisioned.
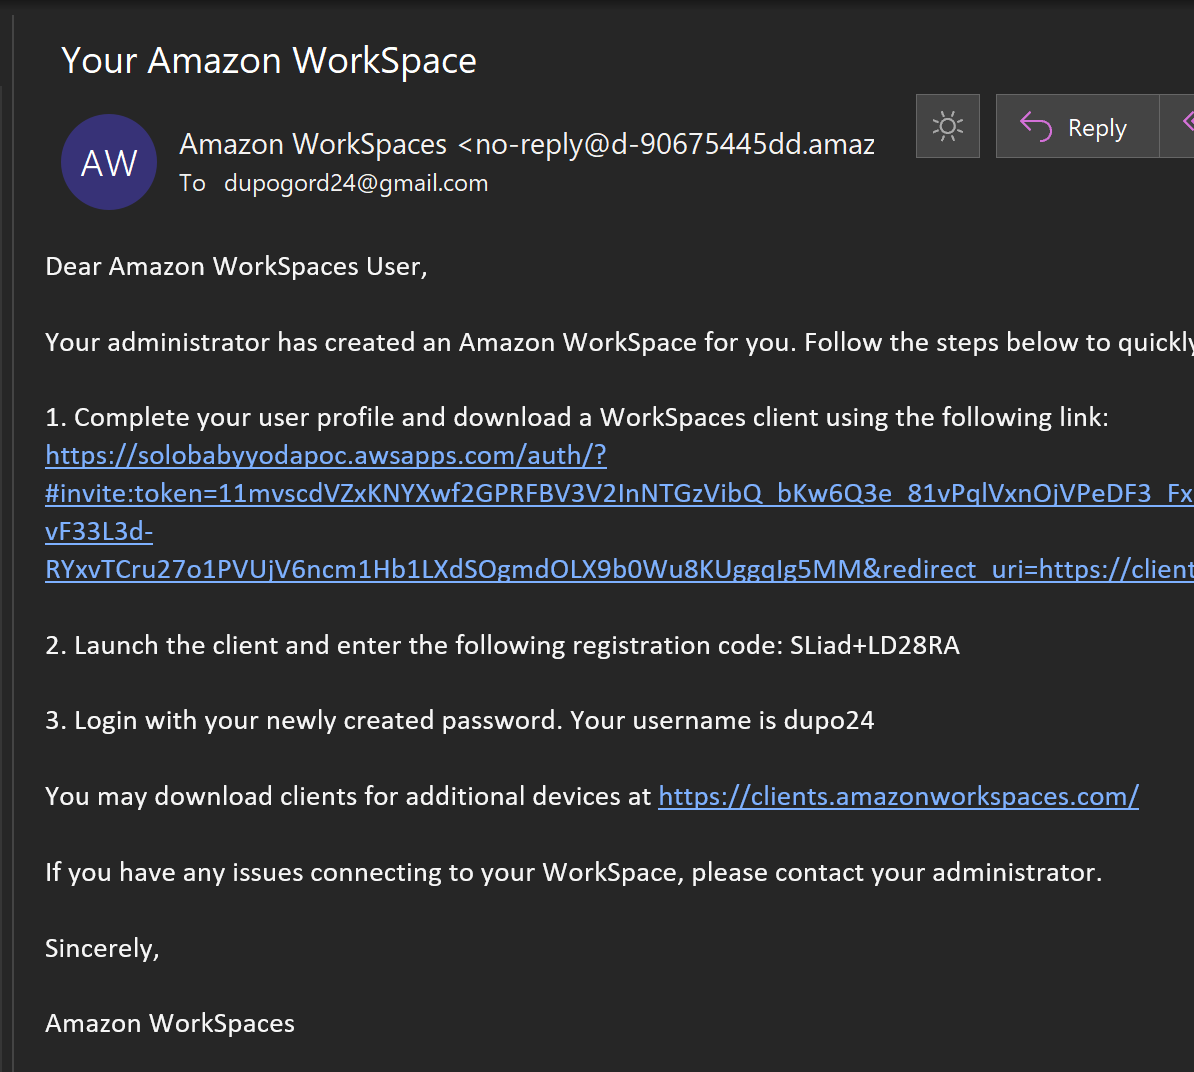
- Set your password up for the user (different from the Administrator)
- Download the access client and install.
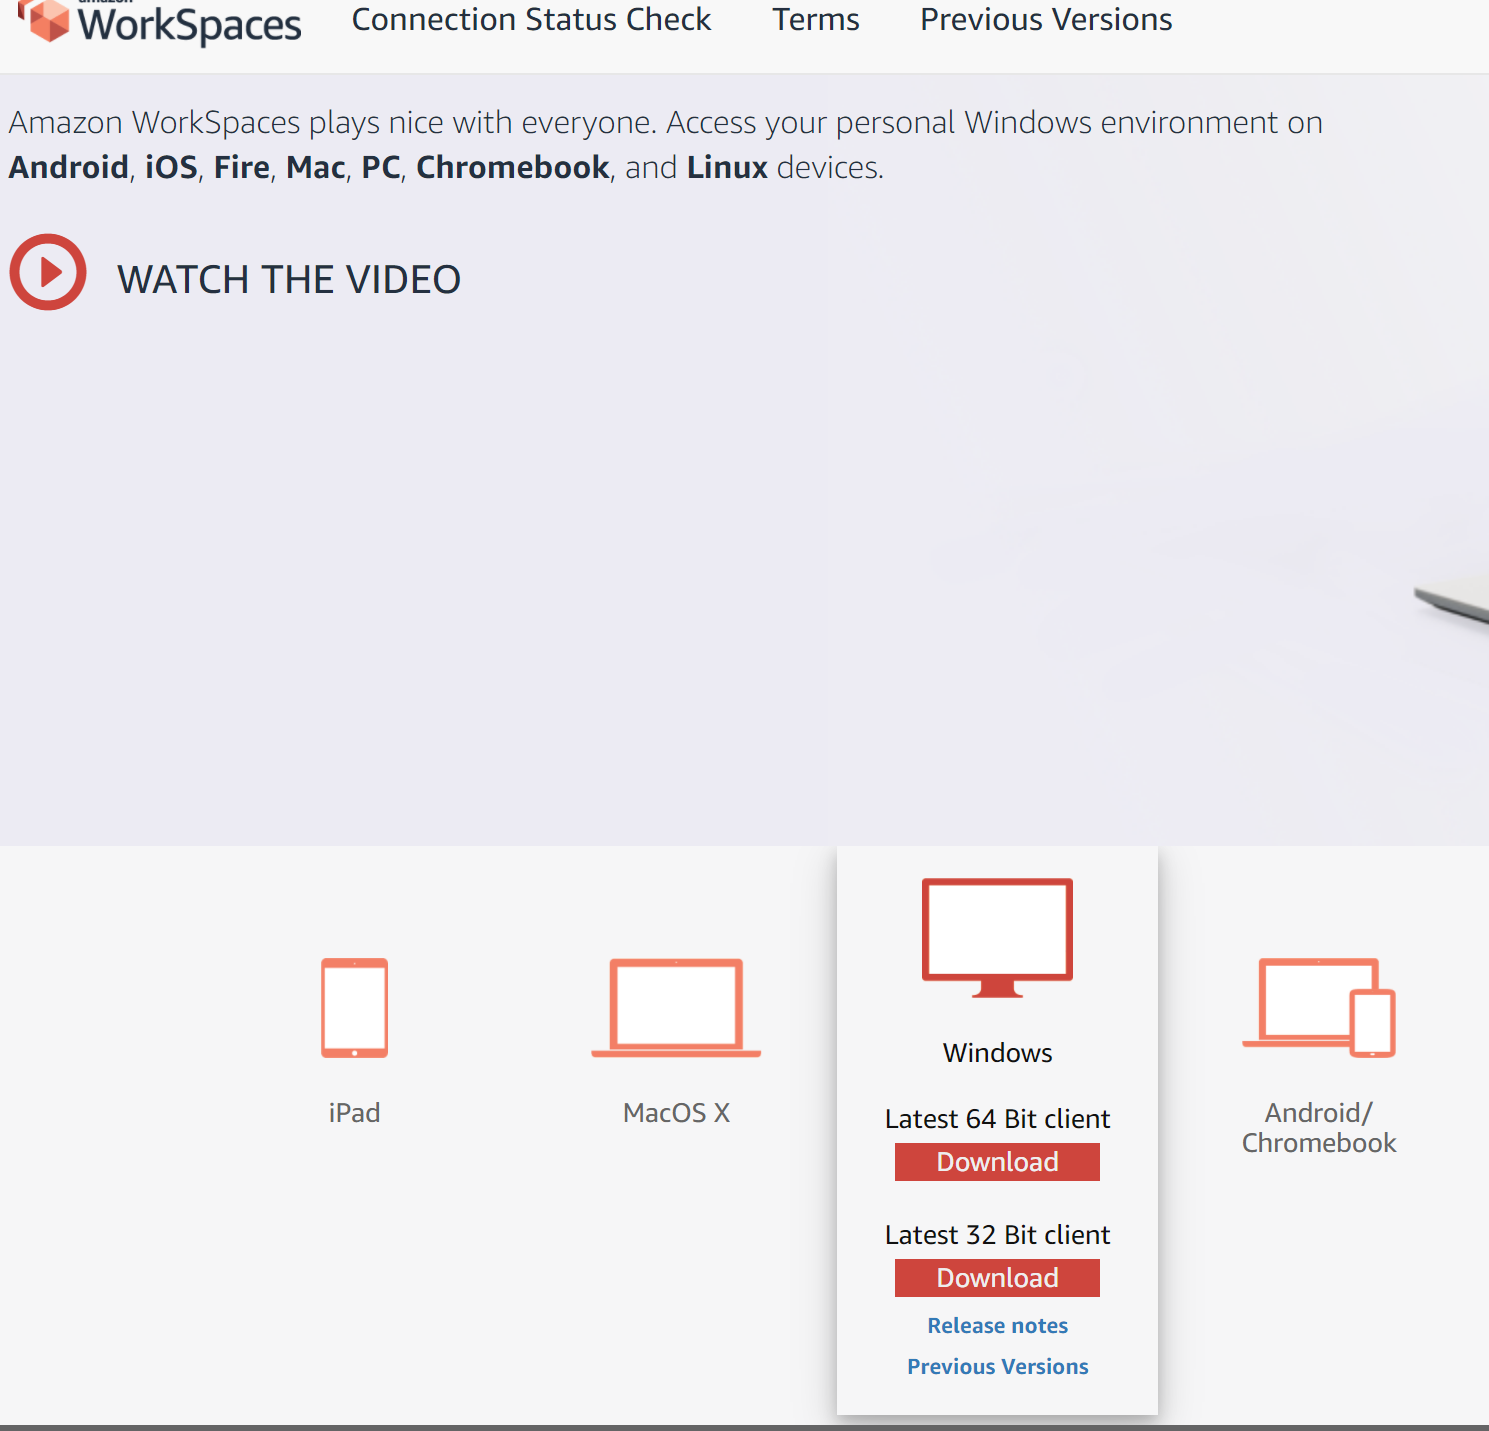
- Open Amazon Workspaces on your machine.
- Enter in the registration code from your email. You'll be taken to this screen to log in:
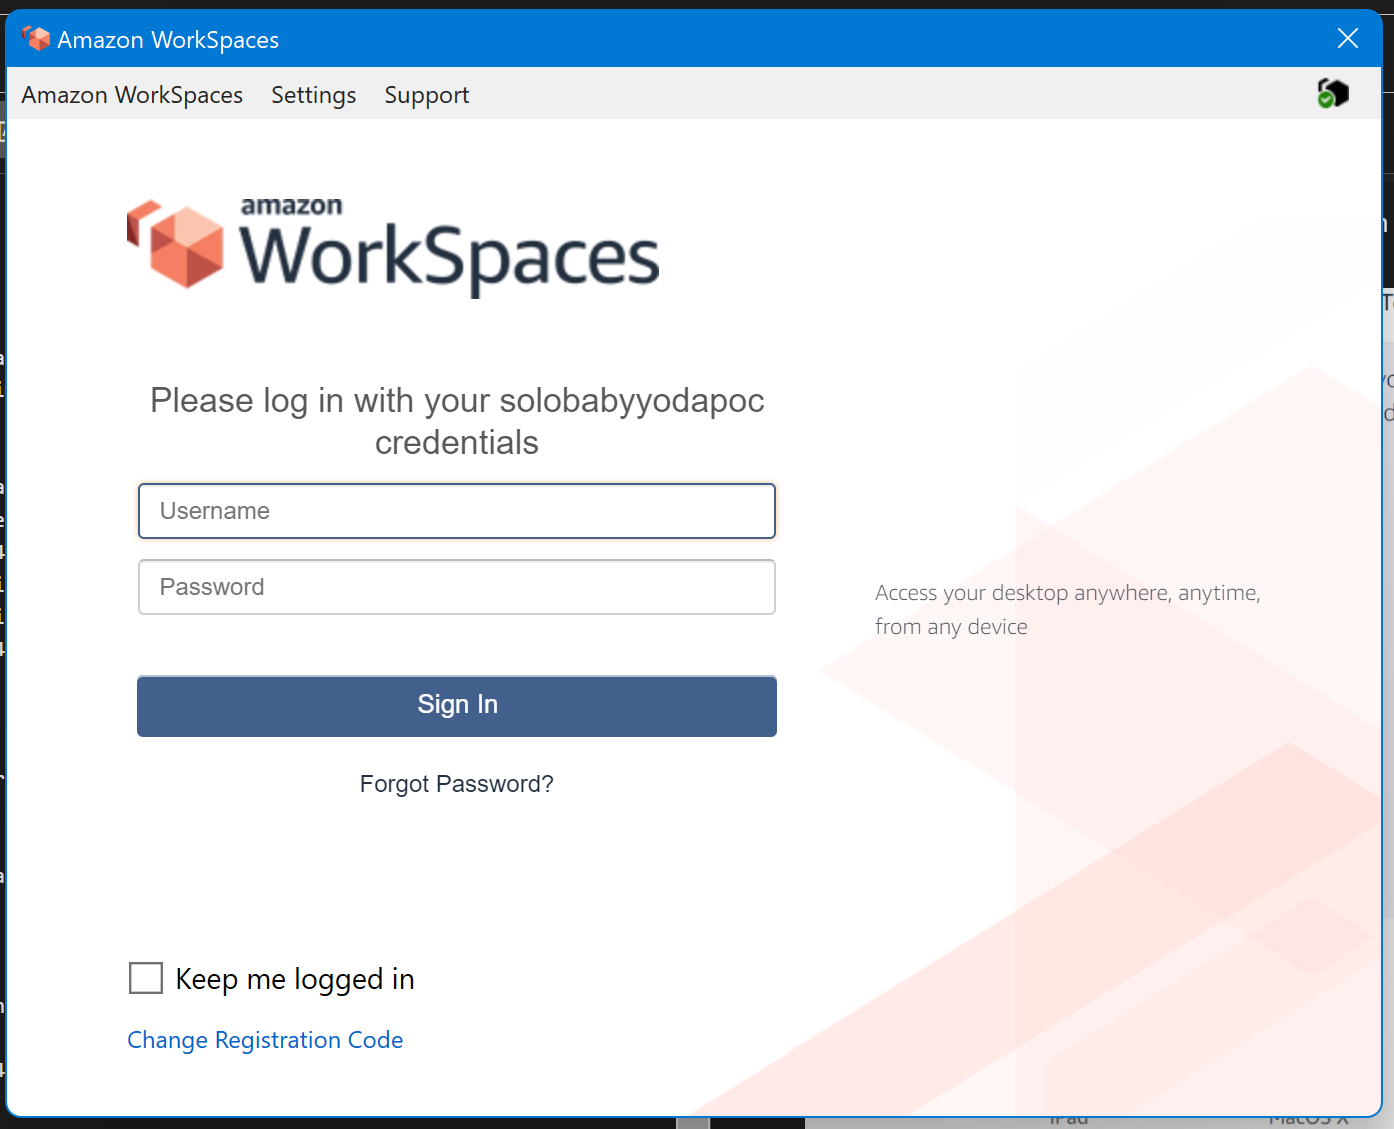
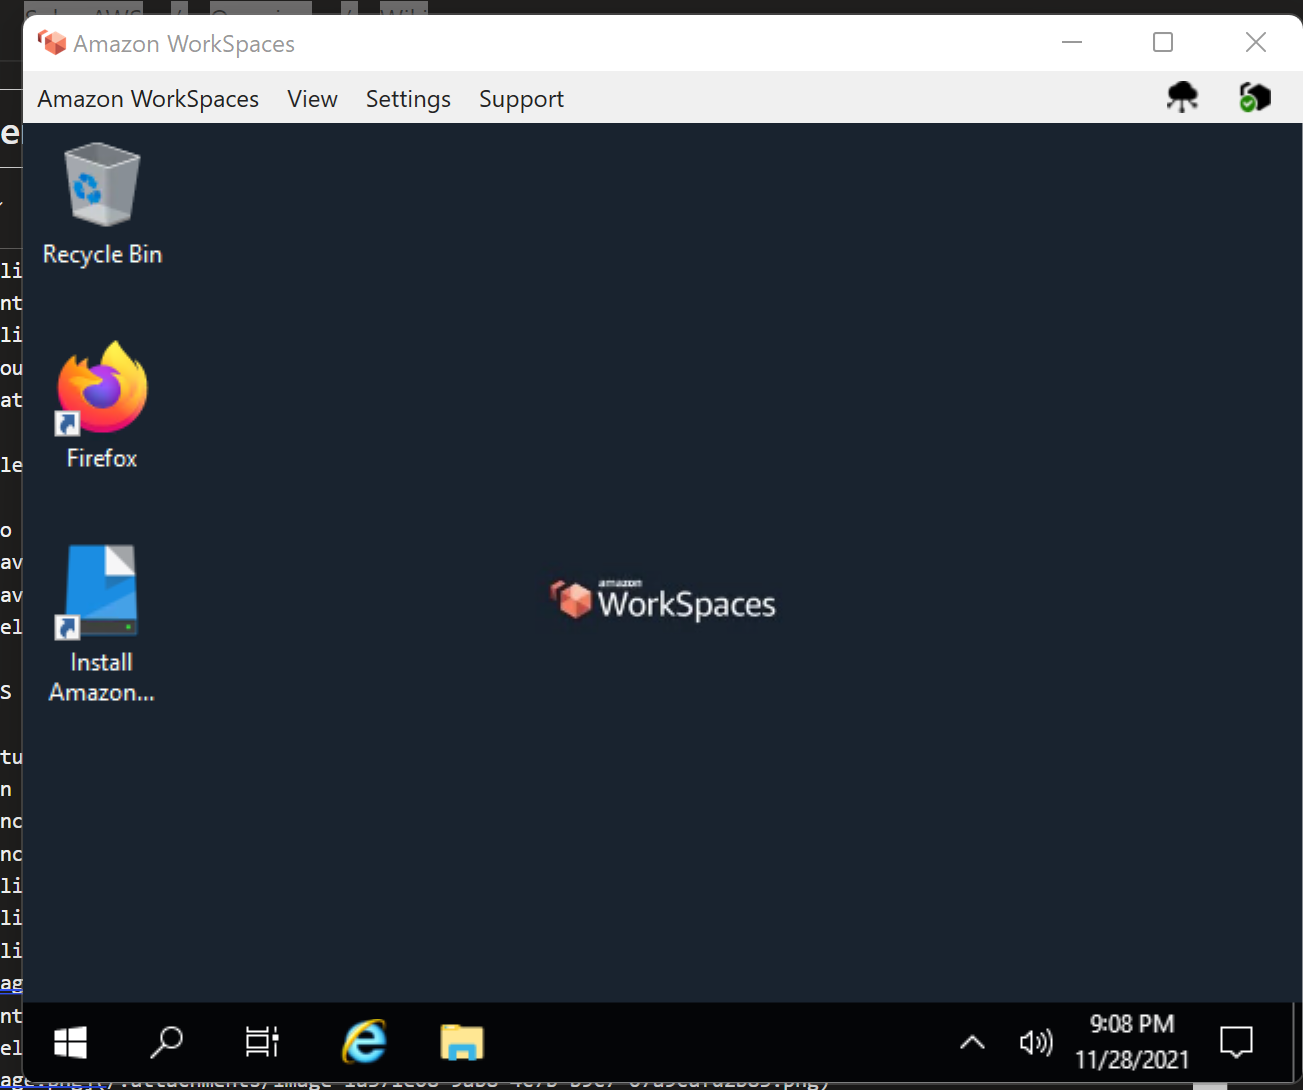
- Once you're logged in, you'll see your newly provisioned WorkSpace, hopefully not as small as mine.
Clean Up
Remove workspaces Remove directory by deregistering and deleting. Delete stack.