Azure-Repos-GIt-Command-Cheat-Sheet-v2
git status git add . git commit -m "commit message" git push
Basics
git fetch git merge git pull
Creating a remote repo in ADO from local repo
Setup local repo using git
- Create a new folder that we're going to use for this local repository
- Run
git initin this folder in the terminal - View the contents of this folder by running
ls -la - Run
dotnet new webappto create a new templated webapp - run
git status - run
git add .to add these - Run
git commit -m "Init Commit" - Run
git statusagain.
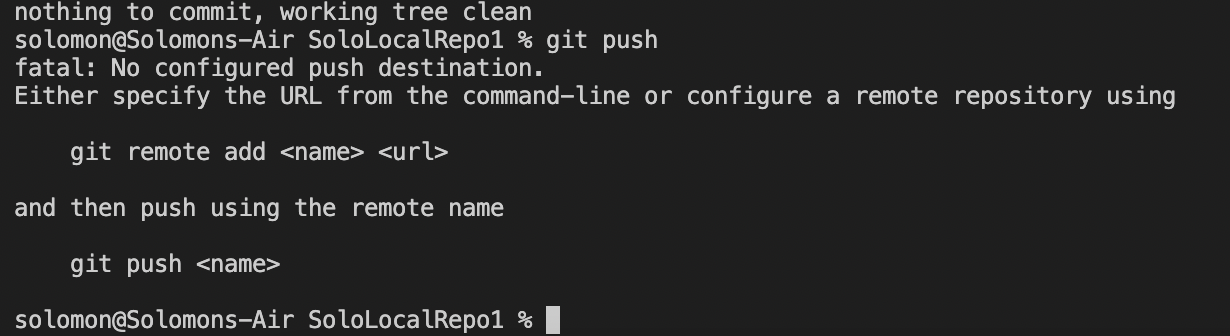
Push to?
You're probably thinking right now, yeah all we need to do is a git push
- Back in ADO, create a new repository for this, making sure it's an empty repo (uncheck the add a ReadMe file)
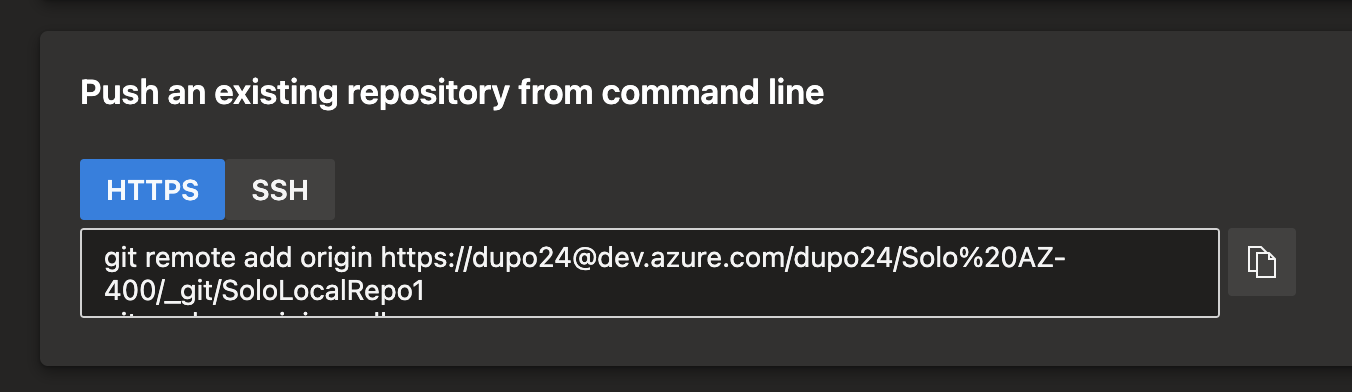
- You'll get an empty repo and something like this:
- Back inside your terminal, run
git remoteand it should come up blank - Run
git remote add origin https://linktotherepo - Then run
git remoteand it should come up with the origin. - Run
git push origin masterto push the contents up to our newly created repo
Pull Requests
Git Workflow
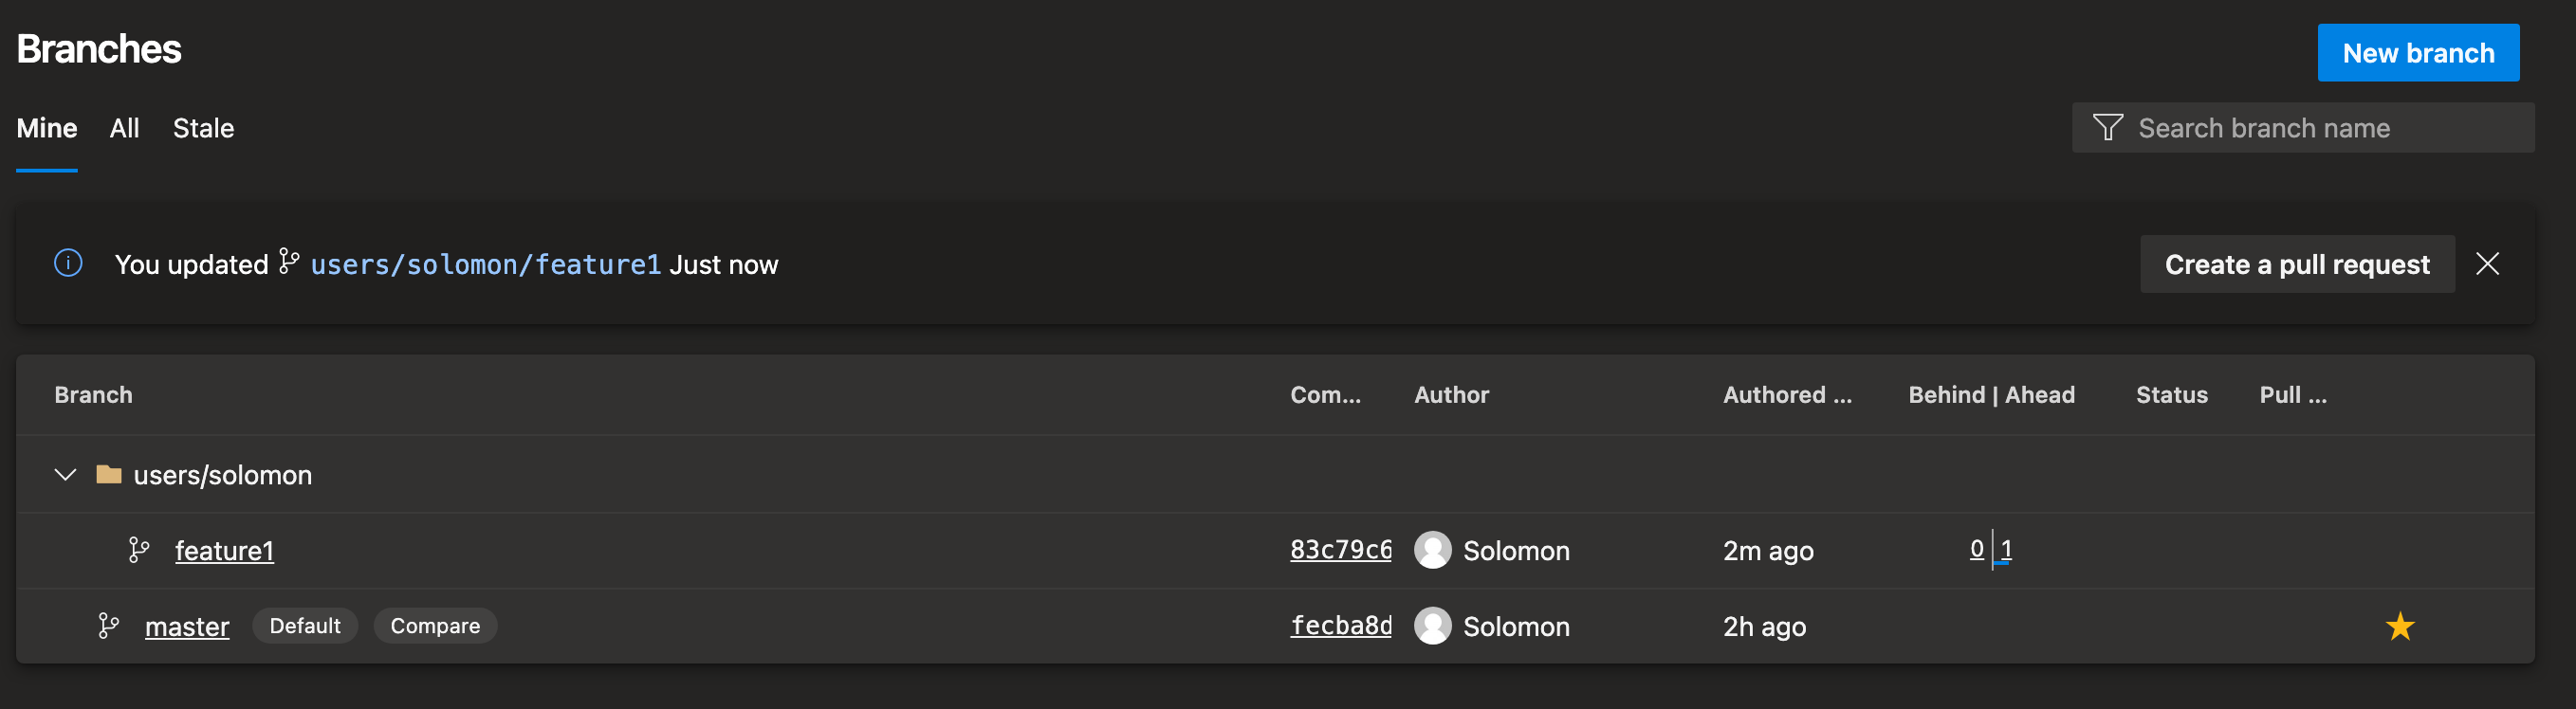
Create new branch
Run git branch users/solo/feature1 to create a feature branch.
2. Run git branch to view the branches.
3. Run git checkout users/solo/feature1 to switch to the feature branch you created.
4. In VSCode, note that the bottom left shows the users/solo/feature1 branch
5. Change some code around in the Readme file and then commit and push using `git push origin users/solo/feature1.
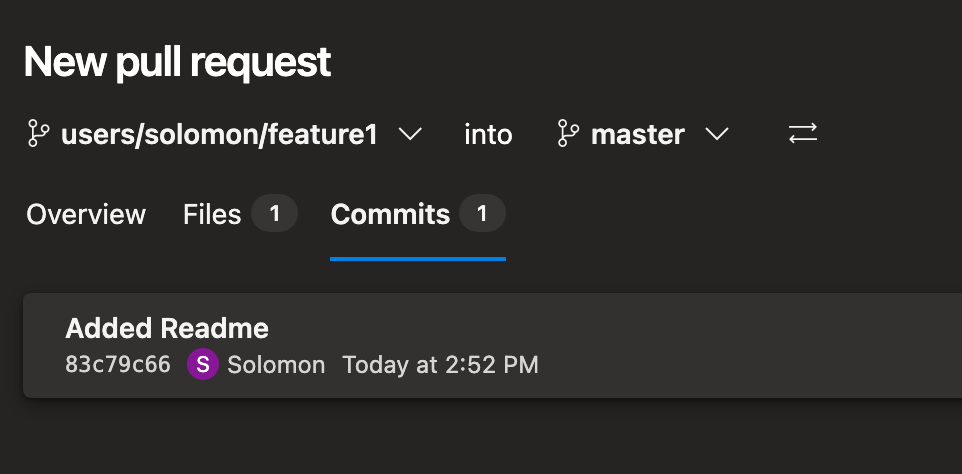
Create pull request
- Navigate to Pull Requests in the menu.
- Click Create Pull Request
- Select your new branch as the source, and the master branch as the destination to pull your branch into master. Click Complete
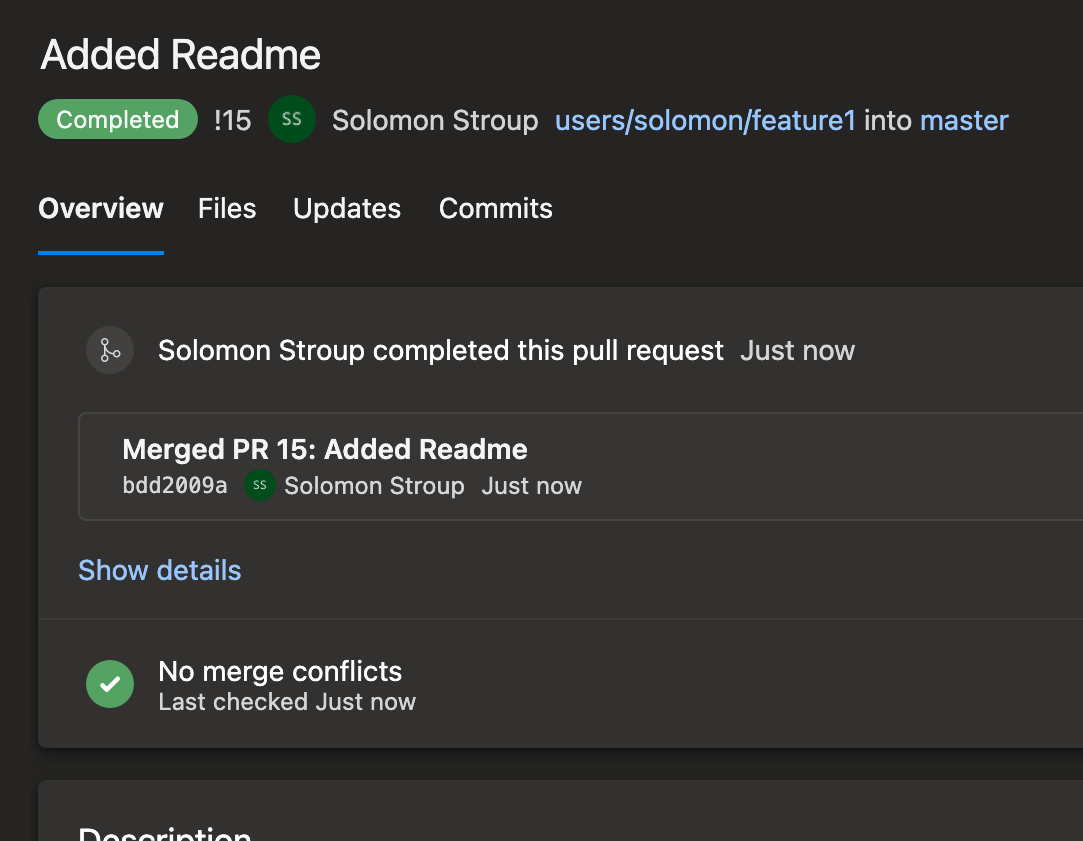
- Approve and Complete.