Demo - Site to Site VPN
- Log into your AWS account in the N. Virginia region
- Apply CFN template here.
- Navigate to your EC2 console and grab the IP address to the EC2 Instance A
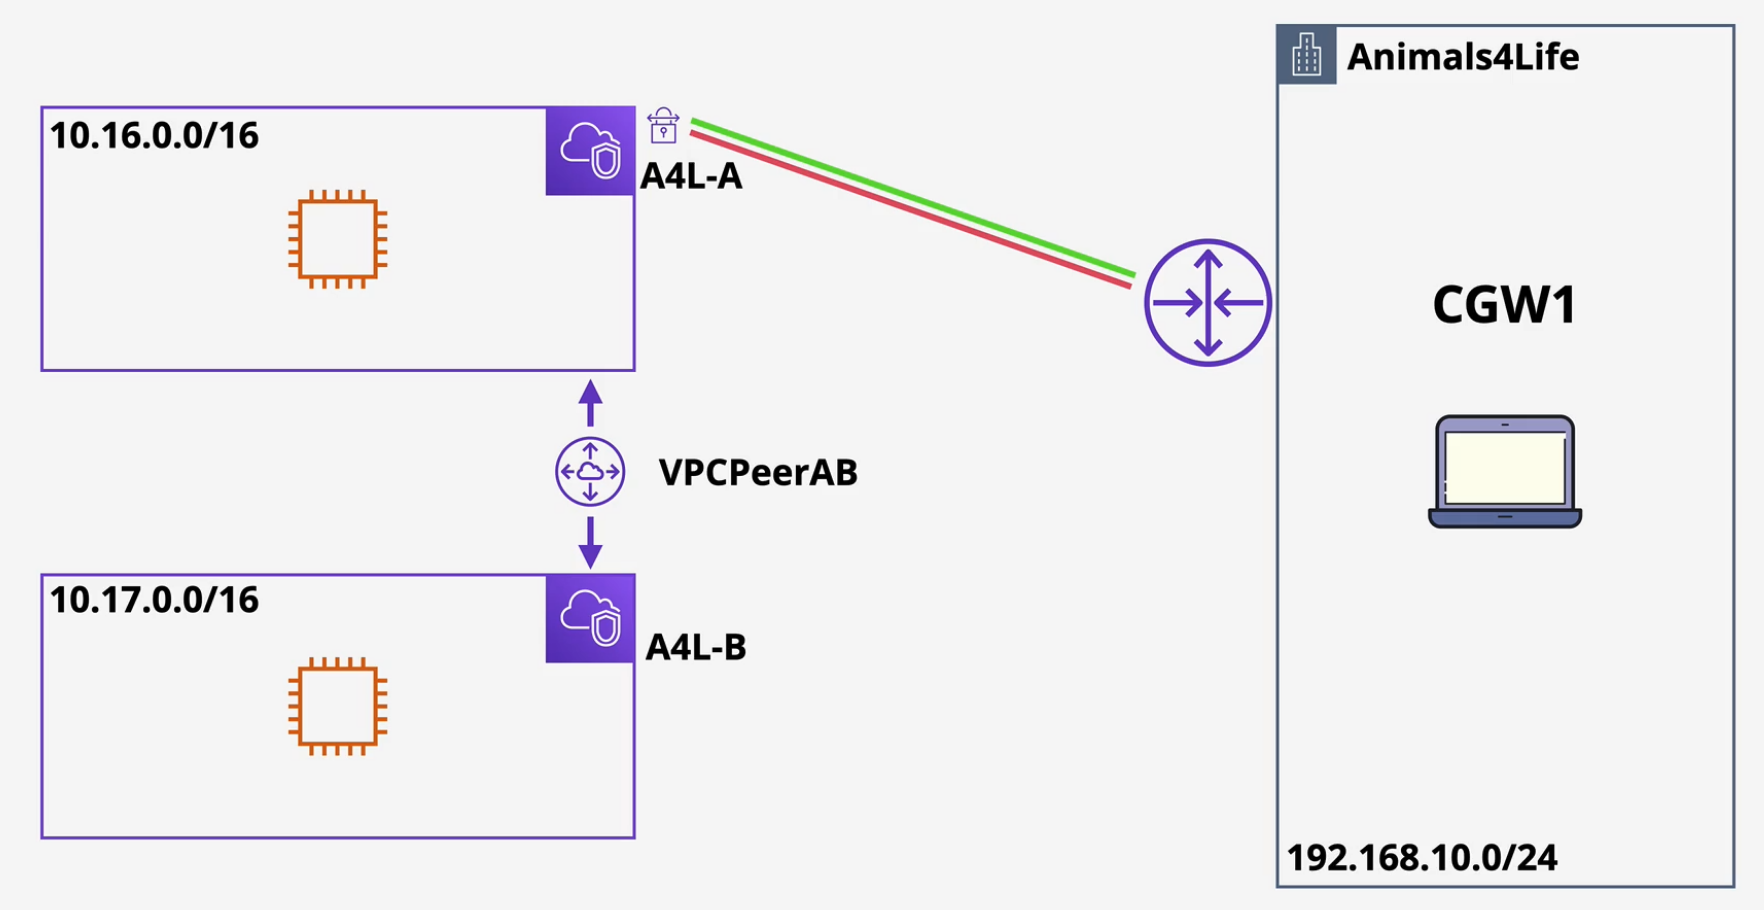
Customer Gateway
- Navigate to the VPC console and click on Customer Gateway and click create
- Enter in the IP address of your home router and add a device name and click Create.
Virtual Private Gateway
- Click on Virtual Private Gateways and click create.
- Name this and use the default Amazon ASN and click create
- Attach this to your VPC-A
Site to Site VPN
- Click on Site to Site VPN
- Name this, click the Virtual Private Gateway
- Click the Customer Gateway.
- Select Static routing options
- Add your CIDR range for your on prem network.
- Accept the Amazon Generated Values and click Create
- Wait for this to connect.
Download your configuration
- Download the appropriate configuration for your device
- Configure your router
- Configure the route by enabling route propagation or by adding the route to the route table as your Virtual Private Gateway.
- Your Site-To-Site VPN connections should start showing UP.
Demo - Transit Gateway
Setup
- Log into AWS into the N. Virginia region.
- Deploy this CFN template here.
- Move to the EC2 Console and you should have two EC2 instances and copy down the IP address of Instance A
- run a ping to that EC2 instance.
- Connect to the EC2 instance via Session Manager and then try to ping your home network.
Transit Gateway
- Click on Transit Gateway on the left of the VPC console.
- Create Transit Gateway and name this BabyYodaTGW.
- Leave the default options checked and create the TGW
- Click on Transit Gateway Attachments and Create a Transit Gateway attachment.
- Select the transit gateway and select VPC
- Name this BYVPCA
- Enable DNS support
- Enable IPv6 if necessary.
- Select the VPC that the attachment belongs to
- Select all the subnets that you want the transit gateway to attach to.
- Click create attachment
- Repeat for VPCB.
- Wait for these attachments to complete.
Routes
- Click on Routes
- Add a route from VPCB to the transit gateway and save
- Select the route table for VPCB and create a route to VPCA to the transit gateway.
- Now rerun those pings on both the EC2 instances.
Attach VPN to On Prem.
- Ping your EC2 instance from your home network - it fails.
- Click on Customer Gateway and create a customer gateway.
- Use static routing
- Select the IP address of the home router and call it your home router.
- Click on Transit Gateway Attachments on the left of the VPC console and create another TGW attachment
- Select your Transit Gateway and then select VPN as the attachment type.
- Select your Customer Gateway that you created
- Select Static routing and then click Create Attachment.
- Click on the Site To Site VPN connection and you'll notice one has been created.
- Wait for these both to change to Available.
- Navigate to Transit Gateway Route Tables
- Click routes and then create a route
- Add the CIDR of your home network and choose the VPN TGW attachment.
- Download the configuration and select Generic
- Configure your home network appropriately.
- Add the route to your VPN in the route table. You can now ping from home network to your EC2 instances - both of them.
Clean up
Delete routes Delete VPN connection Unconfigure your router Delete your TGW and attachments. Delete stack.