[[TOC]]
Demo: Creating container of cats Docker image
Prerequisites:
- EC2 Amazon Linux instance - t2.micro 8gib storage with open http/ssh ports in the security group
- DockerHub account
Getting Started
- Run
sudo amazon-linux-extras install dockerto install the docker container engine onto your EC2 instance. - Start the service by running
sudo service docker start - If we try to run docker ps now, it will fail as we don't have permissions
- Run
sudo usermod -a -G docker ec2-userandexit - Log back into the instance and you'll be able to run
docker ps - Install Git -
sudo yum install git - Clone down the repository into this folder by running
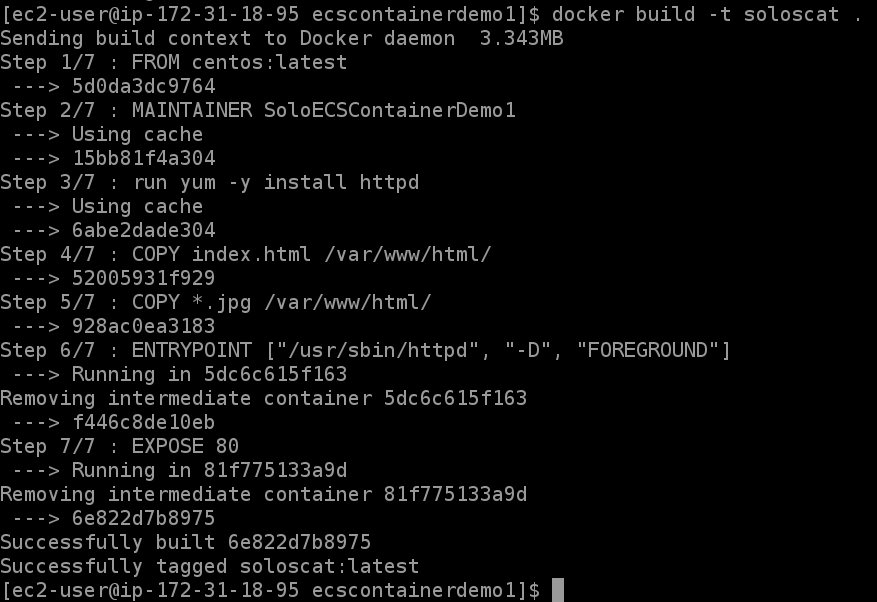
git clone https://github.com/Dupo24/ecscontainerdemo1.git cdinto this directory and then build the image by runningdocker build -t soloscat .
- Run the container:
docker run -t -i -p 80:80 soloscat - Navigate to the IP address and you should see the page below:
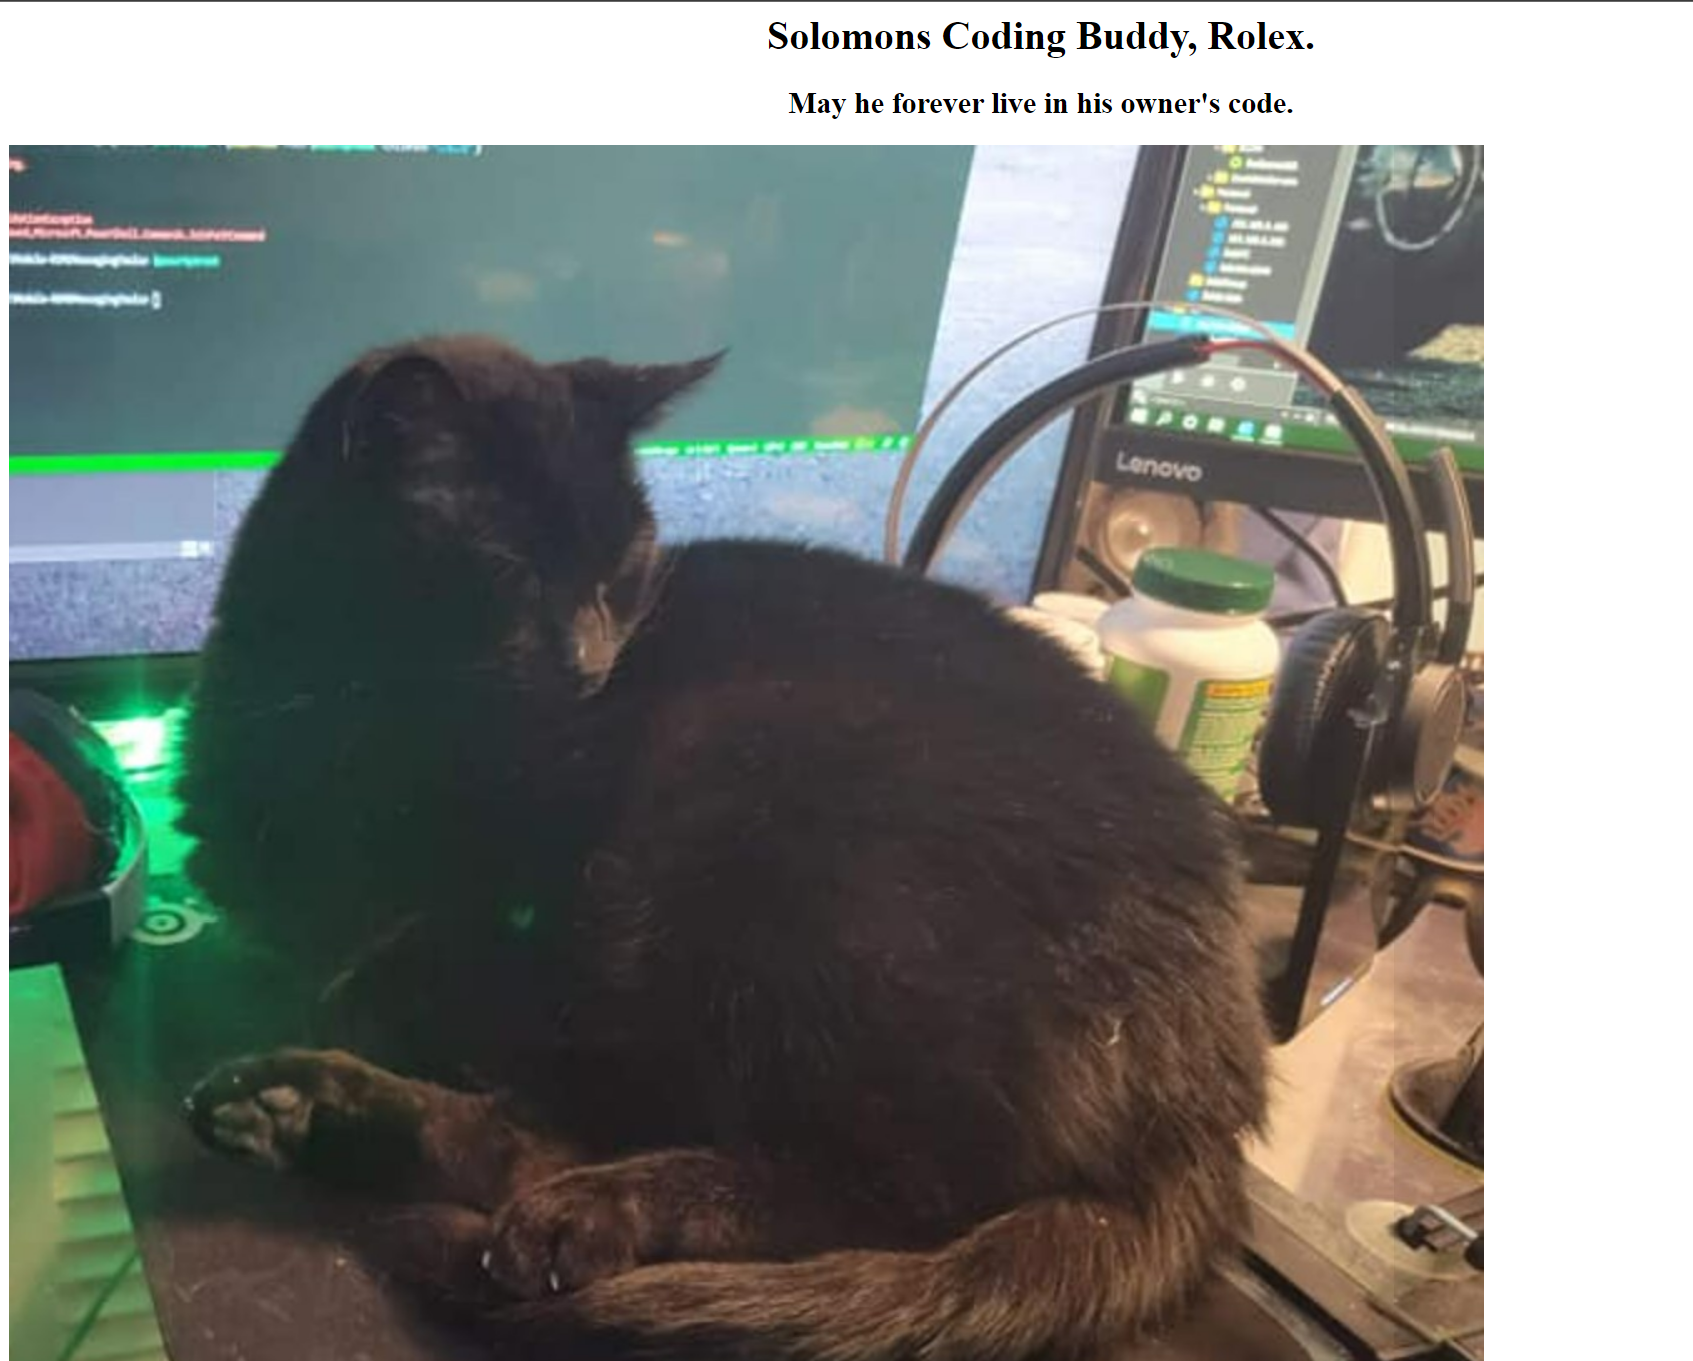
- It's a pretty simple version of what could be a production app, I just wanted to create a simple website dedicated to my little coding buddy, Rolex, who passed away here in Oct 2021 in the middle of my AWS learning experience.
Uploading your image to DockerHub
- In your ec2 instance, log into your dockerhub account using
docker login --username yourusername - You will be prompted for your password here.
- Run
docker images - Copy the image ID of the specific image tag that you want to upload
- Run
docker tag 4a52d70afb12 solostroup/soloscatreplacing the number with your ID and the solostroup with your dockerhub ID. - Push the image up to your DockerHub image repository by running
docker push solostroup/soloscat:latest
Clean up
Terminate the EC2 instance Delete the image from your dockerhub repository if you wish.
Demo: Deploying this container image using Fargate
Basically we're just going to take the container that we have create above into AWS Fargate.
Create the Fargate cluster
- Navigate to the ECS console
- Click on Clusters and then Create Cluster
- Select the Networking Only cluster.
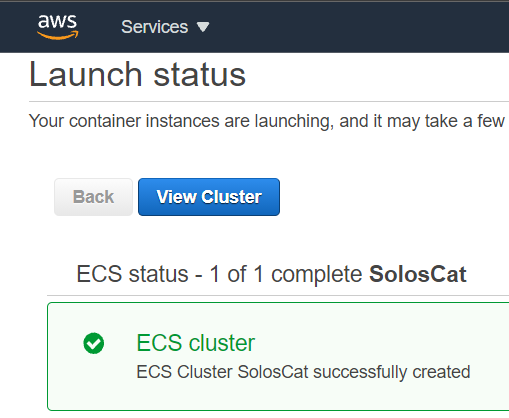
- Name the cluster SolosCat
- Leave the Create VPC box unchecked and click Create.
a. if you get an error here about some services not linking, just go back and start over.
- Browse through the options for this Fargate cluster if you wish
Create Task Definition to run image
- Click Task Definitions and click Create New Task Definition
- Select the Fargate definition.
- Name the task definition "SolosCat"
- Select 1gb and 0.5 CPU
- Click Add Container
- Name this one SolosCatWeb (as in the web component of what could be a full stack)
- in the image field, add the link to your repository in the format
dockerio/dockerid/imagename. Example: docker.io/solostroup/soloscat - Set the soft memory limit to 1gb (1024mb)
- Select port 80 (http port) for the web app
- Browse through the rest of the options if you wish and then click Add at the bottom
- Browse through the options and the click Create
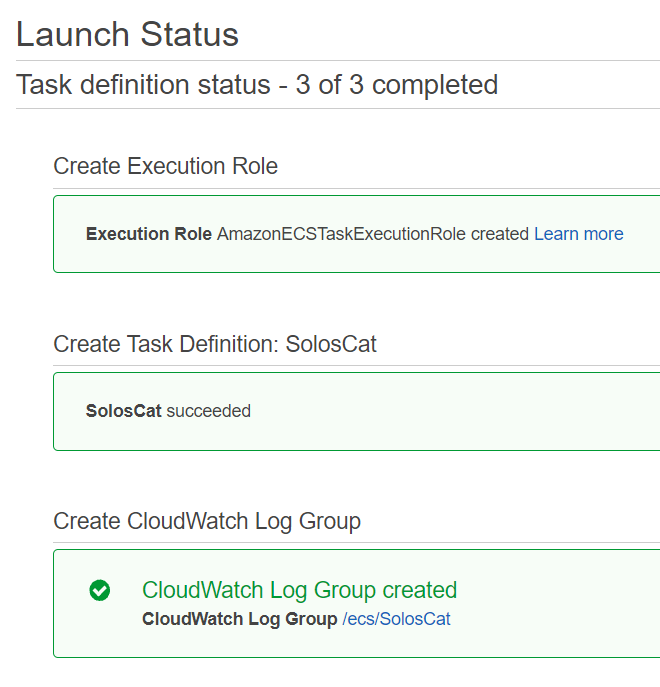
Viewing the Task Definition
- Click View Task Definition or go back to the ECS console and select Task Definitions and then your task.
- You can view the raw JSON of the task before you can launch.
Creating Container on your Fargate Cluster
- Click on Clusters
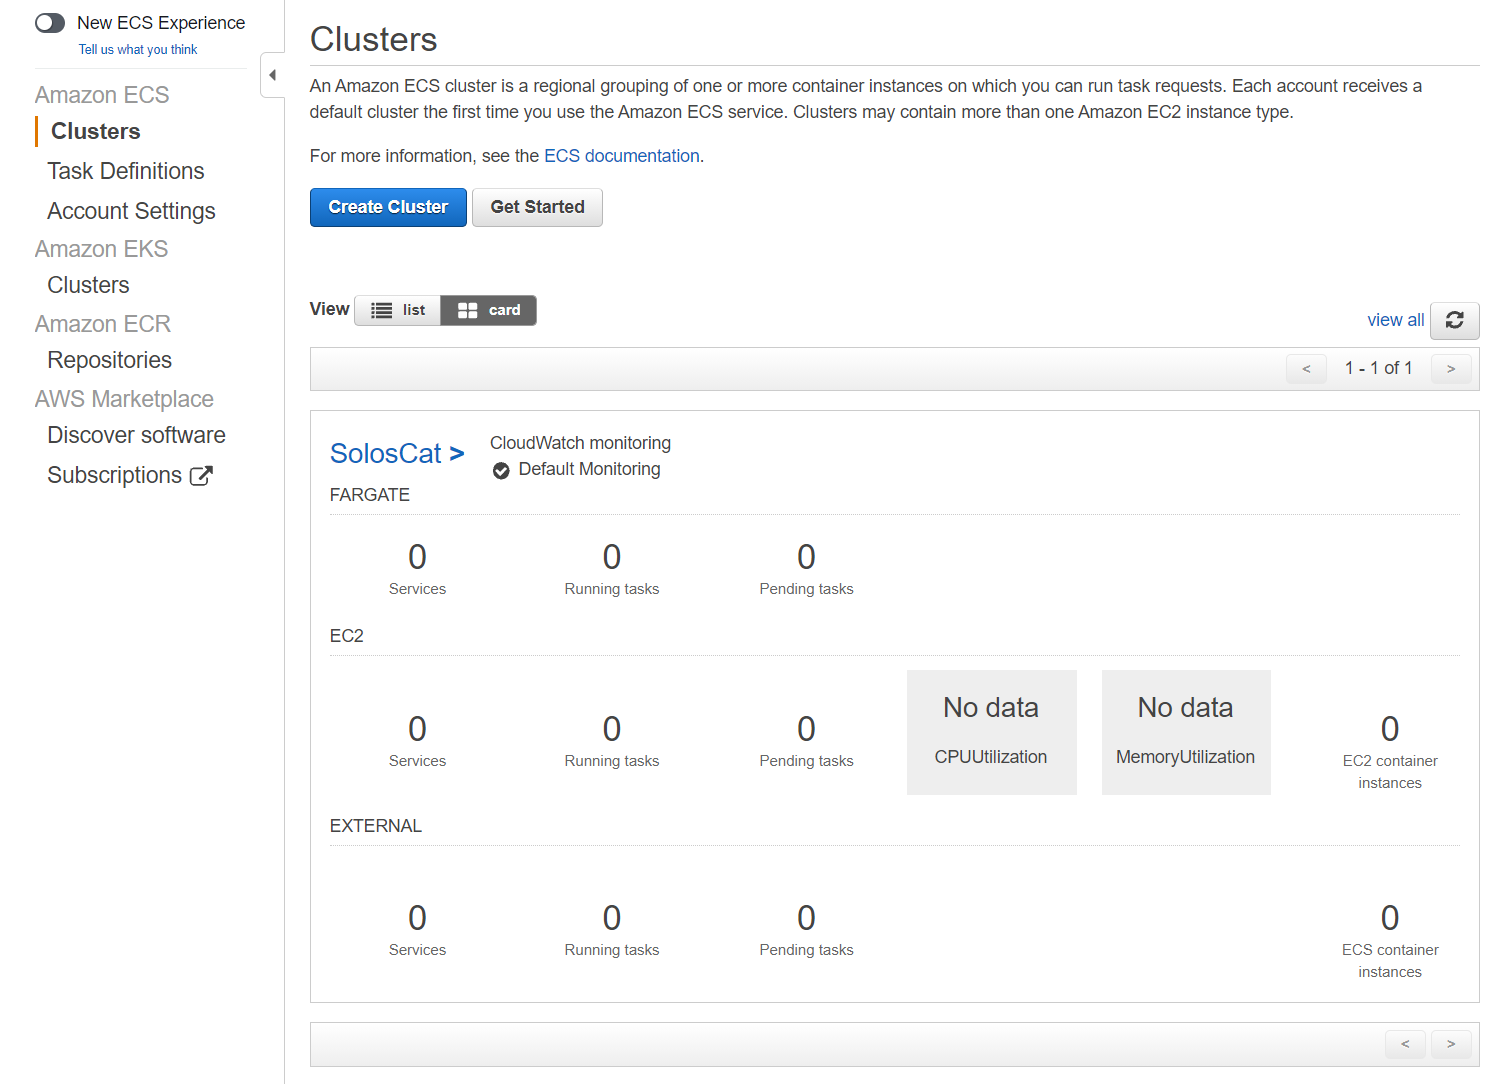
- Click on your cluster that you created
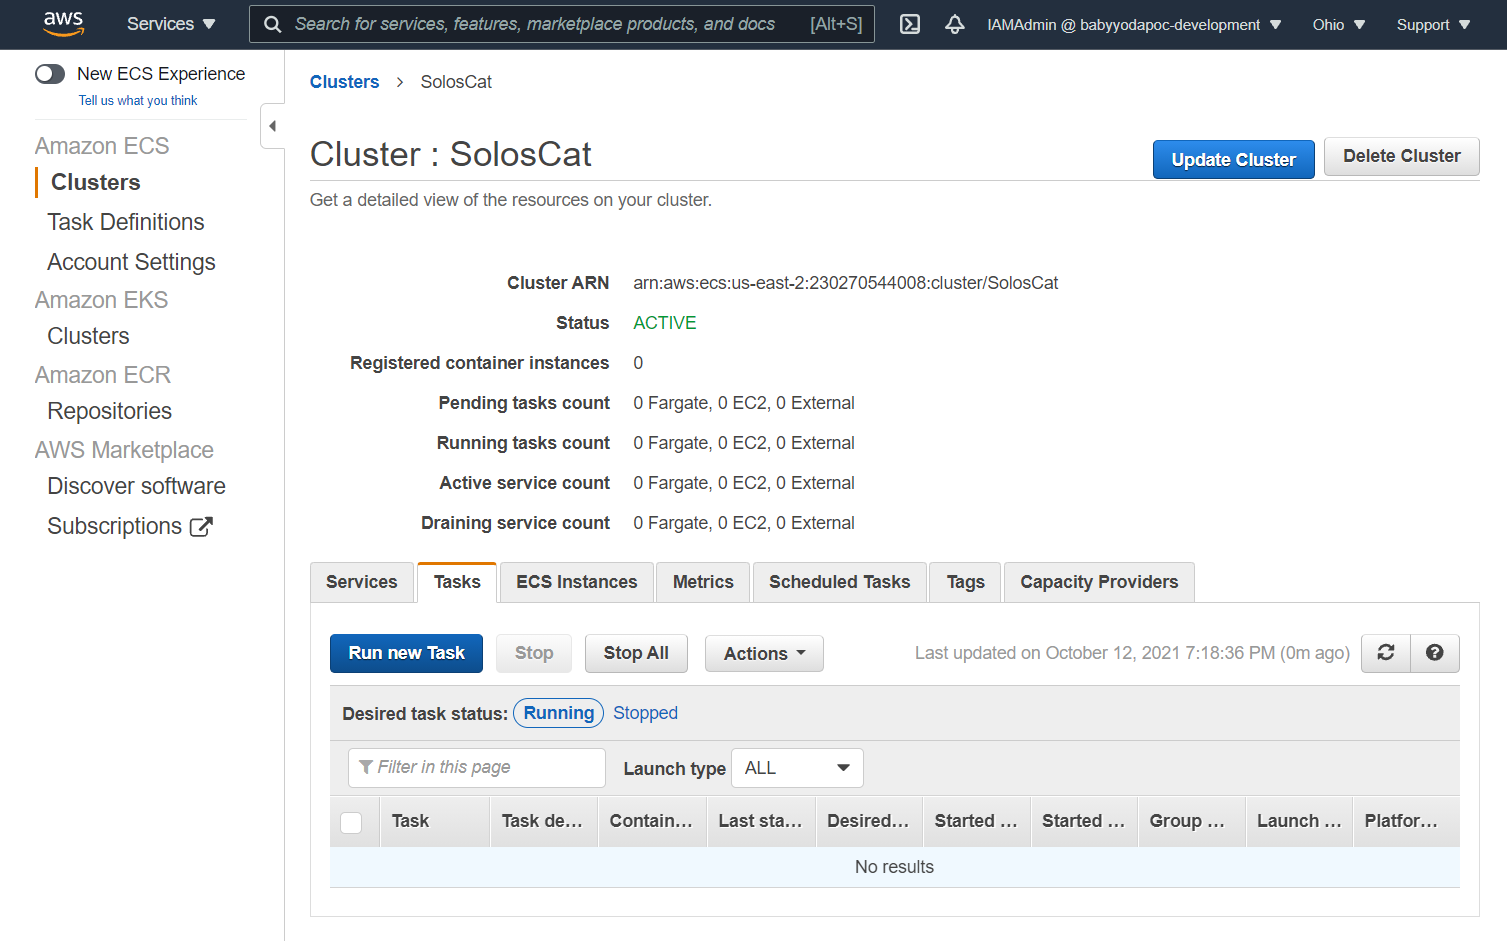
- Click Run New Task
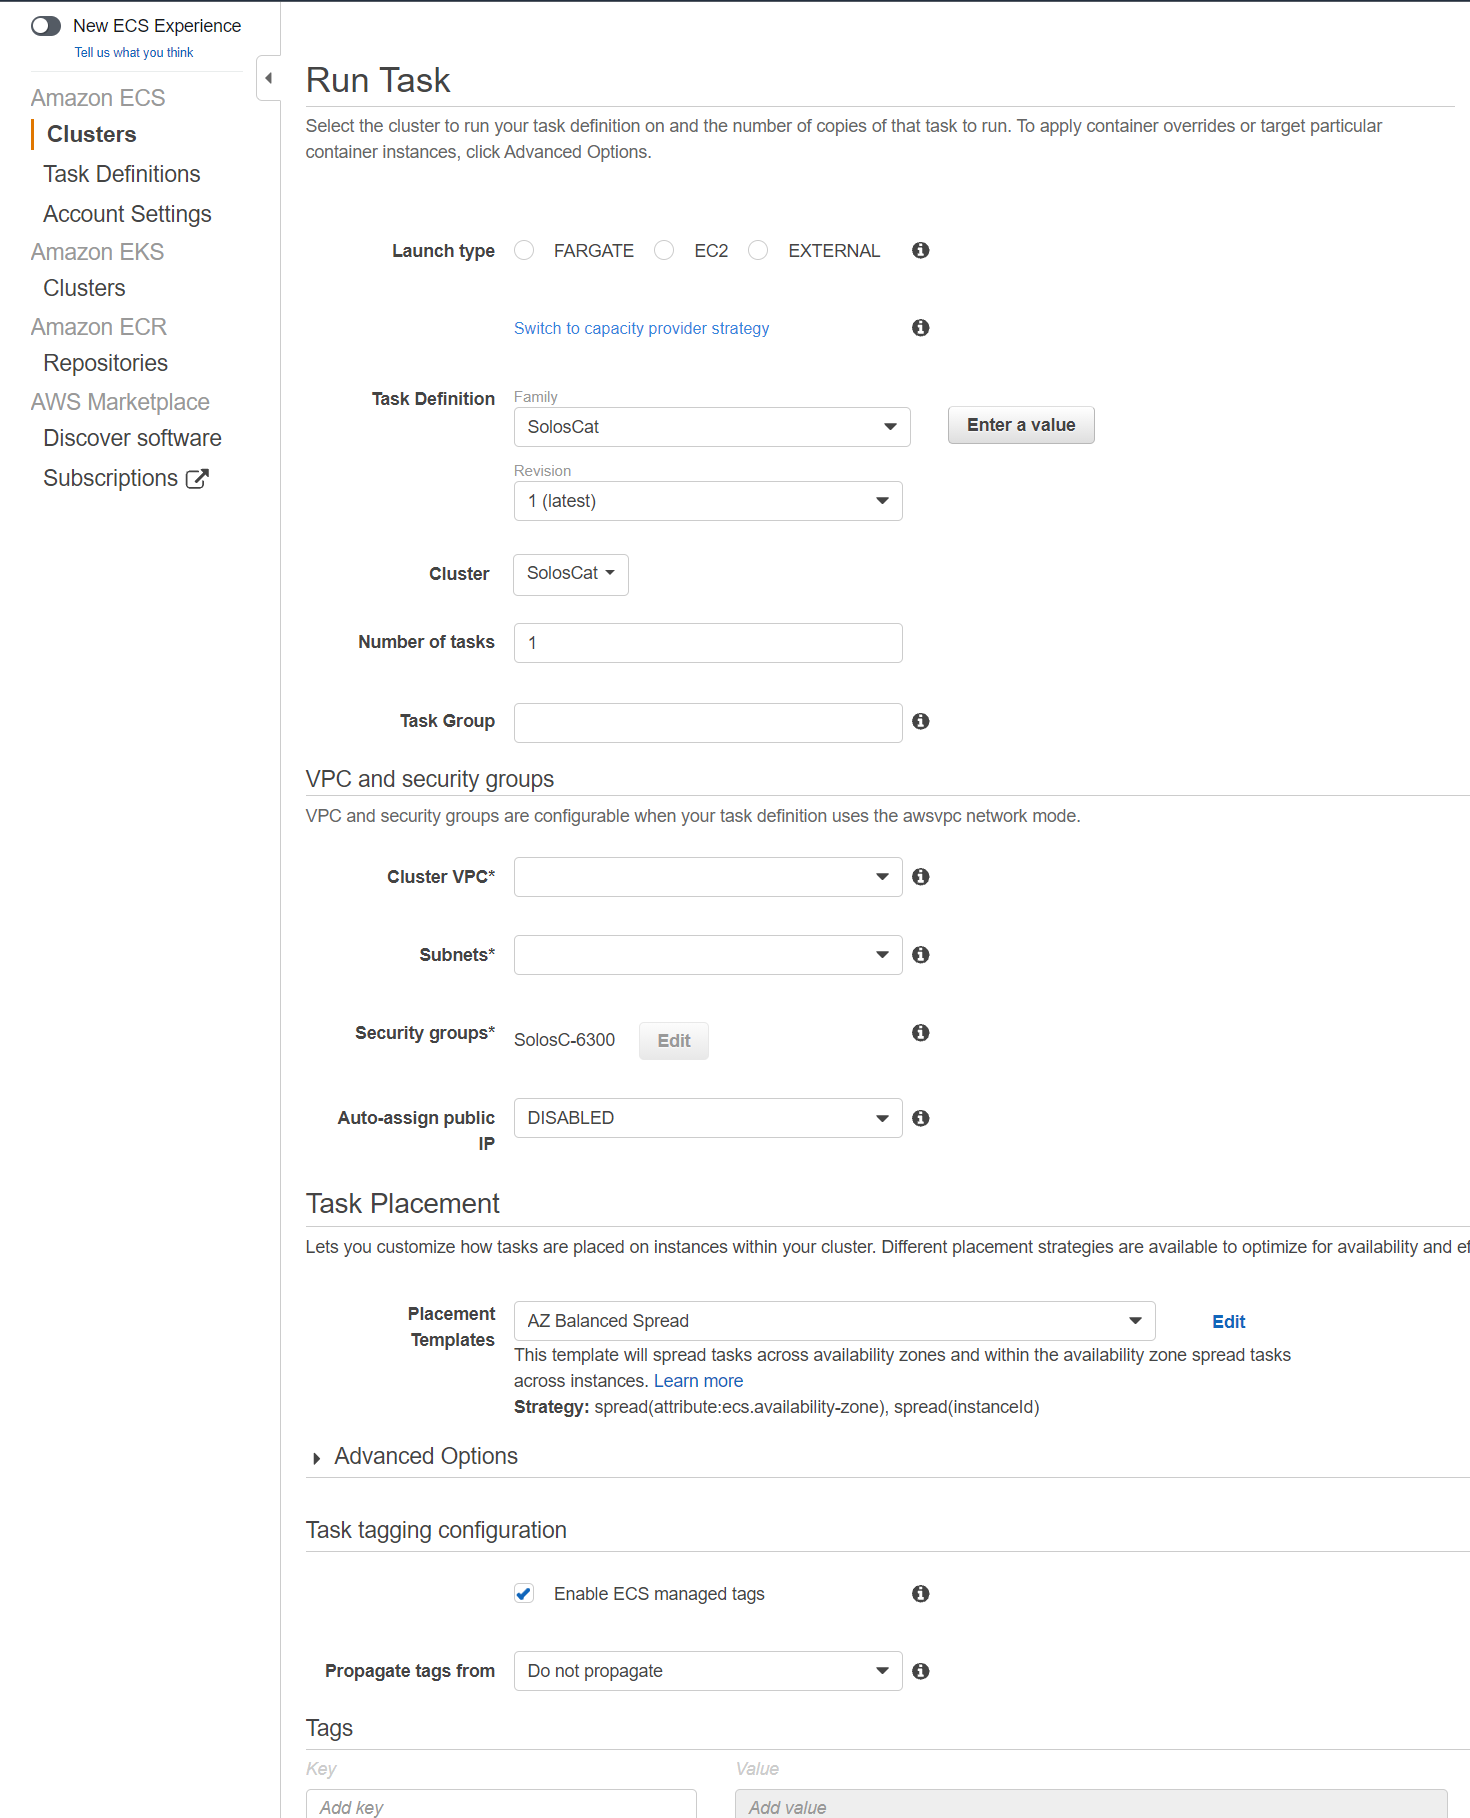
- Click FARGATE as the launch type
- Make sure the Task Definition shows SolosCat and the Cluster is your cluster
- Scroll down to Cluster VPC and select the default VPC.
- On the subnets, click at least two just to simulate putting your cluster into two availability zones.
- On the Security Groups, you can edit the security groups to allow other ports. Think about how a microservices architecture looks and how they talk to each of the microservices over other ports.
- Scroll to the bottom and click Run Task.
- Refresh until it says RUNNING in green
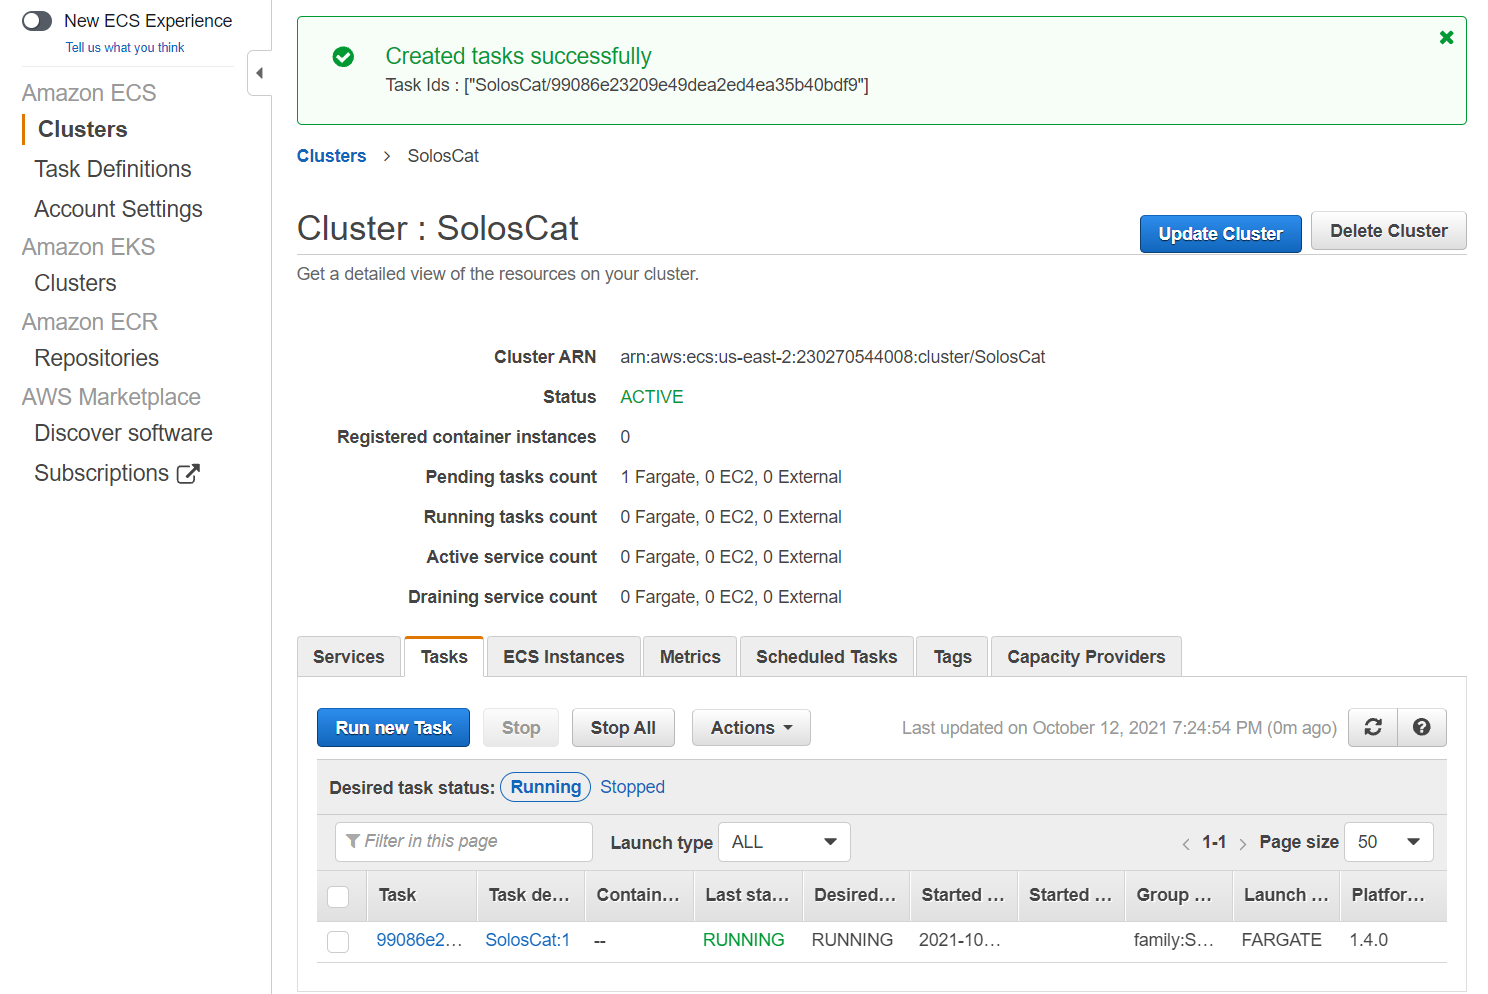
- Click on the task and then copy the IP address
- Navigate to this IP address in a browser and you should have your website that you created.
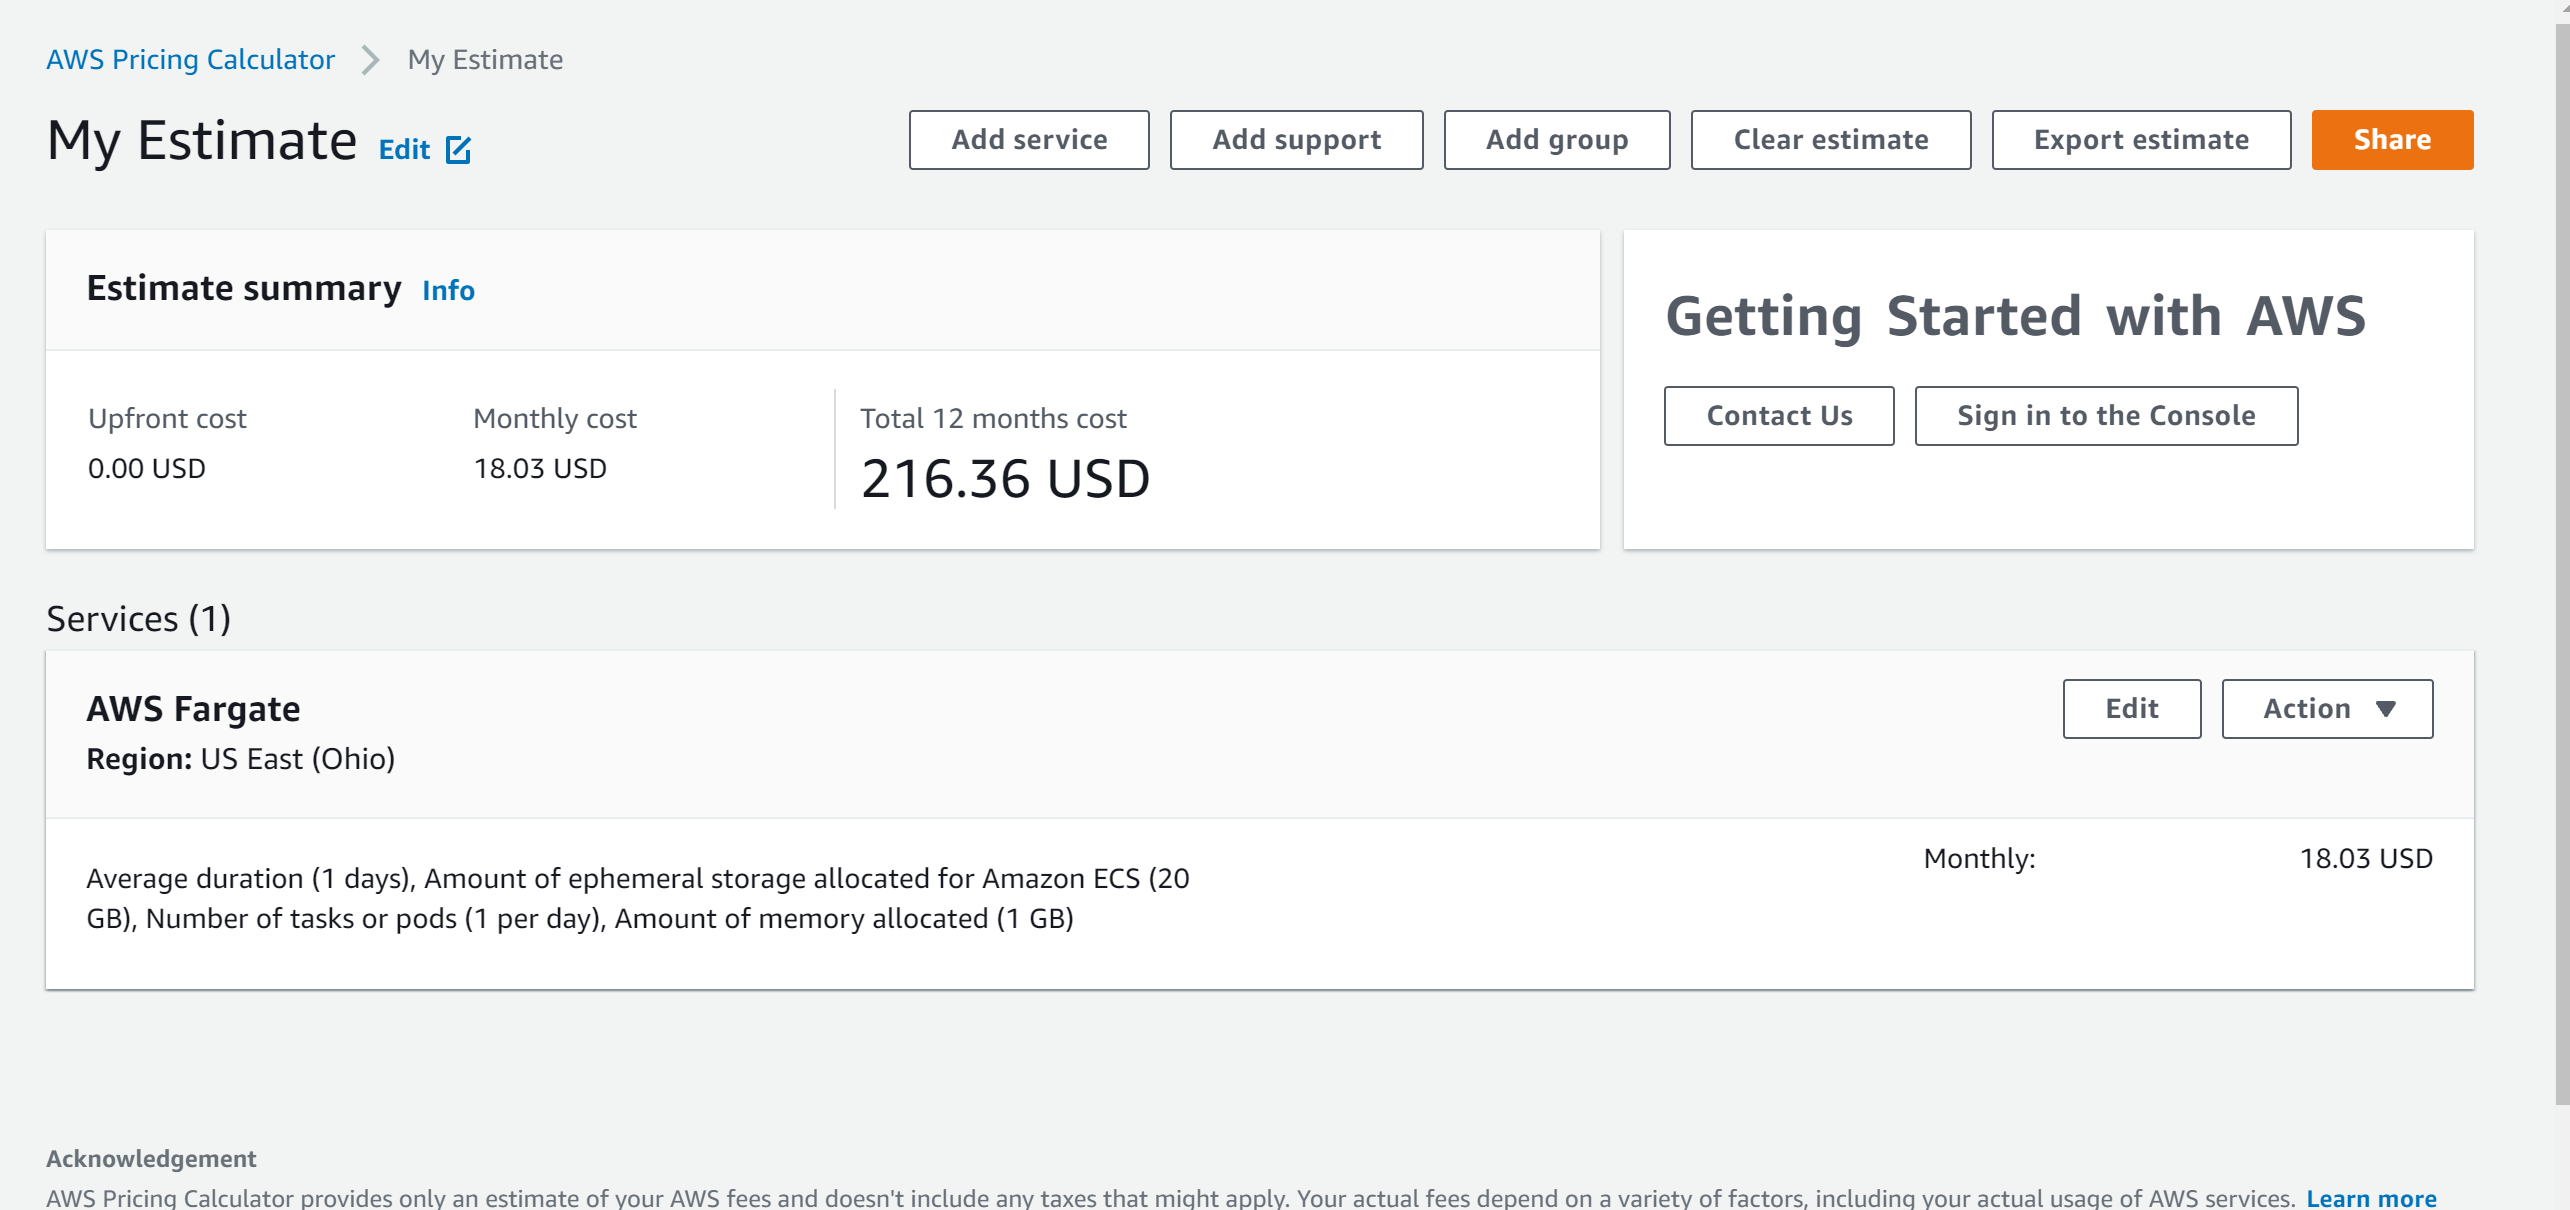
Pricing
Clean Up
Stop Container Deregister the task definition Clusters and then delete the cluster